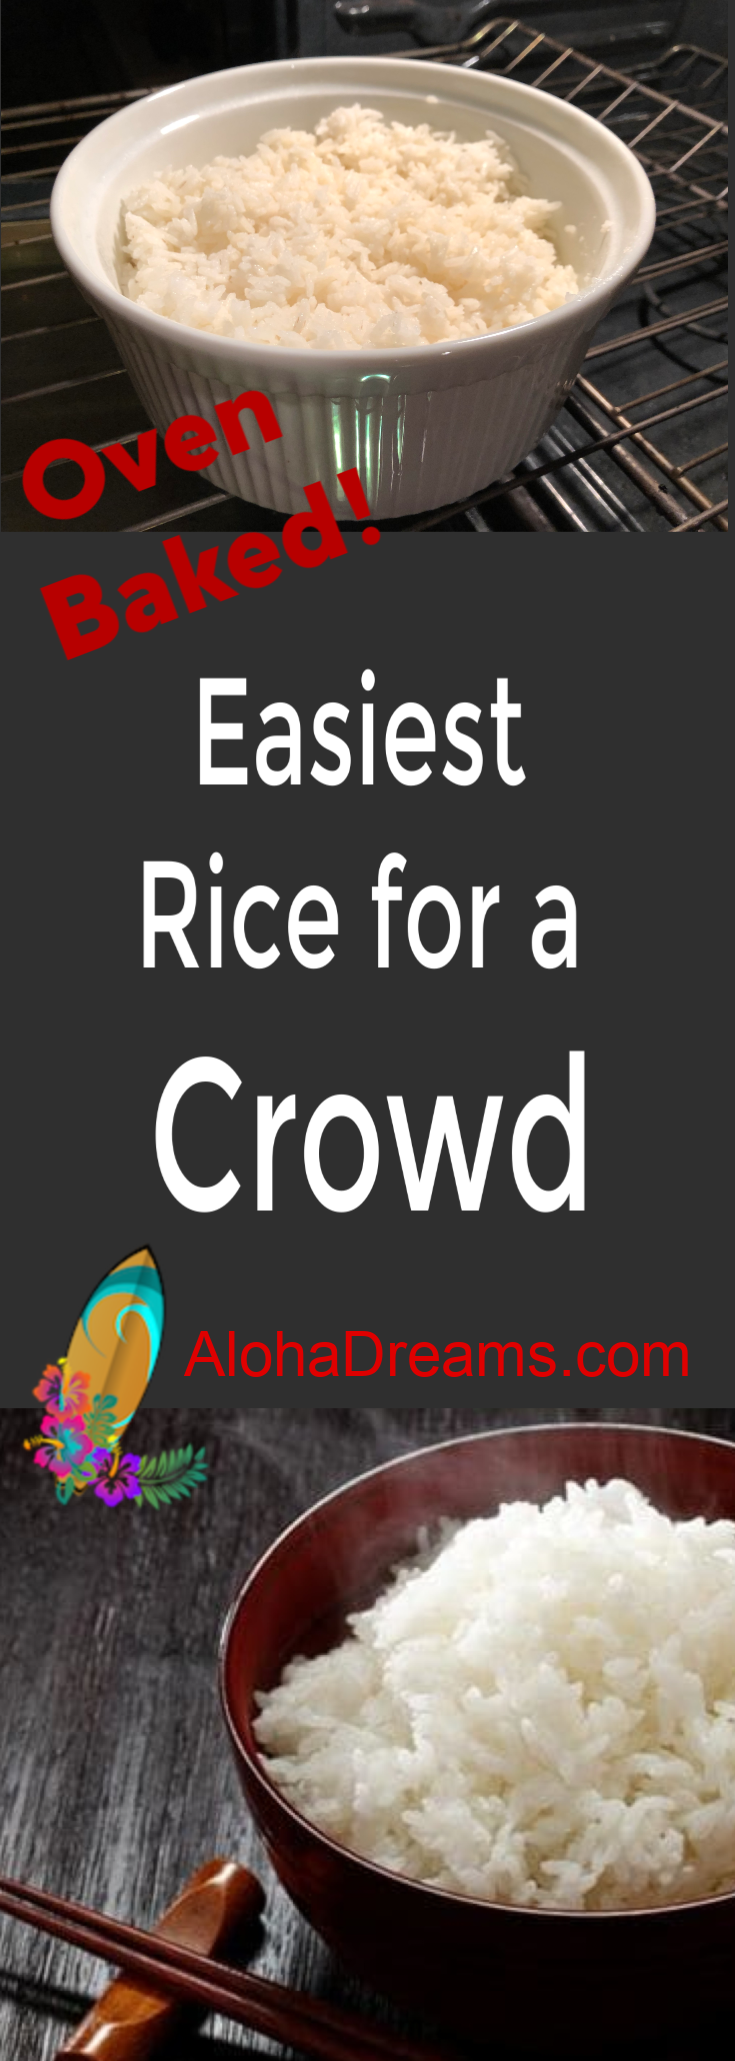
Easy Oven Rice for a Crowd


New fool-proof Rice Method for a Crowd or Your Family!
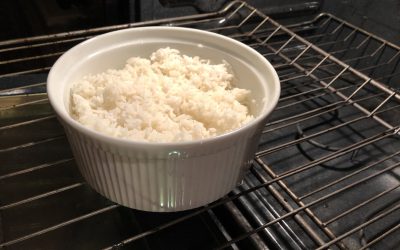
This. Is. Amazing! What started out as research on how to cook rice for a large group, has turned into my all-time favorite way to cook rice – – – in the oven! Who knew?
Not me. Rice has always been my nemesis. Back when I used to cook it on the stove, it was almost always likely to burn – or at the very least stick on the bottom. If I was planning on it as part of a meal (meaning I couldn’t keep an eagle eye on it), then I frequently ended up sneaking over to the sink to try and scrape out the non-burned part – hoping my guests wouldn’t notice.
Easiest Way Ever to Cook Rice
Well no more! This oven method is VERY EASY. It’s also VERY FORGIVING. We just finished teaching 17 teenage boys how to cook a Chinese Dinner (a FANTASTIC youth activity – I’ll do a post soon on it) and this rice was the star of the show. I tasked one of the young men with measuring the rice and another with measuring the boiling water. They came to me when they finished, and I said “Great! So we have 12 cups of rice in there, right?” The sheepish response was, “Yes?” followed closely by “uh, well maybe…” concluding with, “um, well actually, we’re not really sure. We got interrupted and lost count.” Feigning WAY more confidence than I felt (a very important skill when cooking for large groups), I brightly said, “No problem! It will be JUST fine!” and into the oven (with a prayer) it went.
Twenty minutes later we (all) checked it and while it was still a bit soupy, it looked well on its way to being done. I told them (with plenty of made-up chief-ish authority) to give it exactly 3 more minutes and when we (all) checked it again…
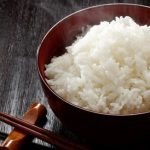
… it was perfect.
You really need this easy rice cooking method in your life. P. S. It works just as beautifully for 4 servings as it does for rice for a large group of 50.

Cook Rice for a Crowd of 50 – Easiest way ever!
Cooking rice for a large group has never been easier. Believe it or not, it’s of the easiest recipes you can make for a large group! I just used this method last week when I was serving 200+ people at our church’s Youth Conference. It turned out beautiful. You’ll really appreciate that it can cook un-attended in the oven while you’re busy preparing the main dishes. Even better, you can basically add any spices or veggies you want and it still cooks perfectly! You’re going to love it. The trick is to cover it tightly with foil and don’t peak until the timer goes off. If it’s not quite done, simply keep checking every 3 – 4 minutes – and then fluff thoroughly to prevent gumminess.
Holds Beautifully!
This rice easily stays warm when cooked in large batches of 50 for 30 minutes if you keep the foil lightly draped over the top to let the steam out but keep the heat in. Mine was still warm enough to serve 45 minutes later.
Pin for Later

Welcome to Aloha Dreams!
I'm so glad you dropped by. I'm Betsy. Here you'll find my favorite fabulous, trusted recipes - everything from delicious, quick meals for your family to wonderful classics made easy.
I'm also here to help you with large group recipes from 20 to 200. So next opportunity you get to cook for a large group - Say 'Yes!' Then relax. I've got your back.
Ever wished you could build your dream home? How about building your dream home in a tropical paradise? Join me, room by room, as we design and build a fabulous dream home in Hawaii!
Or Make Now
Family Size
Servings: 4 (4 1/2 cups cooked rice)
(NOTE: 1 cup uncooked rice = 3 cups cooked rice)
- 1 1/3 cups long grain rice
- 2 1/3 cups water
- 1 1/2 tablespoons butter
- 1 teaspoon table salt
- Aluminum foil
-
Preheat oven to 375° F.
-
Place 2 1/3 cups water, 1 1/2 tablespoons of butter, and 1 teaspoon of salt in a microwave safe bowl and heat in the microwave till boiling. Or heat on the stove top in a pan.
-
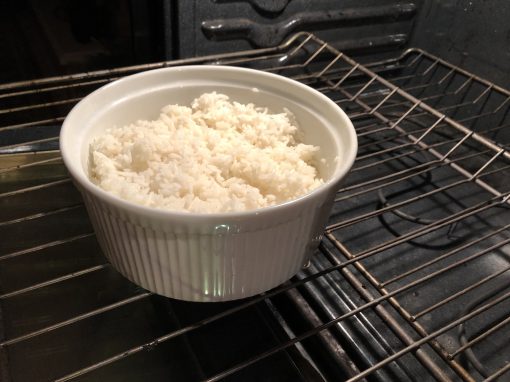
While water is heating place 1 and 1/3 cups white long grain rice in an oven safe pan or dish.
-
Add the boiling water to rice. Mix well and quickly cover tightly with a piece of foil.
-
Bake 23-25 minutes until the rice is tender and all the liquid is absorbed. If it's not done, bake for another 2 to 4 minutes.
-
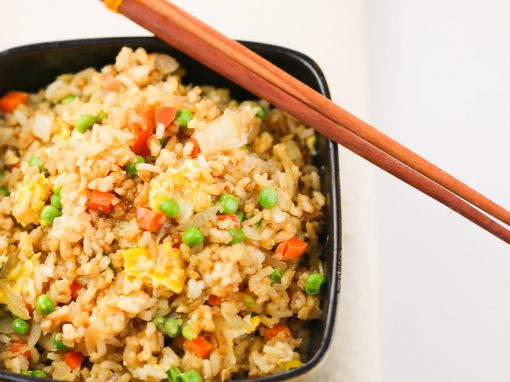
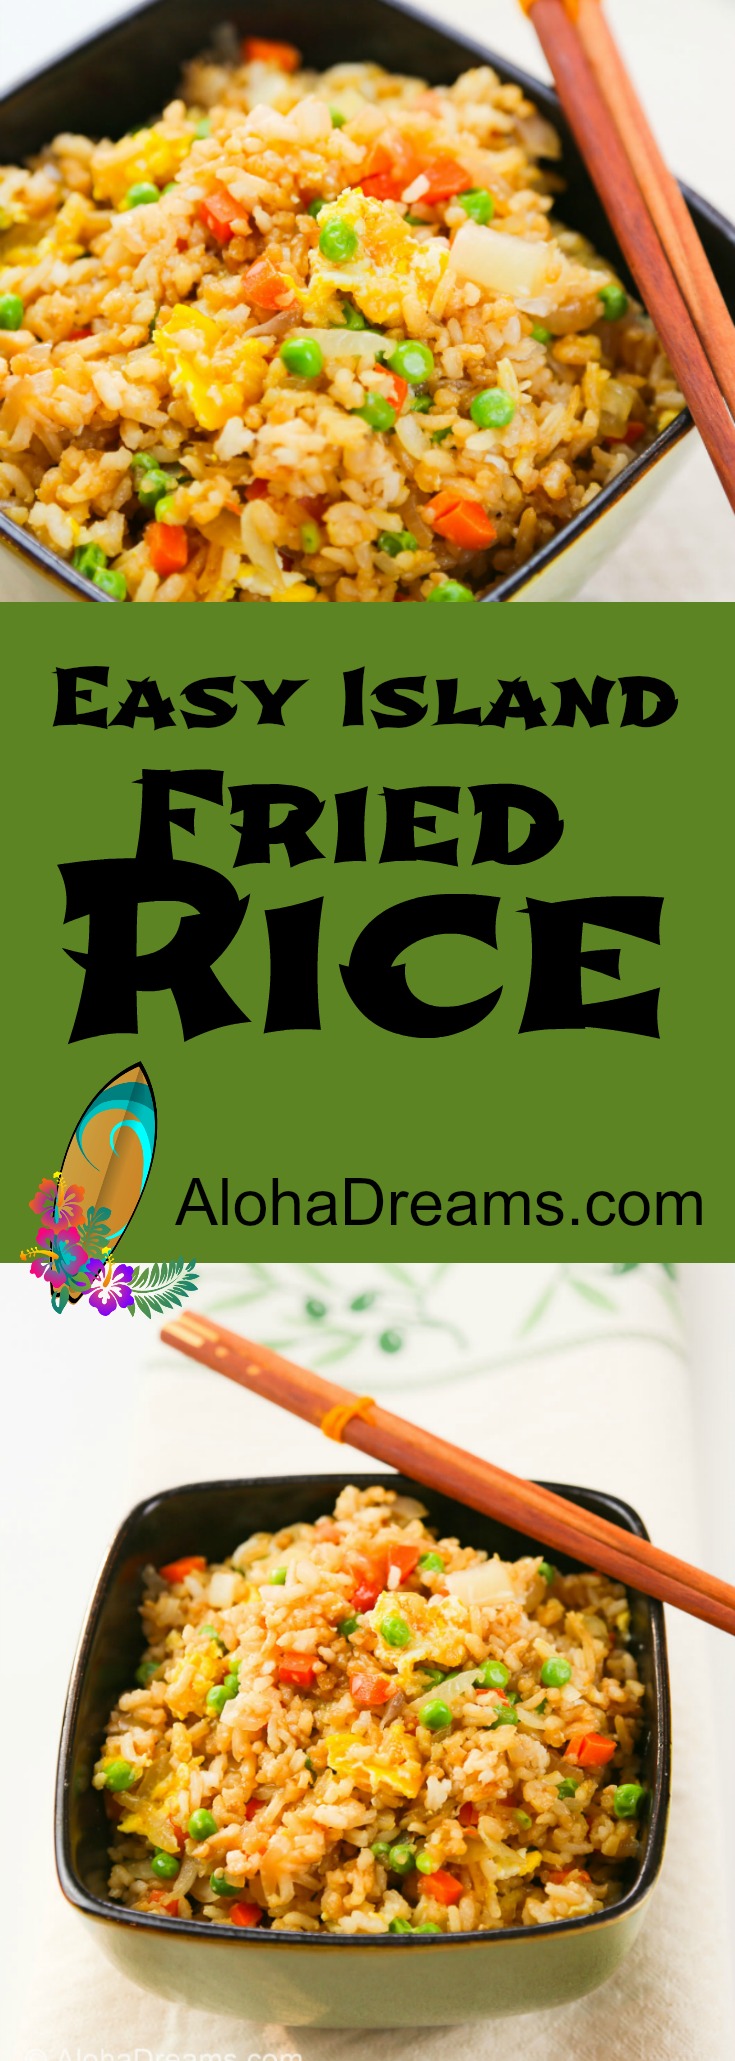
Fluff rice with a fork to let the steam out before serving. If you don't fluff it, the rice will continue to cook and become mushy and gummy. (If making Fried Rice, spread hot rice evenly on a large tray to cool.)
Use the hottest water you can easily get. If you have a bowl which is both microwave and oven safe, heat water, salt and butter in that bowl, then add in pre-measured rice to water once boiling – just be careful.
If your baking dish also has a lid, put the lid on top of the foil. But even if you have a lid, you still need to use the aluminum foil.
If you want to cook brown rice, it takes longer. Plan on about 1 hour.
Cook at 350°F in a convection oven.
Large Group
Servings: 50 (36 cups cooked rice – ¾ cup each)
(NOTE: 12 cups uncooked rice = 36 cups cooked rice)
- 12 cups long grain rice (this is 5.25 pounds)
- 5 quarts water (5 quarts is 20 cups)
- 3 sticks butter
- 2 tablespoons table salt
- Aluminum foil
- 1 large disposable aluminum pan (roughly 20" x 13" x 3")
- 1 large flat baking sheet
-
Preheat oven to 375° F.
-
Place 5 quarts water, 3 sticks butter, and 2 tablespoons salt in a pot on the stove top and heat until boiling.
-
While water is heating place 12 cups white long grain rice in a large disposable aluminum pan. Set pan on a flat baking sheet to make transporting into and out of the oven easier.
-
Add the boiling water to rice. Mix well and quickly cover tightly with a large piece of foil.
-
Bake 40-45 minutes until the rice is tender but not mushy and all the liquid should be absorbed. If it's not done, bake for another 2 to 6 minutes.
-
Fluff it with a fork to let the steam out and serve. If you don't fluff, the rice may continue to cook and become mushy.
-
Once fluffed, if the aluminum foil cover is loosely placed over the rice, it will easily stay warm for up to 30 minutes.
Use 350°F if cooking in a convection oven).
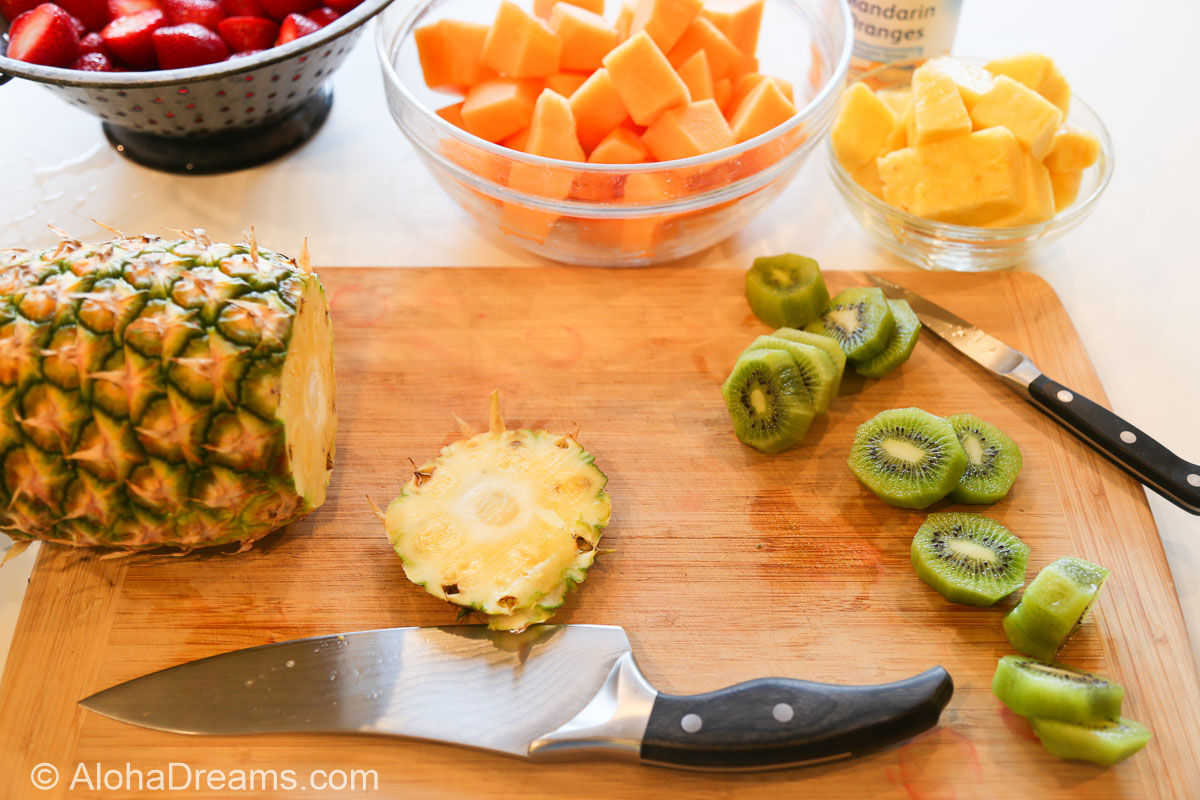
Looking for more fantastic Breakfasts for a Crowd?
There are many excellent choices on my Breakfast for a Crowd page here. It’s got a wide selection of large group breakfast recipes. Including this one:
Tater Tot Breakfast Casserole for a Crowd
Here’s some other fantastic recipes if you’re cooking breakfast.


Explore Aloha Dreams


EXPLORE
If you're planning a vacation to Hawaii, I've got you covered on the very best places to go! From many amazing restaurants to incredible adventures in the surf and on land, this is your go-to source for unique and exciting things to do on the Big Island of Hawaii. Or just take a Virtual Vacation!! Let's go!
SAY YES!
If you've been asked to cook for a large group activity, be it a Girl's Camp or a Graduation Party, say Yes! I'm here to help. From Menus to Game Plans to Recipes, I'll help you keep on schedule and turn out amazingly delicious food if you're cooking for a crowd! My recipes are tested and trusted. Let's cook!
AHONUI
Ever wished you could build your dream home? Like amazing house design and home building ideas? Me too! Join me as I design and build a home on the Big Island of Hawaii. Follow along while I design each room. Enjoy a front row seat for the entire amazing construction process. Let's play!
PARTY
Would you like to throw a Luau, but not sure where to start? Want to know how to build a tiki bar and roast a pig? Here's everything you need to have a luau. How about a Christmas Feast or even a fabulous dinner for your neighborhood supper club? You've come to the right place. Let's party!