


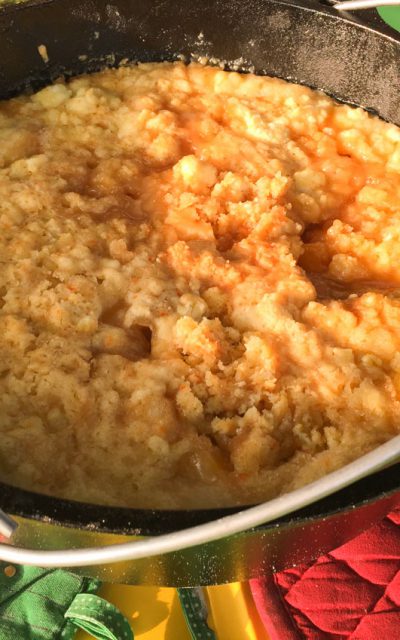


This lovely summer dessert combines sweet juicy peaches with a crunchy, buttery, golden brown cobbler. I served this at our Young Men and Young Women Church Camp, but it’s just as perfect for your family’s summer dinner cooked in the oven!
read more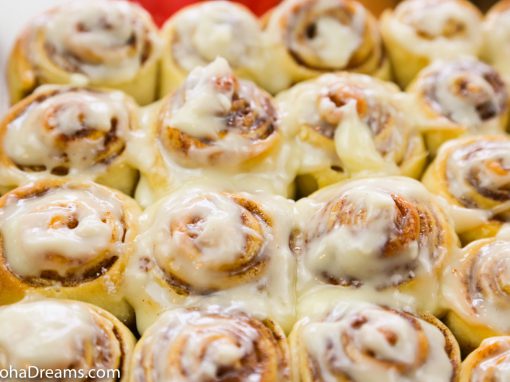
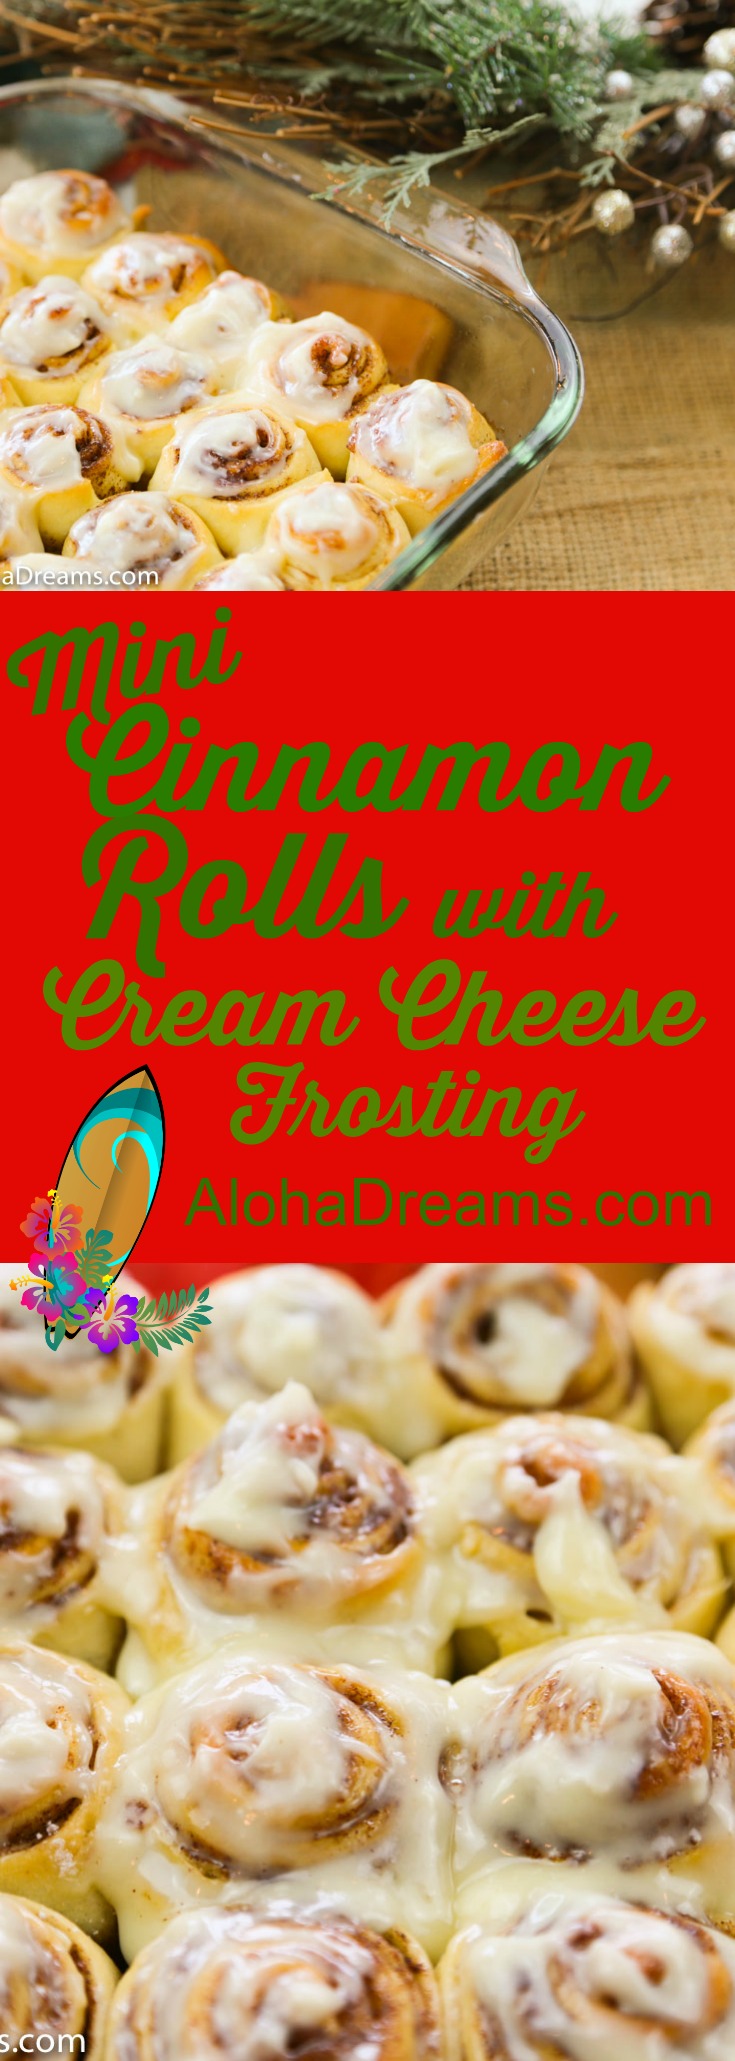
Mini Cinnamon Rolls with Cream Cheese Frosting


Mini Cinnamon Rolls with Cream Cheese Frosting
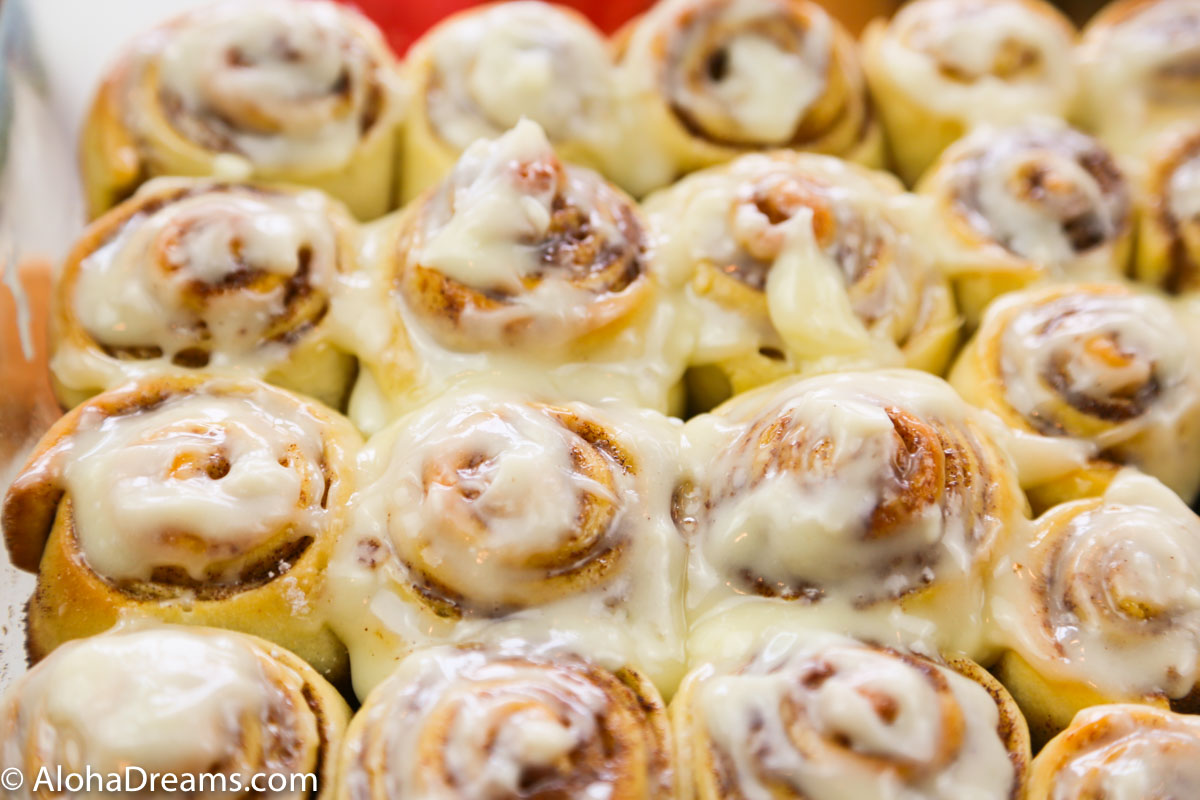
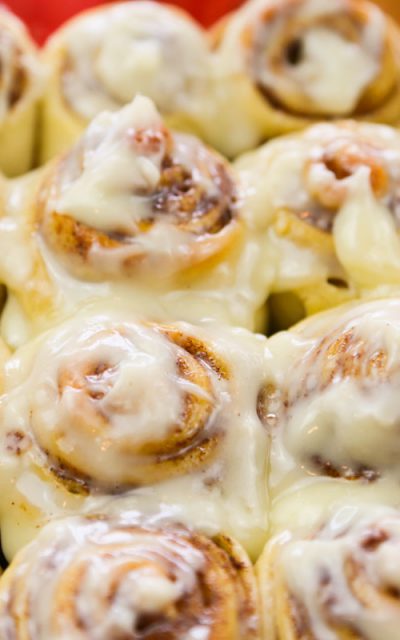
Your family will love these mini cinnamon rolls with cream cheese frosting. They’re bite-size delights with light fluffy cinnamon sugar layers slathered with luscious cream cheese frosting!
You’ll find they are perfect for the holidays or special occasions! Quick and easy to make, they can be made ahead and frozen at 3 different points in the process, making it easier for you the morning you’re wanting to serve them.
It’s easy. Here’s how.
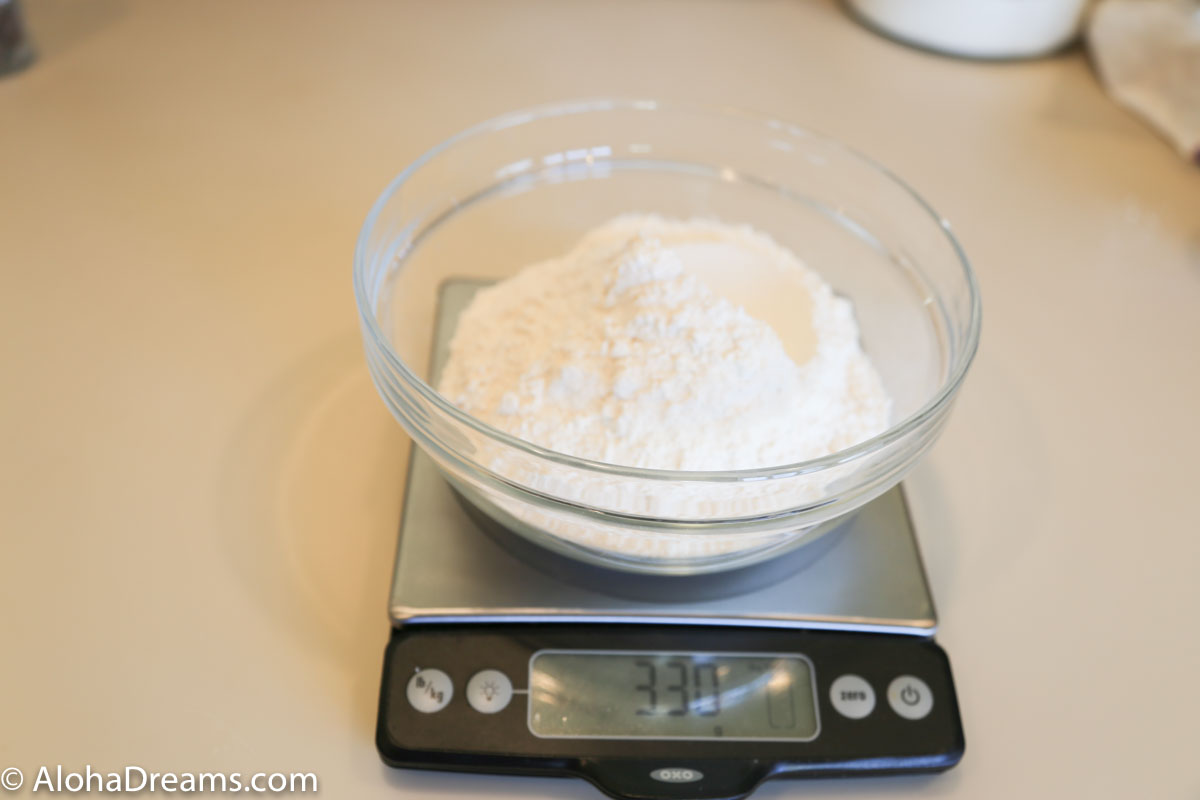
Let’s start with the flour. If you have a scale, you’ll want to measure out 330 grams of flour. If you don’t have a scale and you’re planning on doing any baking for the holidays, I would strongly recommend one. I never use a measuring cup for flour anymore and I no long worry about measuring it correctly.
If you don’t have a scale, you’ll want 2 3/4 cups of flour, measured by fluffing your flour and then gently dipping the measuring cup into the flour and sweeping the top with a straight edge to level it.
Then combine the sugar, butter, water and milk and microwave it until the mixture is hot and the butter is soft and almost melted, about 45 seconds. You want the stick to remain mostly intact but be very soft when touched. Next preheat the oven to 200 degrees. We’ll be putting the rolls in it in a minute to rise, for now we’re just trying to warm it up slightly to help with that. This method is easier than depending on the room temperature to aid in the dough rising, especially in the winter.
Let the mixture cool slightly then add the milk mixture into the flour mixture. Finally add the egg and vanilla and mix, scraping the sides and bottom periodically, until a soft and sticky dough forms.
Then, using a dough hook if you have a stand mixer (or your hands if you don’t) knead the dough on the lowest setting for 4 minutes. You want it to look like this when done.


Welcome to Aloha Dreams!
I'm so glad you dropped by. I'm Betsy. Here you'll find my favorite fabulous, trusted recipes - everything from delicious, quick meals for your family to wonderful classics made easy.
I'm also here to help you with large group recipes from 20 to 200. So next opportunity you get to cook for a large group - Say 'Yes!' Then relax. I've got your back.
Ever wished you could build your dream home? How about building your dream home in a tropical paradise? Join me, room by room, as we design and build a fabulous dream home in Hawaii!
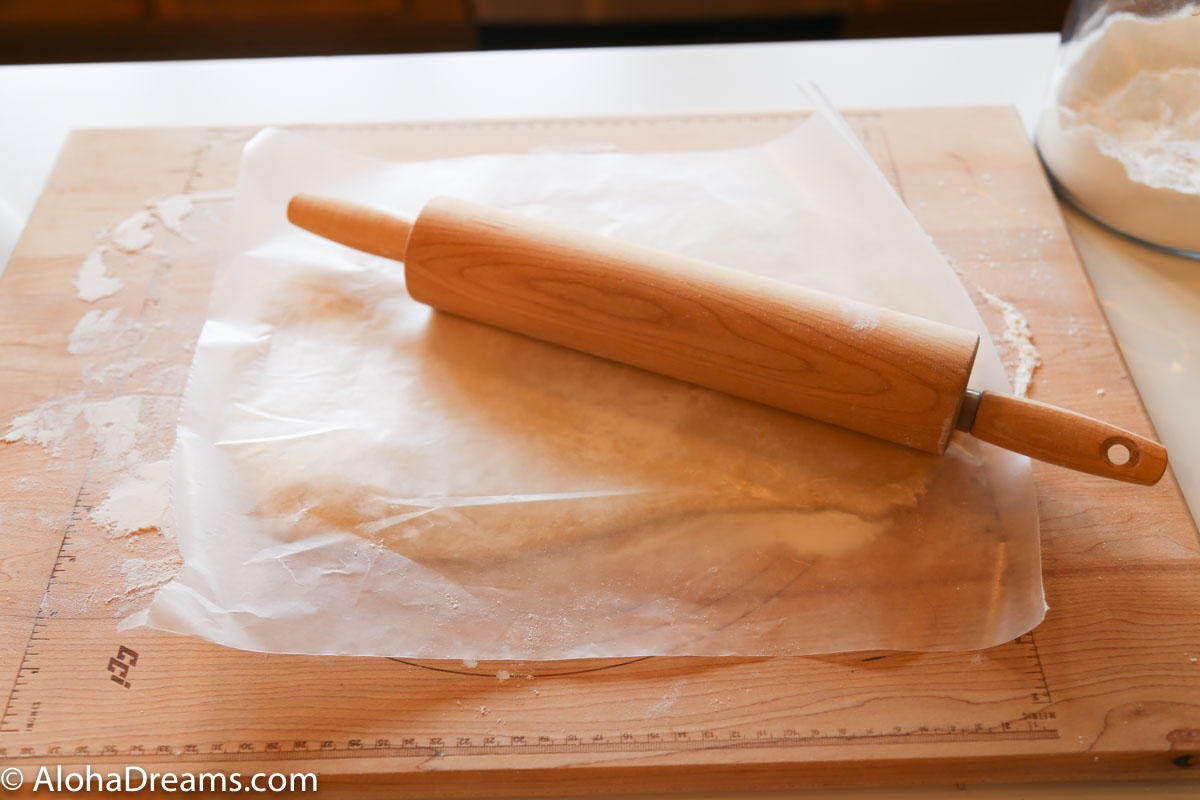
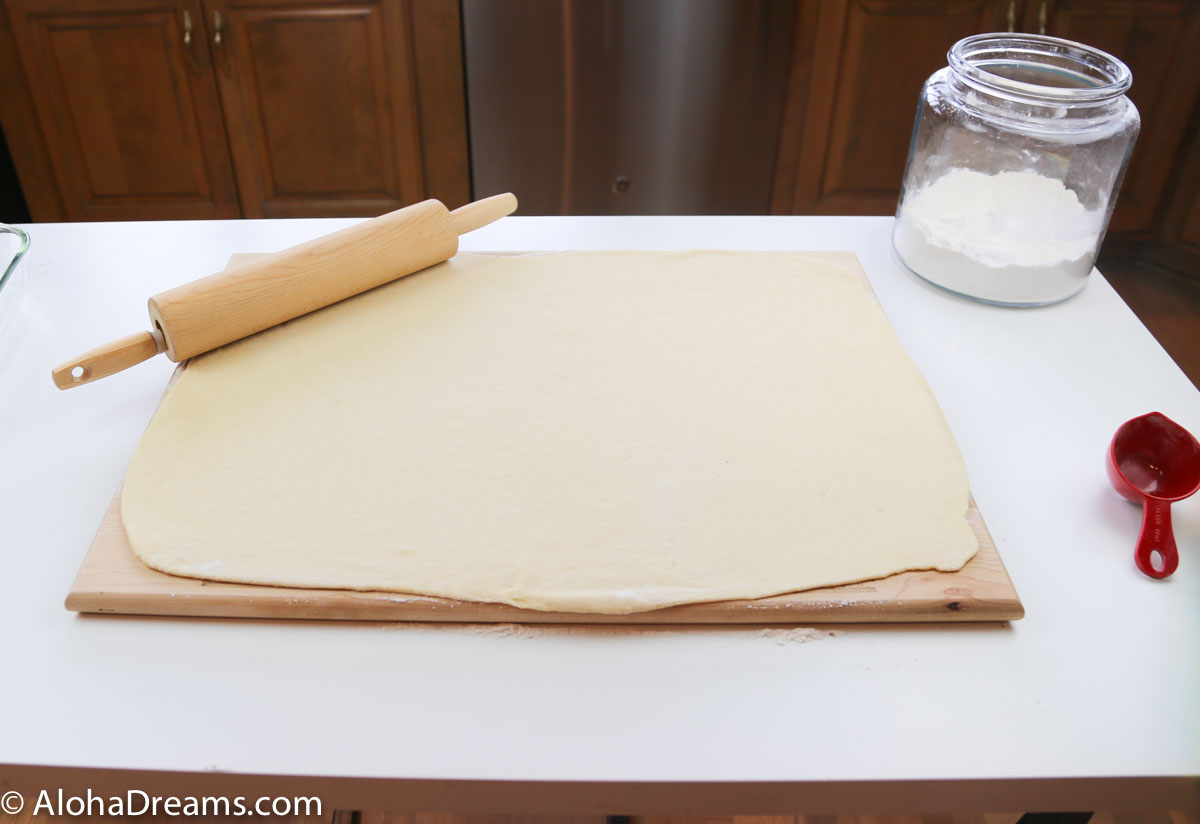
Allow dough to rest, covered, on the counter for 10 minutes. Once the dough has rested, roll it out on a lightly floured surface until it measures a 24×16 inch rectangle. A handy trick my mom taught me is to flour the surface under your dough, flour the top of your dough and then place a sheet of wax paper between your dough and the rolling pin, like this.
Then roll out your dough until it measures a 22 × 16 inch rectangle.
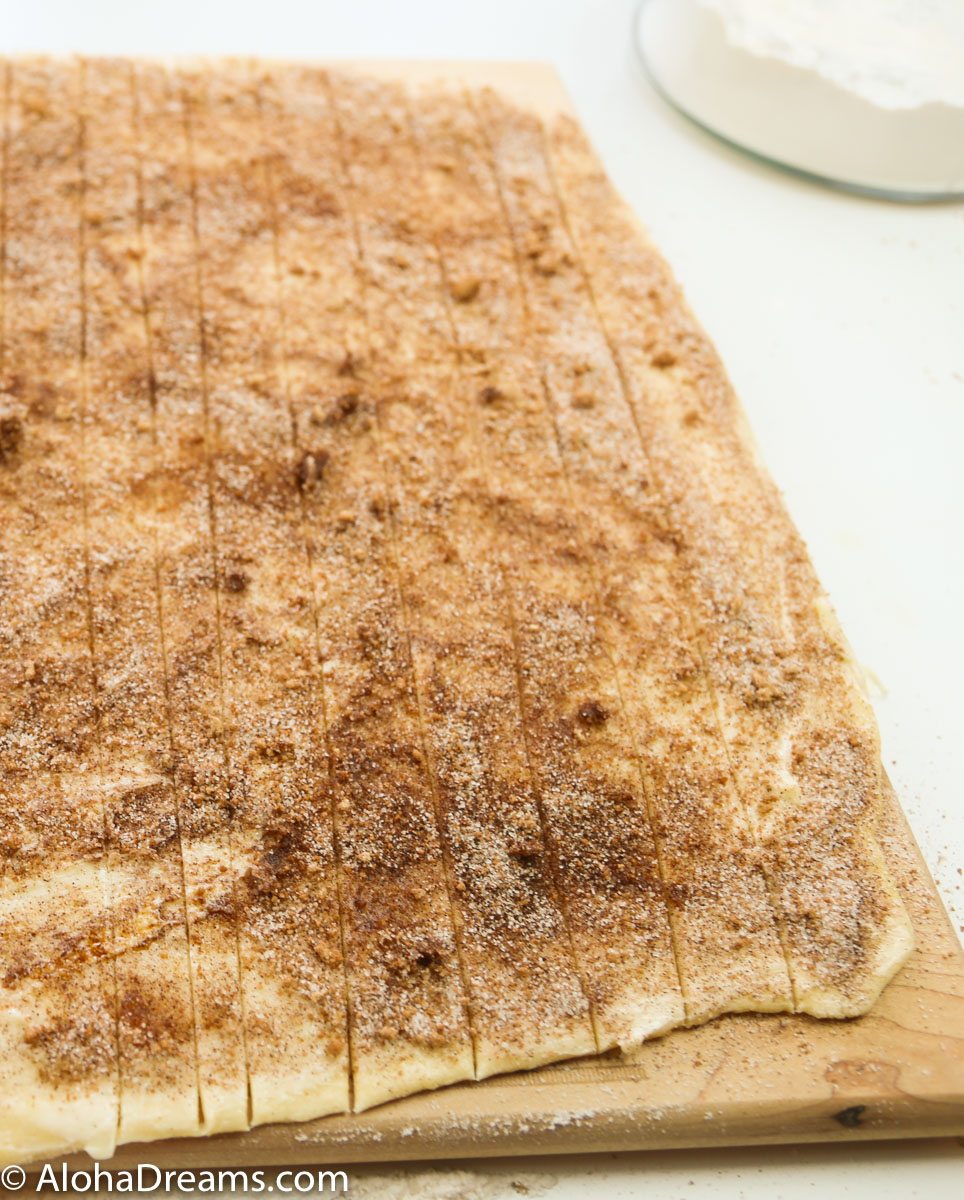
Brush all the butter evenly over the top of the dough (heat 10-15 seconds in the microwave if necessary to enable it to spread easily), then sprinkle the filling evenly over the entire surface.
Your dough should be laid out in a landscape orientation (long sides across the top and bottom, short sides on the left and right. You have a couple choices at this point.
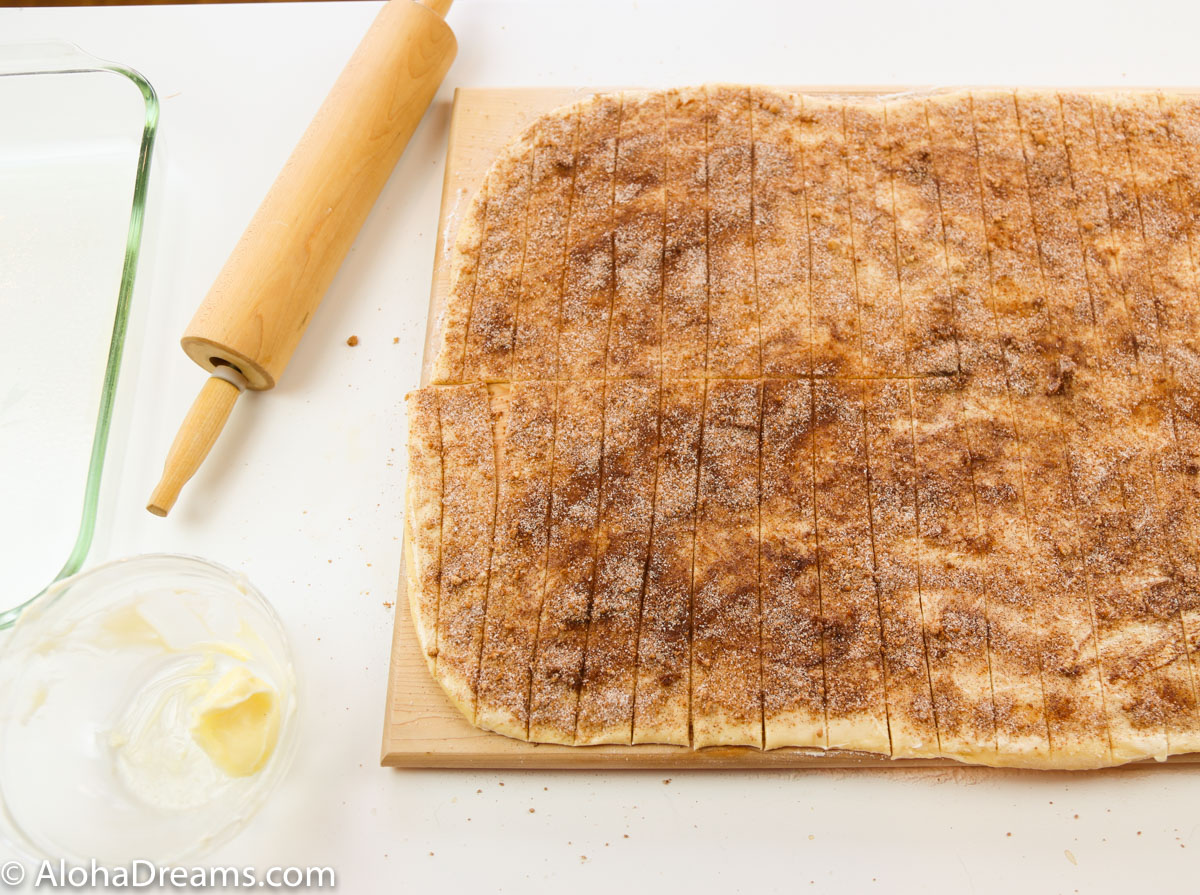
You can either make 24 medium small rolls or 48 mini rolls.
To make 24 rolls, using a pizza cutter or knife, cut the dough into 24 pieces, 1 inch wide, running from top to bottom along the 16 inch edges, like the picture above. This will make 24 medium small rolls.
To make 48 mini rolls, just make 1 additional cut longwise across the middle, like the picture below. Either is great and the recipe is identical regardless.
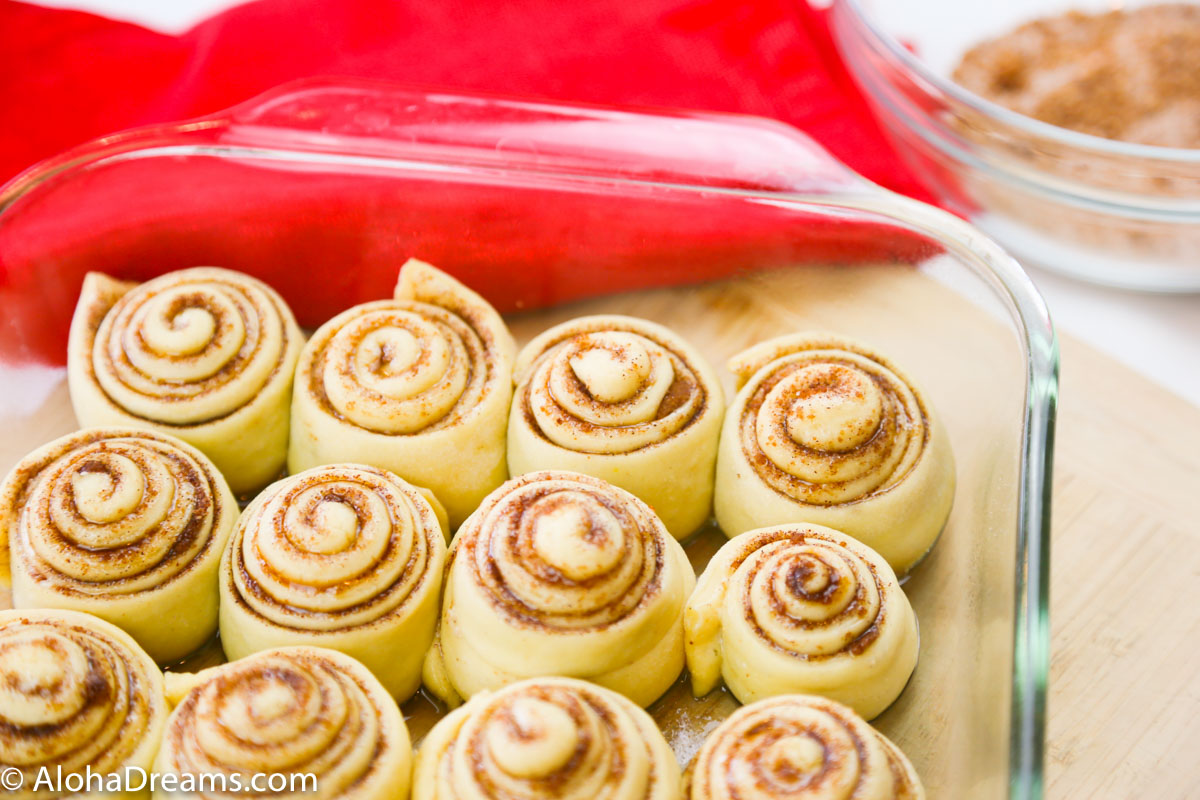
Roll each up into a tight roll and place into a greased 9×13 baking dish with aluminum foil over the top. You can freeze them at this point (well wrapped) or continue with the recipe.
If you’re ready to bake now, turn OFF the oven and place the covered rolls inside for 45 – 60 minutes until rolls mostly fill the pan like this.
Here’s what the minis look like after their time rising in the turned off oven.
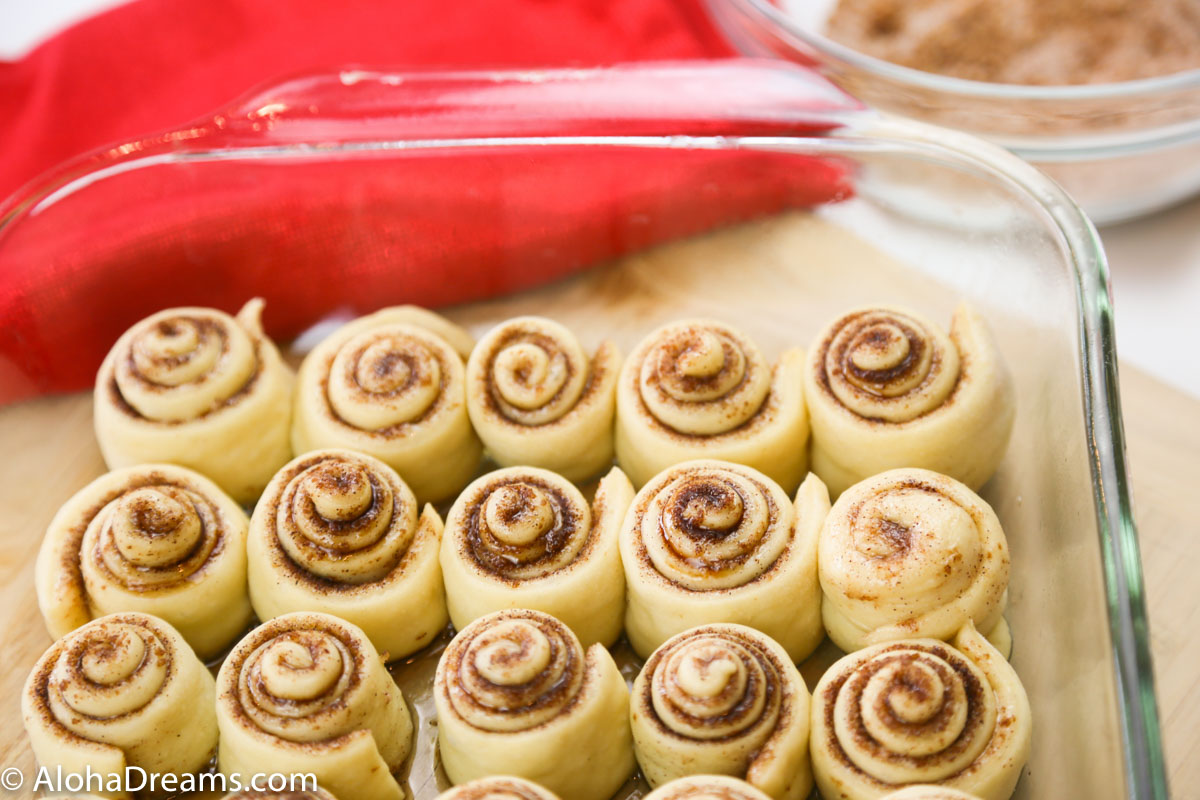
You can turn on the oven to low for about a minute to jump start the process anytime during the rising if you find you’re not making progress.
Once your rolls have risen to almost fill the pan, remove them from the oven and turn ON your oven to 375 degrees so we can bake them. Once heated, remove the foil and bake the rolls for 15-18 minutes or until the rolls are light golden brown in color. They are done when their internal temperature reaches 185°F to 190°F. 9. Remove from the oven and allow to cool for 10 minutes before frosting. You’re rewarded with these luscious bites. Here I’ve combined minis and regulars. You can do that too if you want.

Pin for Later
Or Make Now
Mini Cinnamon Rolls with Cream Cheese Frosting
Prep Time
30 mins
Cook Time
15 mins
Resting Time
45 mins
Total Time
45 mins
Your family will love these mini cinnamon rolls with cream cheese frosting. They are perfect for the holidays or special occasions! They’re bite-size delights with light fluffy cinnamon sugar layers slathered with luscious cream cheese frosting!
This recipe makes 24 smallish rolls or 48 mini rolls depending on how you cut the dough. The rest of the recipe is the same regardless.
Course:
Breakfast
Cuisine:
American
Servings: 24 rolls
Ingredients
For the rolls:
- 2¾ cups (330 grams) all-purpose flour
- 1 tablespoon instant yeast
- 1 teaspoon salt
- ¼ cups granulated sugar
- 2 tablespoons butter
- ½ cup water
- ¼ cup whole milk
- 1 large egg
- 1 teaspoon vanilla extract
For the Filling:
- 8 tablespoons butter (1 stick) melted
- 2/3 cup sugar
- 1 ½ tablespoons ground cinnamon
For the Cream Cheese Frosting:
- 2 ounces cream cheese room temperature
- 2 tablespoons butter room temperature
- 1/2 cup powdered sugar
- ½ teaspoon vanilla extract
- 1-2 tablespoons whole milk
Instructions
-
1. Grease a 9×13 baking dish and set aside. Add the flour, yeast and salt to a large bowl or the bowl of a stand mixer.
-
In a small microwave safe bowl, combine the sugar, butter, water and milk. Heat on high in the microwave until the mixture is hot and the butter is soft and almost melted, about 45 seconds. Let the mixture cool to 120 degrees. Gradually add the milk mixture into the flour mixture. Add the egg and vanilla and mix, scraping the sides and bottom periodically, until a soft and sticky dough forms.
-
If ready to bake now, preheat the oven to 200 degrees.
-
If using a stand mixer switch to the dough hook and set mixer on the lowest setting. Mix for 4 minutes or until the dough becomes elastic, or knead by hand on a lightly floured surface for 3-4 minutes. Spray plastic wrap with cooking spray and lightly cover the dough with the sprayed side toward the dough. Allow dough to rest on the counter for 10 minutes.
-
Once the dough has rested, roll it out on a lightly floured surface until it measures a 24×16 inch rectangle. Brush all the butter even over the top of the dough (heat 10-15 seconds in the microwave if necessary to enable it to spread easily), then sprinkle the filling evenly over the entire surface. Using a pizza cutter, cut out 24 strips of dough. Roll each up into a tight roll.
-
Place the rolls into the greased 9×13 baking dish and gently place a piece of aluminum foil over top.
MAKE AHEAD NOTE: Can be made to this point (un-risen in the pan) and frozen, covered tightly with plastic wrap then aluminum foil. When ready to serve, thaw and continue with the recipe.
-
If ready to proceed with baking, turn OFF your 200 degree oven and place the covered rolls inside to rise for 45 - 60 minutes until rolls mostly fill the pan. Remove the rolls from the oven and turn ON your oven to 375 degrees.
-
Once heated, remove the foil and bake the rolls for 15-18 minutes or until the rolls are light golden brown in color. They are done when their internal temperature reaches 185°F to 190°F. 9. Remove from the oven and allow to cool for 10 minutes before frosting.
MAKE AHEAD NOTE: Can be made to this point (baked but unfrosted), and frozen, covered tightly with plastic wrap then aluminum foil. When ready to serve, thaw and continue with the recipe.
-
While rolls are cooling, prepare the frosting by combining all of the ingredients in a small mixing bowl and beating by hand until smooth. Spread over the tops of the rolls while still warm.
MAKE AHEAD NOTE: Can be made to this point (completely iced and finished), allowed to completely cool and frozen, covered tightly with plastic wrap then aluminum foil. When ready to serve, thaw and serve.
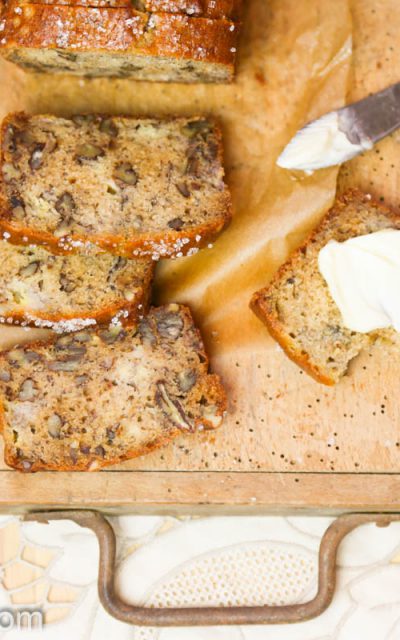
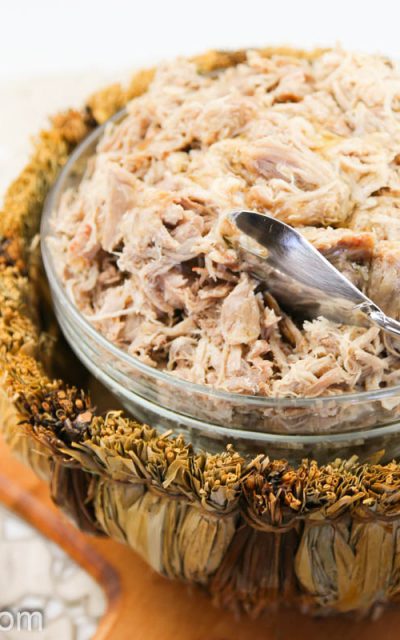
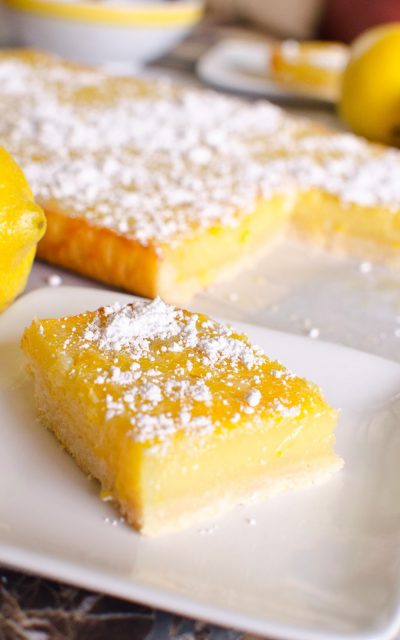
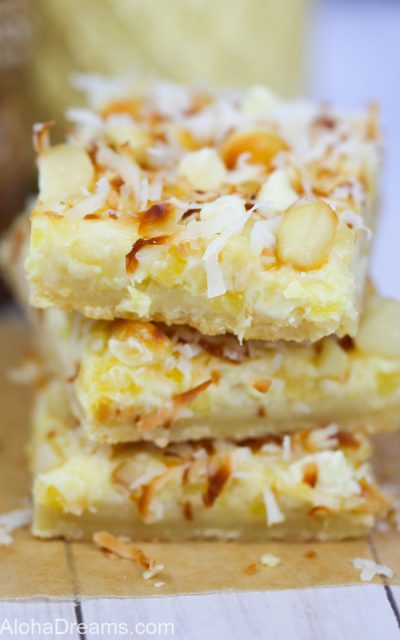
Here’s some other fantastic recipes to put you in a Hawaii frame of mind.

Explore Aloha Dreams


EXPLORE
If you're planning a vacation to Hawaii, I've got you covered on the very best places to go! From many amazing restaurants to incredible adventures in the surf and on land, this is your go-to source for unique and exciting things to do on the Big Island of Hawaii. Or just take a Virtual Vacation!! Let's go!
SAY YES!
If you've been asked to cook for a large group activity, be it a Girl's Camp or a Graduation Party, say Yes! I'm here to help. From Menus to Game Plans to Recipes, I'll help you keep on schedule and turn out amazingly delicious food if you're cooking for a crowd! My recipes are tested and trusted. Let's cook!
AHONUI
Ever wished you could build your dream home? Like amazing house design and home building ideas? Me too! Join me as I design and build a home on the Big Island of Hawaii. Follow along while I design each room. Enjoy a front row seat for the entire amazing construction process. Let's play!
PARTY
Would you like to throw a Luau, but not sure where to start? Want to know how to build a tiki bar and roast a pig? Here's everything you need to have a luau. How about a Christmas Feast or even a fabulous dinner for your neighborhood supper club? You've come to the right place. Let's party!