No Results Found
The page you requested could not be found. Try refining your search, or use the navigation above to locate the post.
 Aloha Dreams


Ever just get in the mood for swoon-worthy comfort food? Yeah, me too. It’s not especially healthy and I wouldn’t eat it every day – but when I want it, I WANT it. Like now. We just finished hosting our second Luau and I think everybody had a great time. Check out the pics from the latest Luau here. But in the meantime, as I’m recovering (no clean-up necessary because we have THE BEST FRIENDS IN THE WHOLE WORLD!) I want something warm and creamy and buttery. You too?
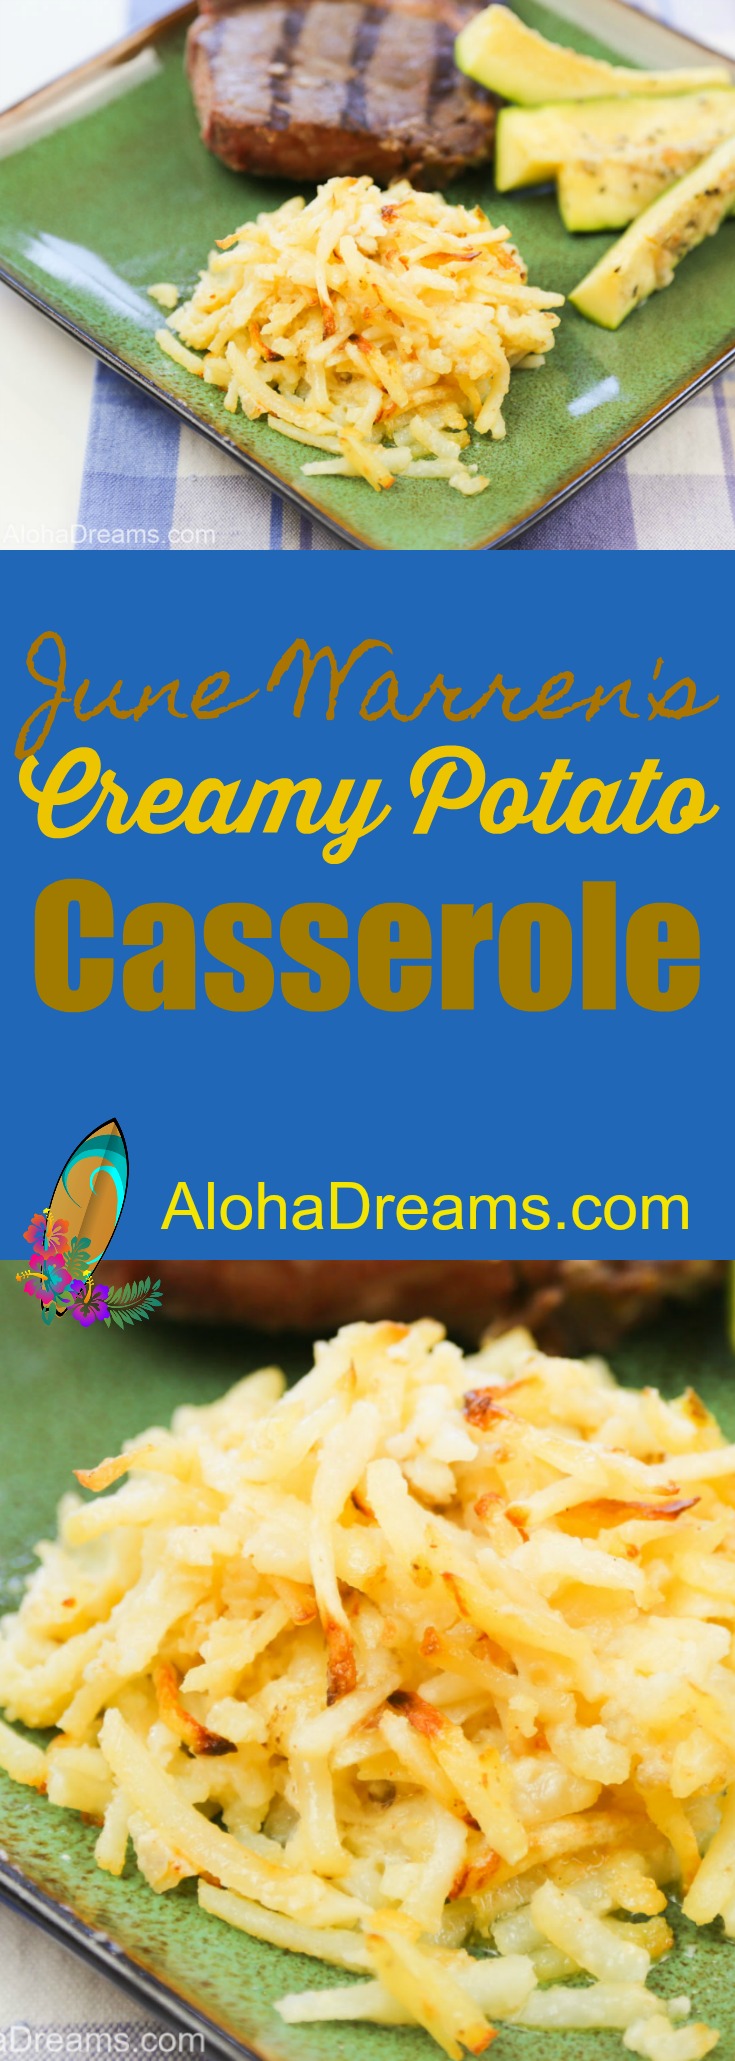
Well alright then! Welcome to Simple Pleasures Sunday. Every so often on Sundays I’ll be posting some of my all time favorite comfort foods. They are nothing fancy, but they seem to lock onto every pleasure center in your brain. I sure hope you enjoy them as much as I do. And so to kick off Simple Pleasures Sunday, I’d like to introduce you to June Warren’s Potato Casserole.
You would have loved June Warren. She was without-a-doubt the Hostess with the Most-est. She was one of those delightful women who looked like June Clever complete with pearls and all. June lived in St. Petersburg Florida. With the recent hurricane, she has been on my mind. I’m sure June has long passed on by now. I knew her in the early 90’s and she was probably in her 70’s at that point. But maybe not. I’d like to think of her as still in her kitchen making incredible food.
When June Warren had you over for dinner, she would start with an assortment of hor d’oeuvres. And I don’t mean just any hor d’oeuvres, I’m talking about a wonderful artichoke spinach dip (don’t worry I’ll share it soon – and you’ll LOVE IT)….
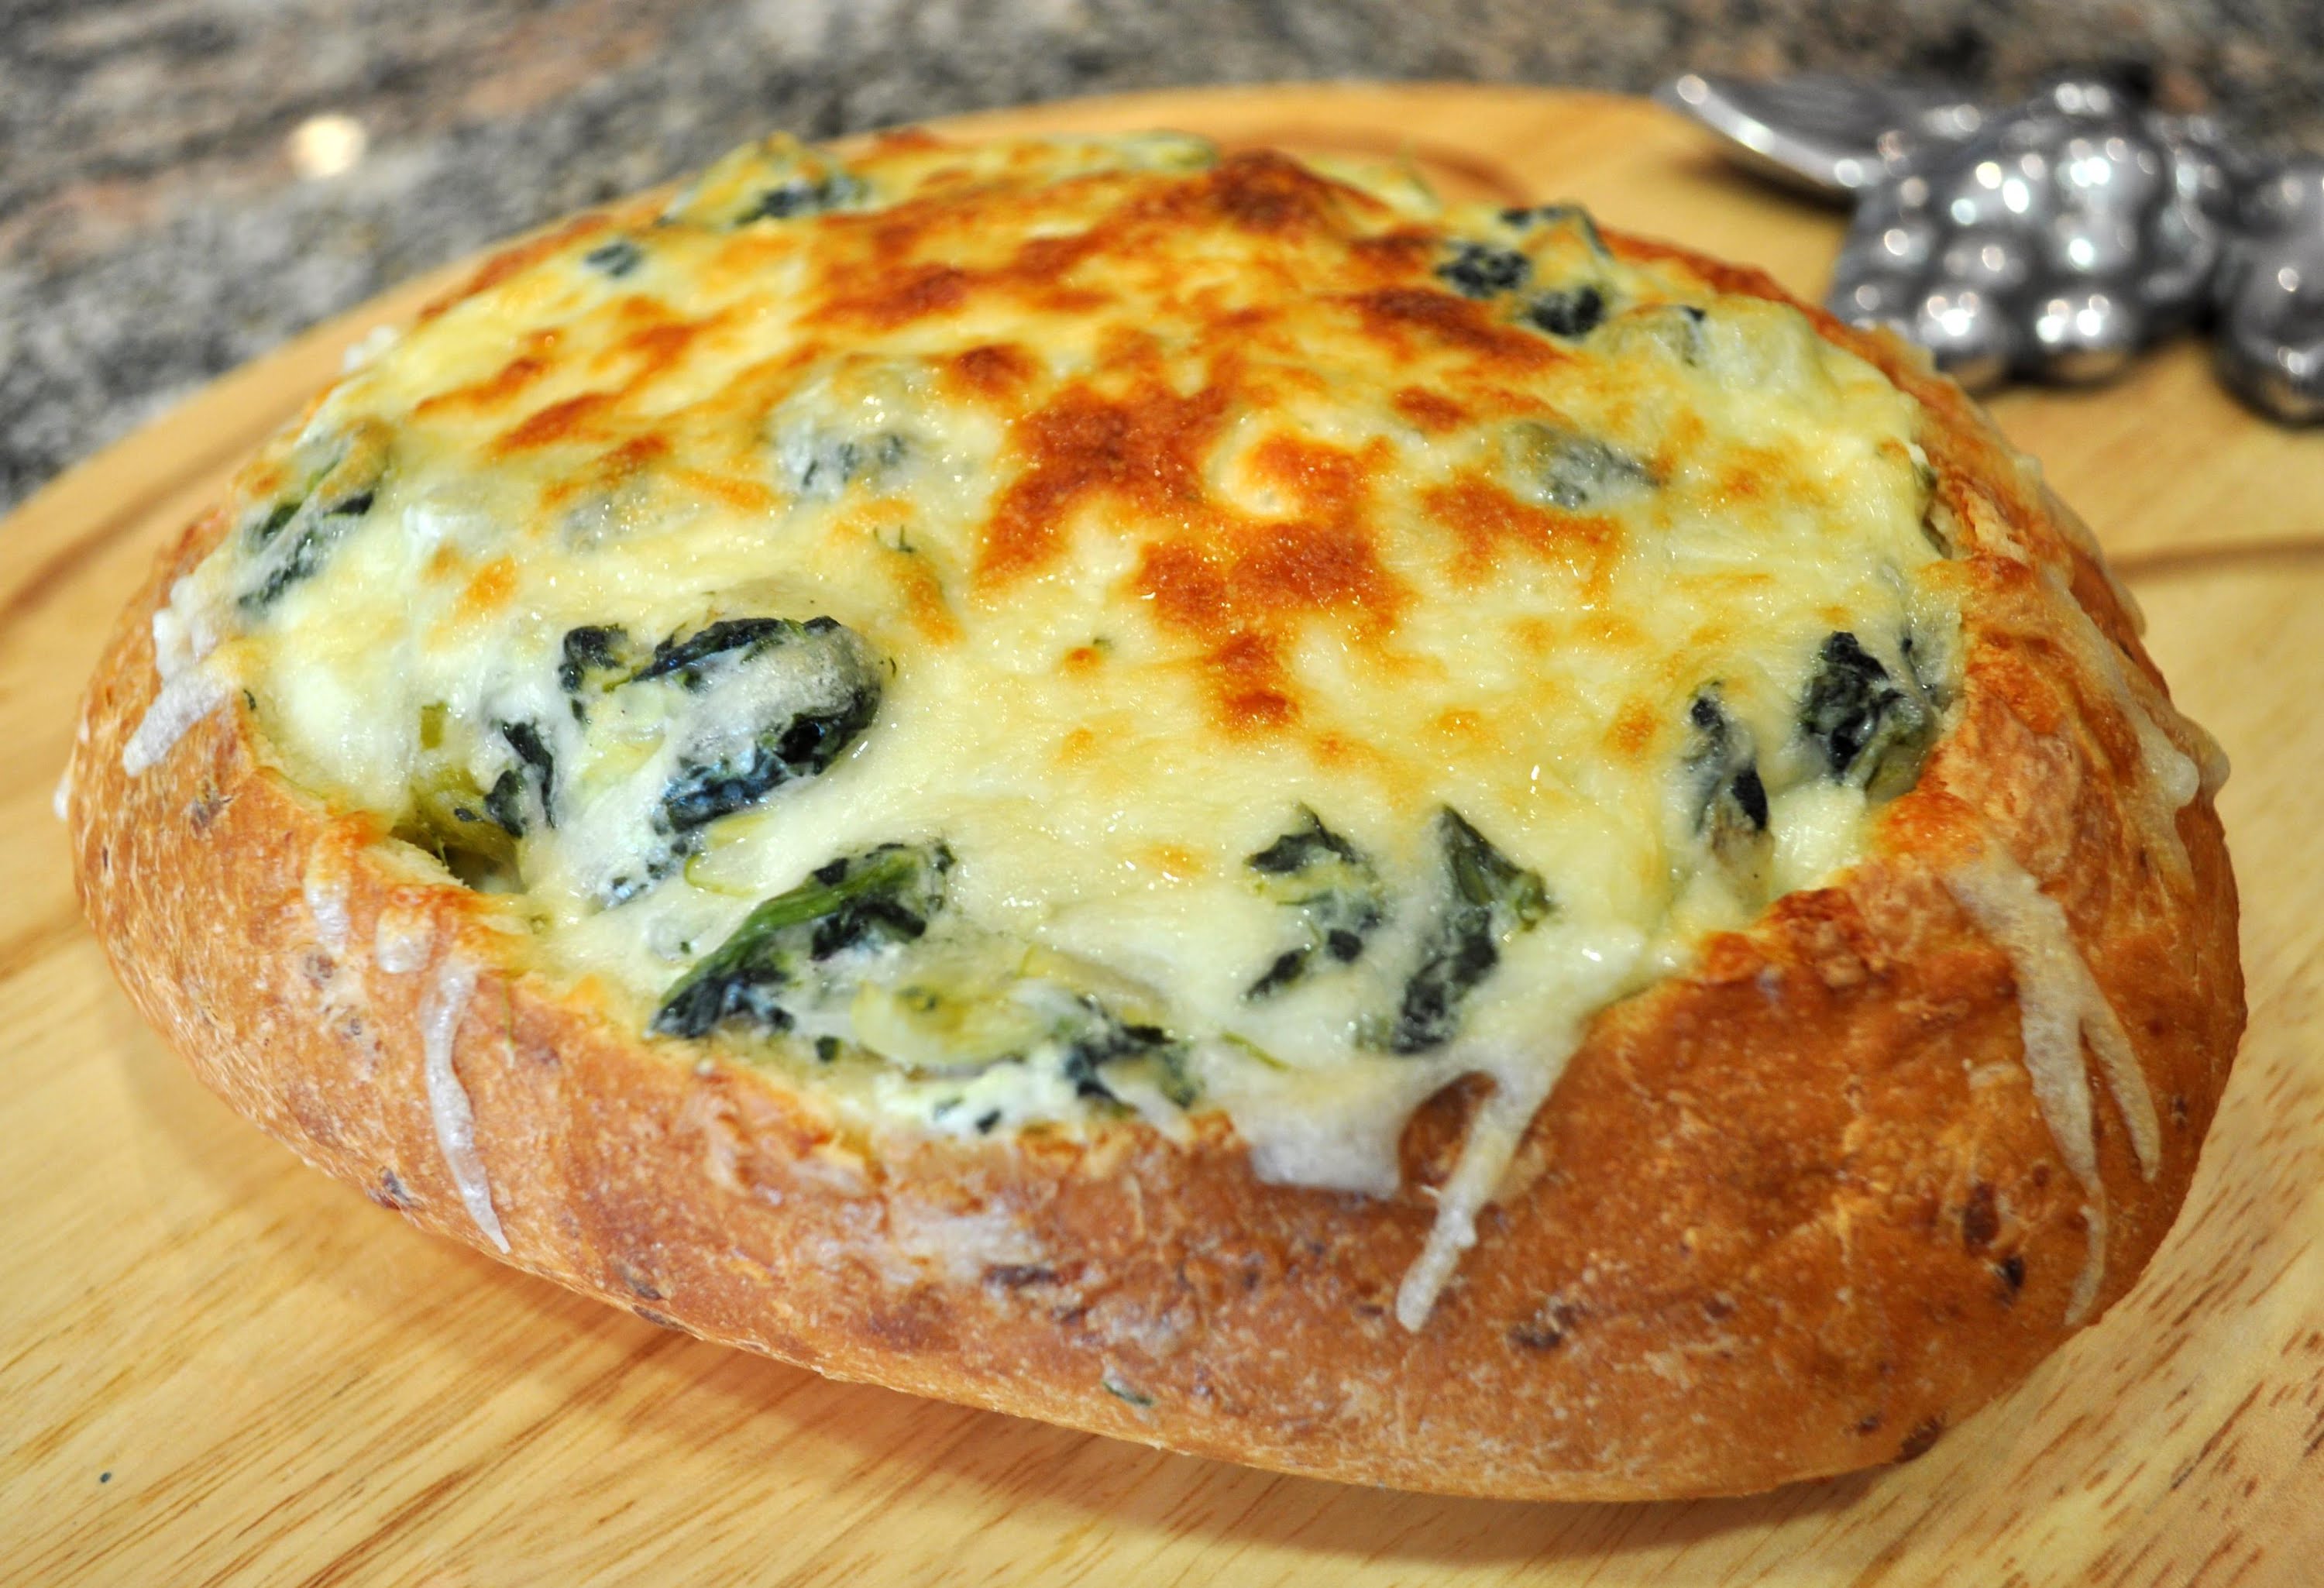
But June didn’t just serve it in a plain bread bowl. June served it in an alligator bread bowl…
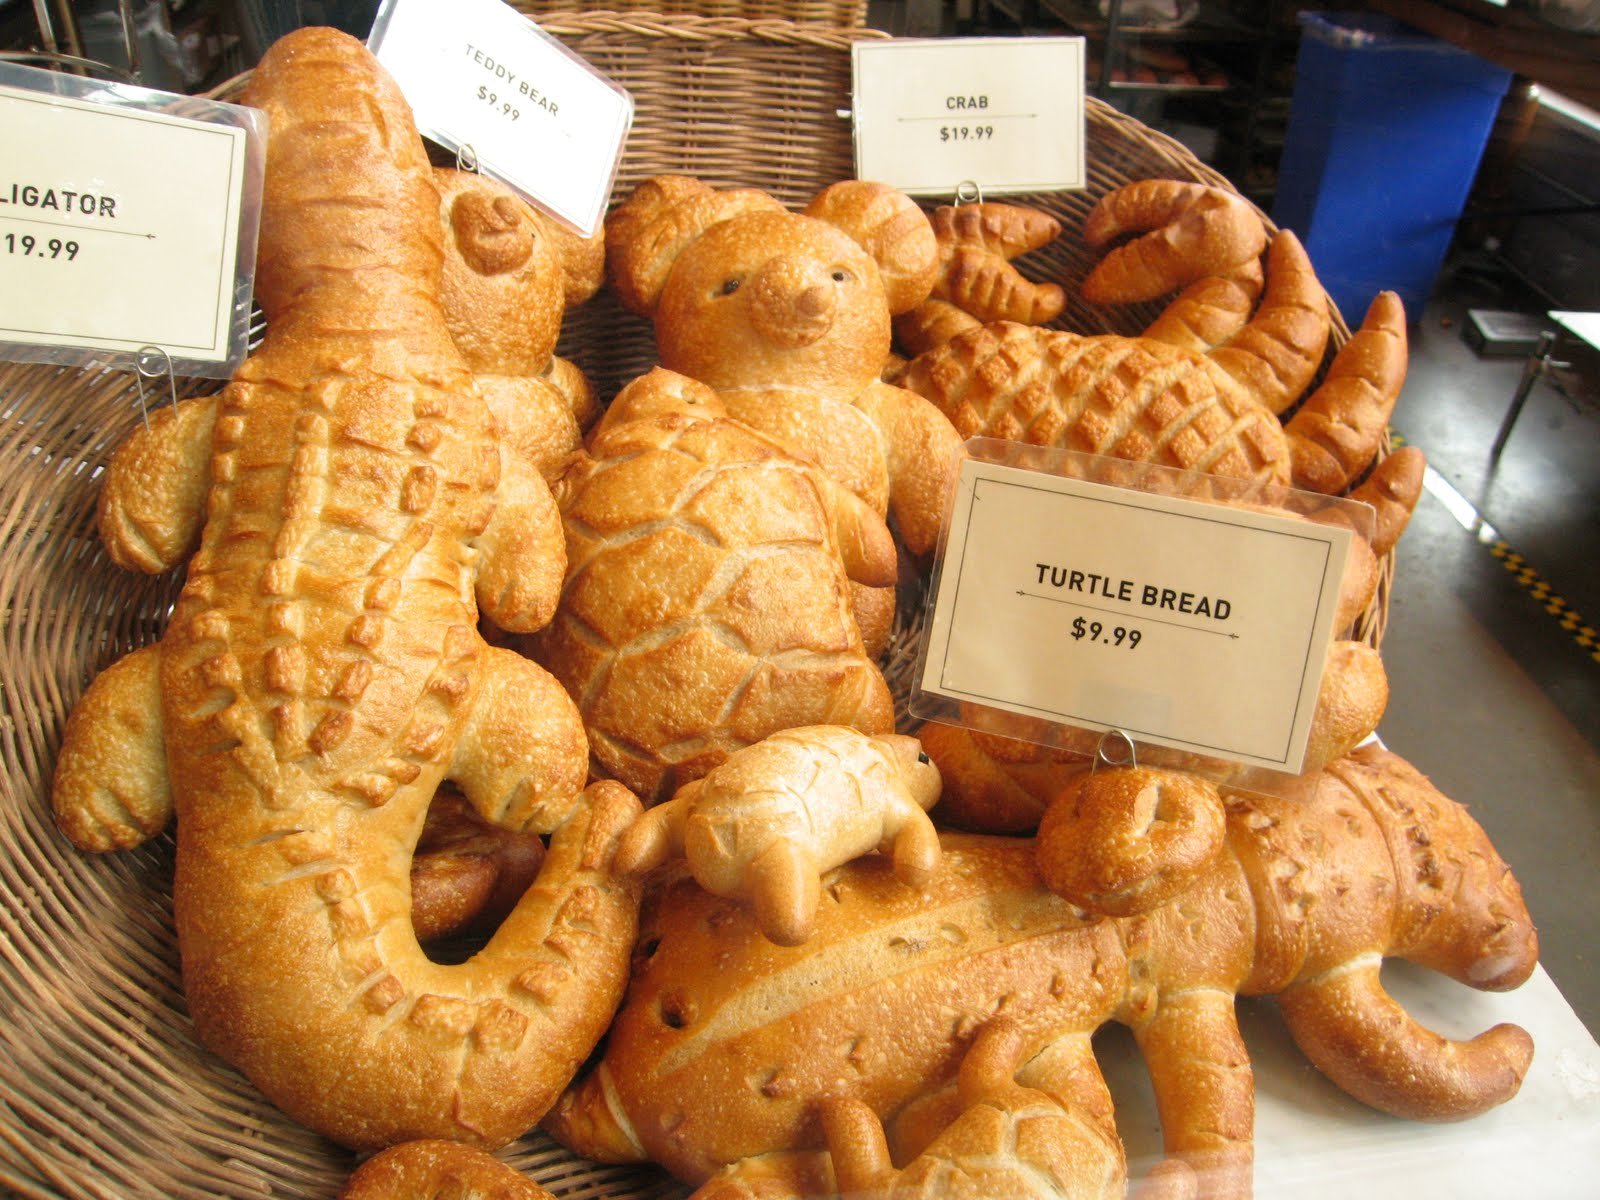
Just because she could.
June wanted her guests happy. She was one of the most warm and welcoming ladies I have ever had the pleasure of meeting. She embodied one of my favorite quotes from “Blast from the Past” (a cute move, rated PG13):
“the short and simple definition of a lady or a gentleman is someone who always tries to make sure the people around him or her are as comfortable as possible.”
Yep – the only way to roll.
Turns out a large part of June’s definition of happy and comfortable included ‘well fed’. And June didn’t stop with hor d’oeuvres. She would set a fantastic five to seven course meal on the table for dinner (reminds me of mom) including wonderful briskets and fruit salads and soft, fluffy homemade rolls. But the ALL TIME BEST THING June made was her Creamy Potato Casserole. She served it the first time we were there for dinner. I took a helping to be polite, OK – because I LOVE potatoes, and WOW. It was nothing fancy, but it sure was delicious. So I asked for seconds. And then, when all eight other people at the table were more than done eating, I took a third helping. And then – I begged for the recipe. And you know what? It’s incredibly simple. Just the combination of these basic items is all it takes.
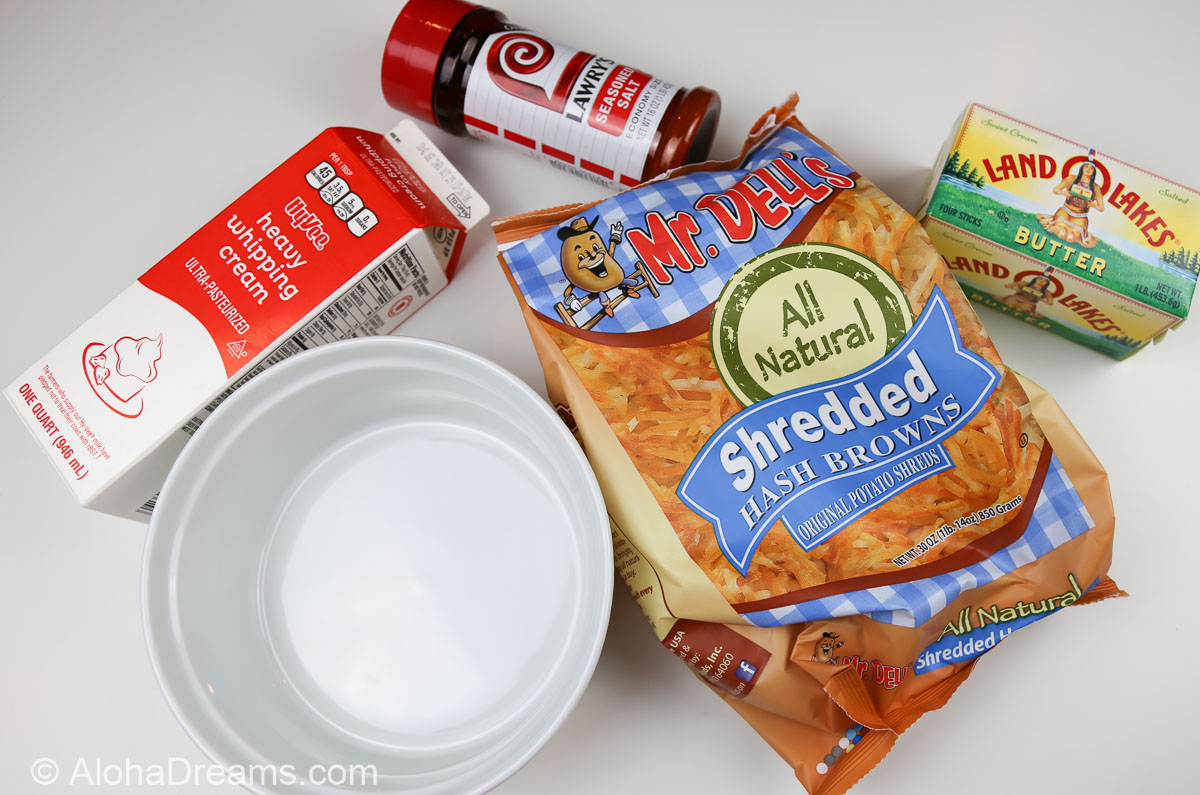
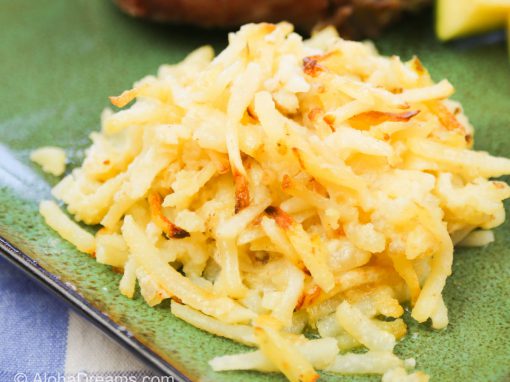
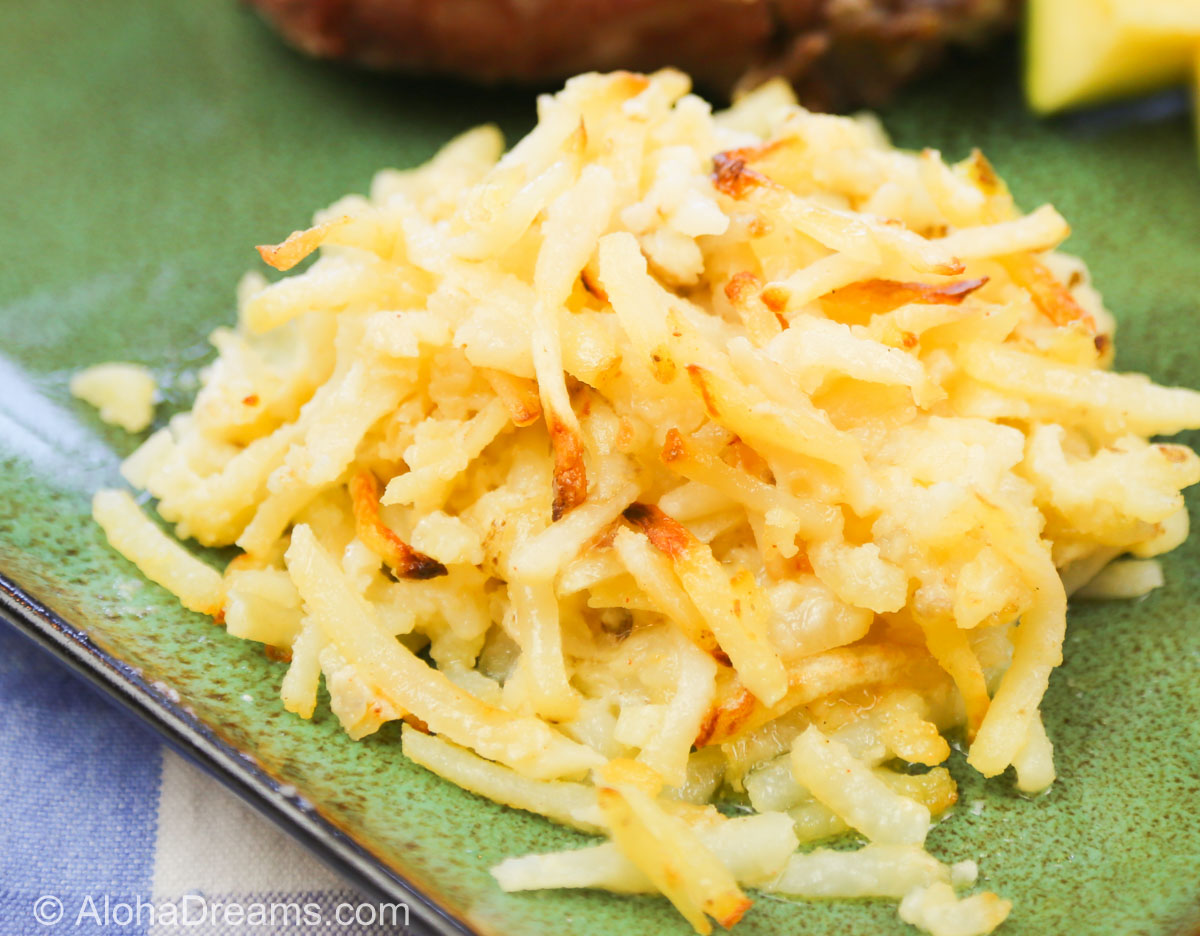
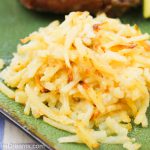
You’re basically layering hash browns (gotta be Mr. Dells!), butter and Lawry’s Seasoned Salt …
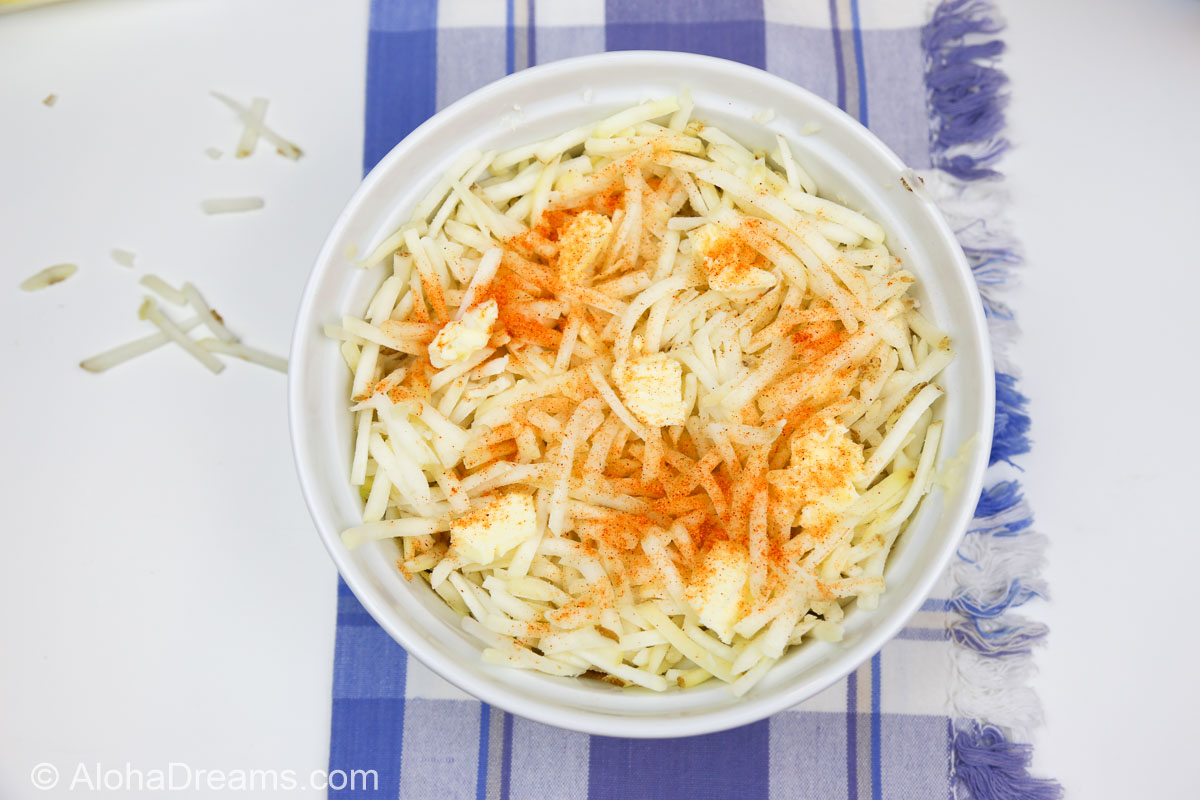
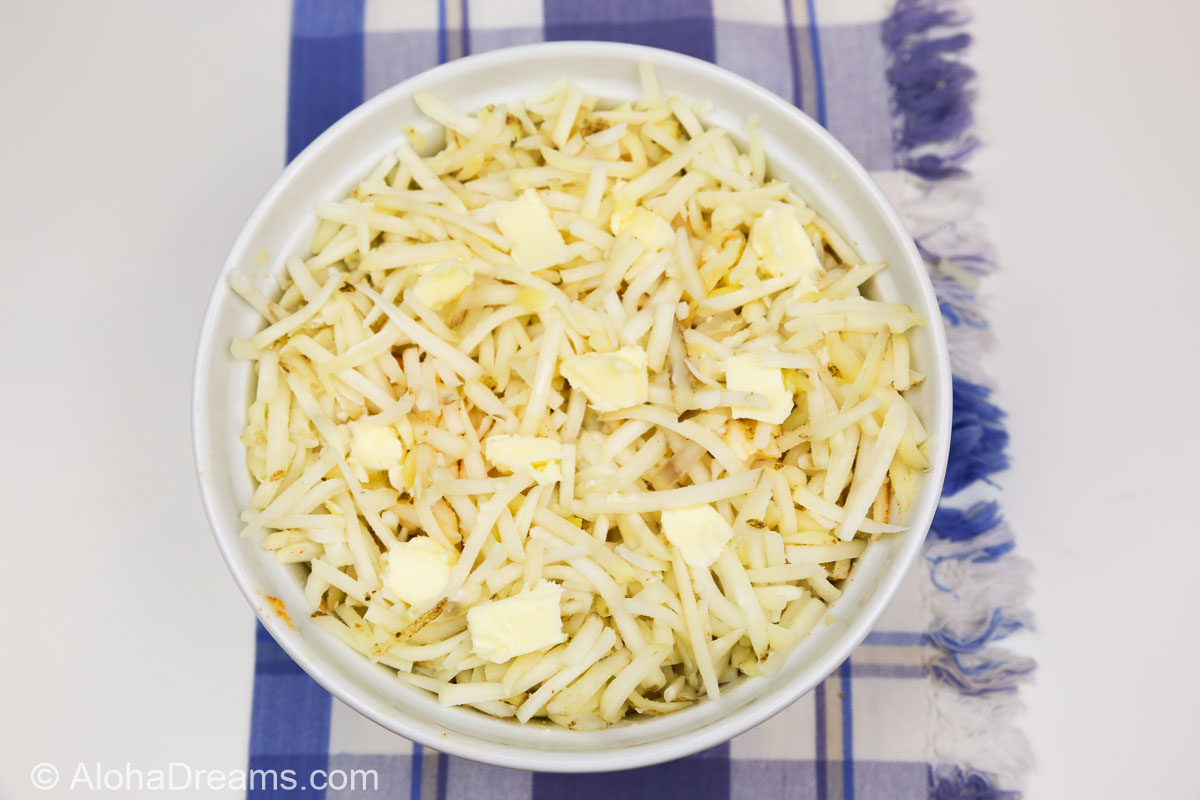
Then you’re dotting the final layer with butter…
…pouring cream over the whole thing and baking it until the potatoes are tender and golden brown.
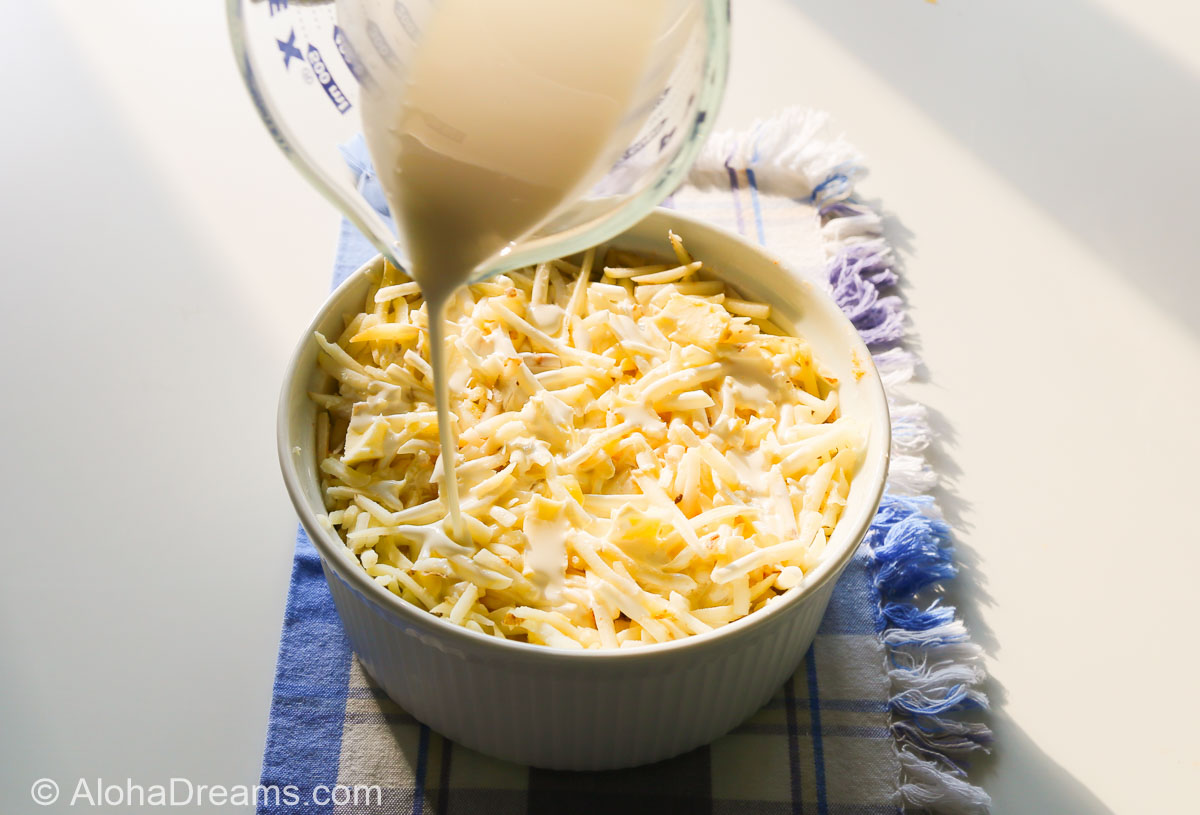
That’s it. But, man is it good. The potatoes soak up all the buttery, creamy goodness and the end result is much more than the sum of its parts.
Here it is for a dinner I just made for some business associates who were in town for several days (can’t have ’em eating restaurant food). It’s a wonderful make ahead dish. Assemble it the night before serving, refrigerate it and you’re ready to go. It was perfect with a grilled KC Strip steak and some broiled Parmesan zucchini sticks.
Enjoy.
GREAT make ahead potato dish. Better than mashed!
Grease a 2 quart casserole dish with 1 tablespoon butter
¼ of the potatoes
Dot with 1 tablespoon butter
Sprinkle all over with ½ teaspoon Lowry’s Season Salt
Sprinkle all over with ½ teaspoon salt
Finish with remaining potatoes
When ready to serve, preheat oven to 325 degrees
Bake in center of oven uncovered for an hour to an hour and 15 minutes or until potatoes are tender.
Move potatoes to top oven shelf and turn on broiler. Let potatoes sit under the broiler, watching them contently, until top is crisp and a golden brown.
Remove and serve.
GREAT make ahead potato dish. Better than mashed! .
The page you requested could not be found. Try refining your search, or use the navigation above to locate the post.

I'm so glad you dropped by. I'm Betsy. Here you'll find my favorite fabulous, trusted recipes - everything from delicious, quick meals for your family to wonderful classics made easy.
I'm also here to help you with large group recipes from 20 to 200. So next opportunity you get to cook for a large group - Say 'Yes!' Then relax. I've got your back.
Ever wished you could build your dream home? How about building your dream home in a tropical paradise? Join me, room by room, as we design and build a fabulous dream home in Hawaii!


If you're planning a vacation to Hawaii, I've got you covered on the very best places to go! From many amazing restaurants to incredible adventures in the surf and on land, this is your go-to source for unique and exciting things to do on the Big Island of Hawaii. Or just take a Virtual Vacation!! Let's go!
If you've been asked to cook for a large group activity, be it a Girl's Camp or a Graduation Party, say Yes! I'm here to help. From Menus to Game Plans to Recipes, I'll help you keep on schedule and turn out amazingly delicious food if you're cooking for a crowd! My recipes are tested and trusted. Let's cook!
Ever wished you could build your dream home? Like amazing house design and home building ideas? Me too! Join me as I design and build a home on the Big Island of Hawaii. Follow along while I design each room. Enjoy a front row seat for the entire amazing construction process. Let's play!
Would you like to throw a Luau, but not sure where to start? Want to know how to build a tiki bar and roast a pig? Here's everything you need to have a luau. How about a Christmas Feast or even a fabulous dinner for your neighborhood supper club? You've come to the right place. Let's party!
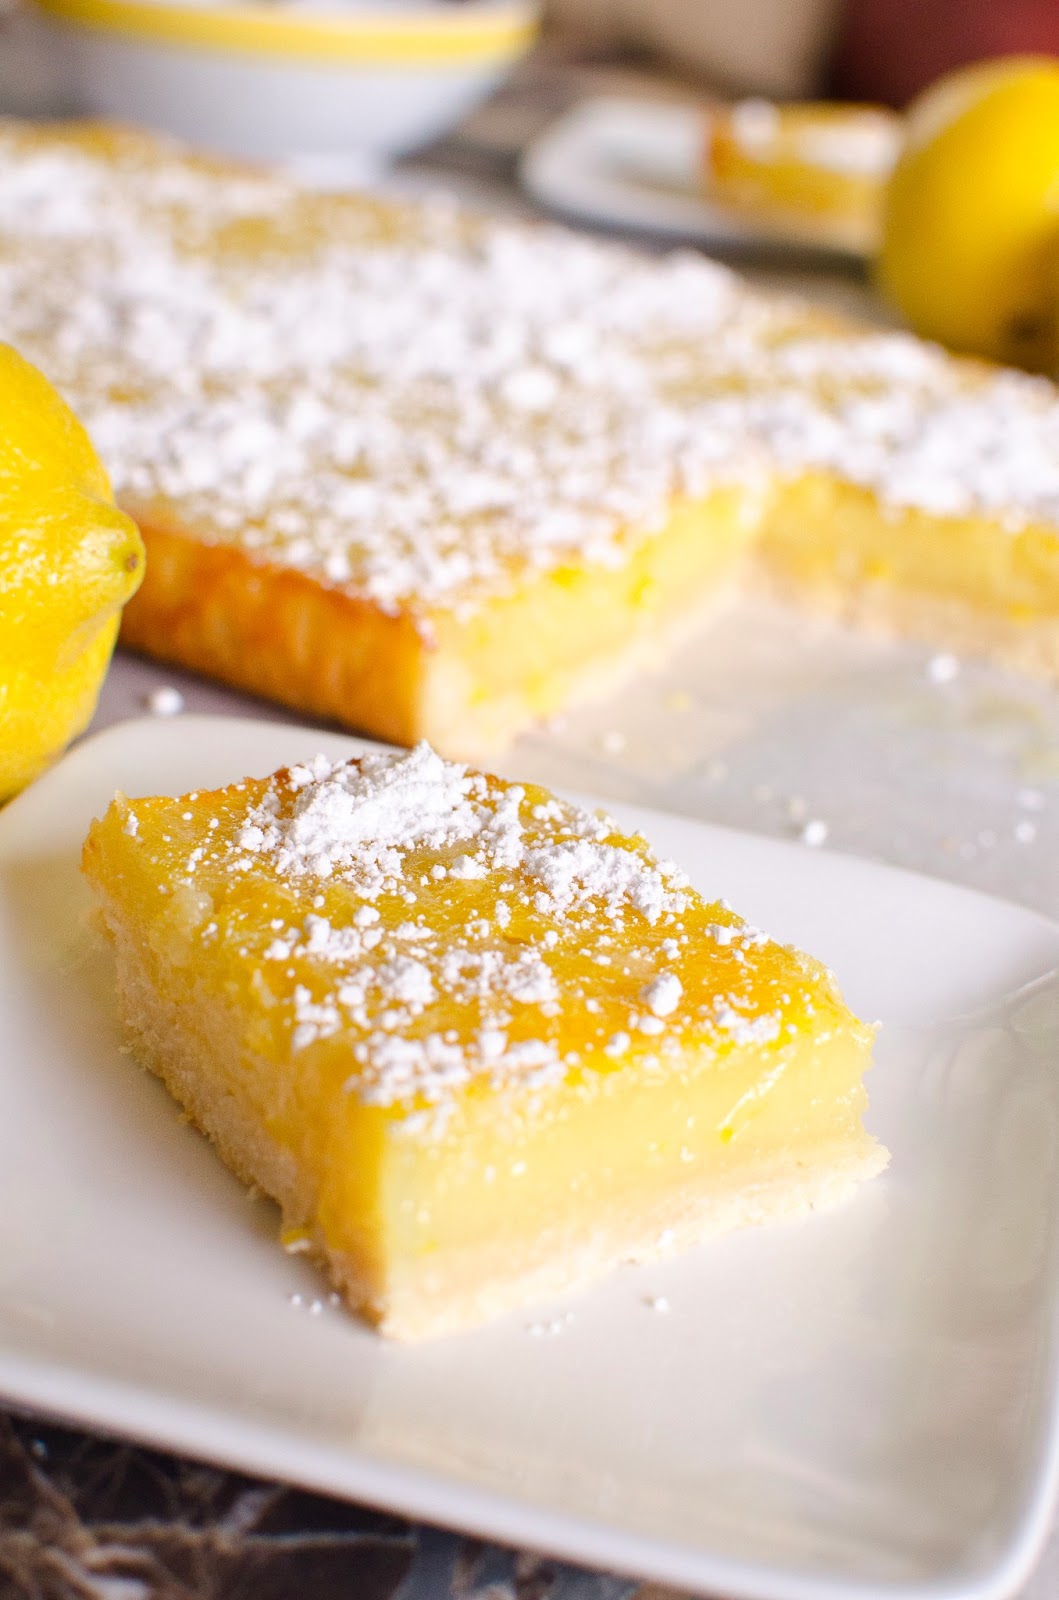
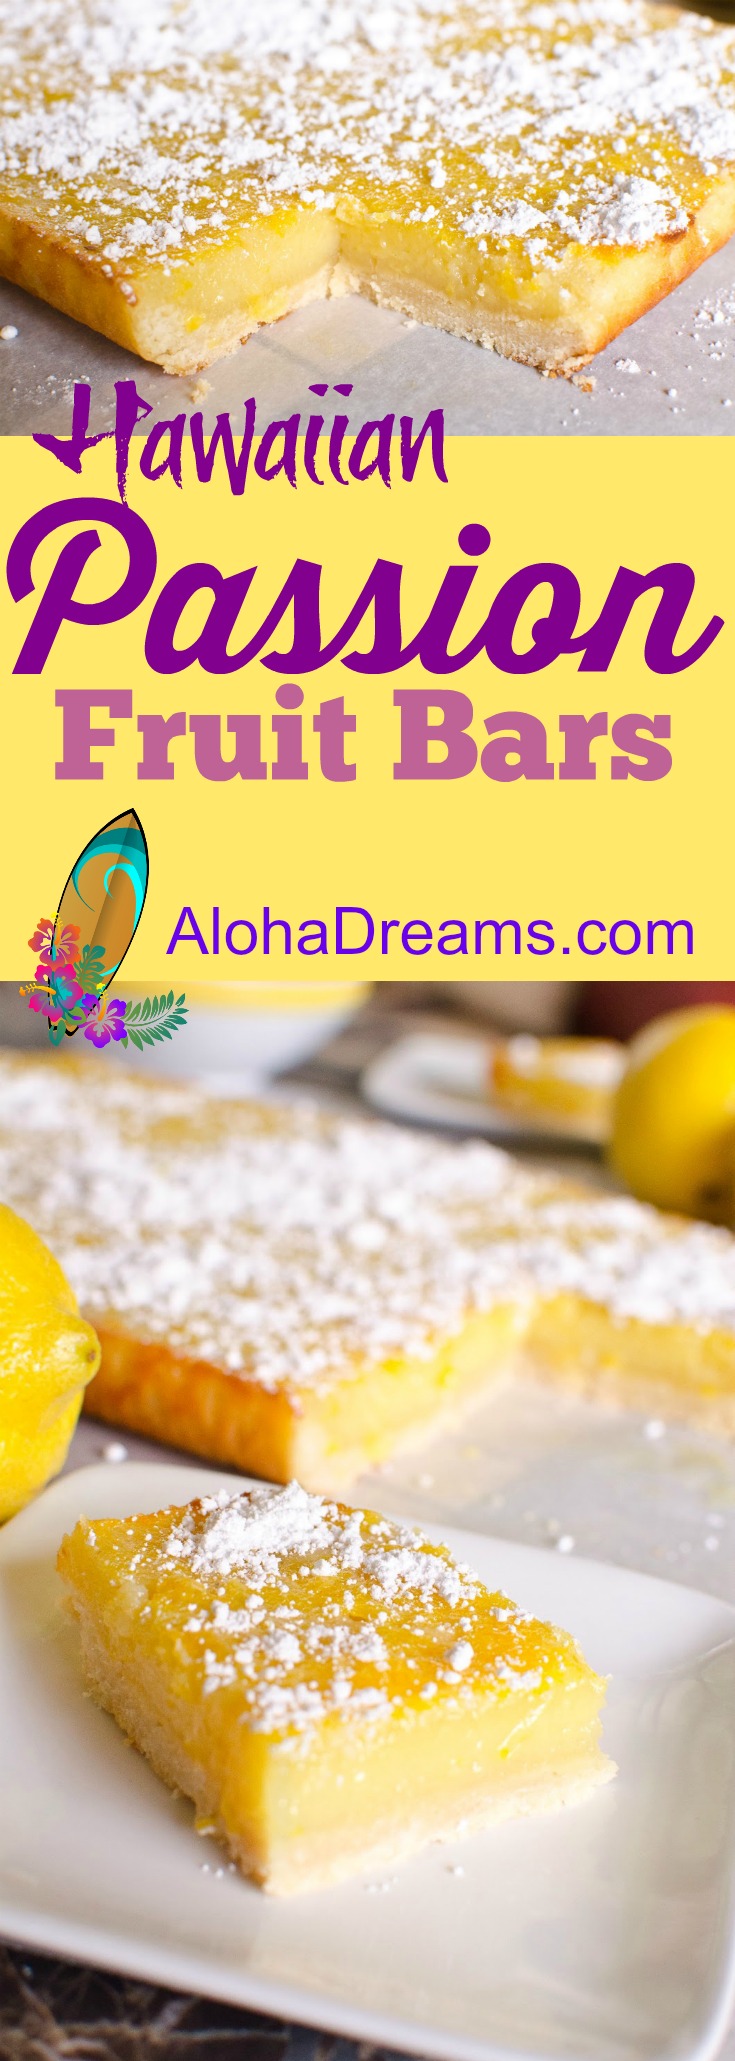
Raise your hands if you like lemon bars.
Me too!
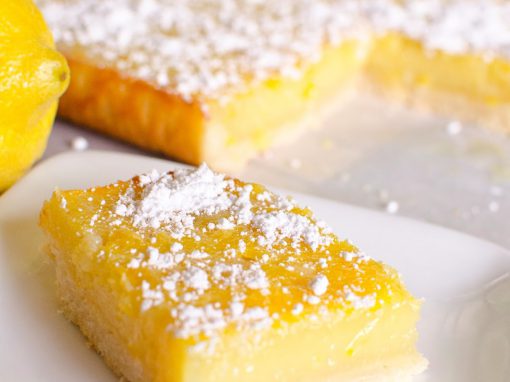
But some people find them a bit too tart for their dessert tastes. Welcome to the solution. Passion Fruit Bars are still a tangy treat – but the sweet kick from the passion fruit juice off-sets the tang wonderfully and it all goes perfectly with the buttery shortbread crust!
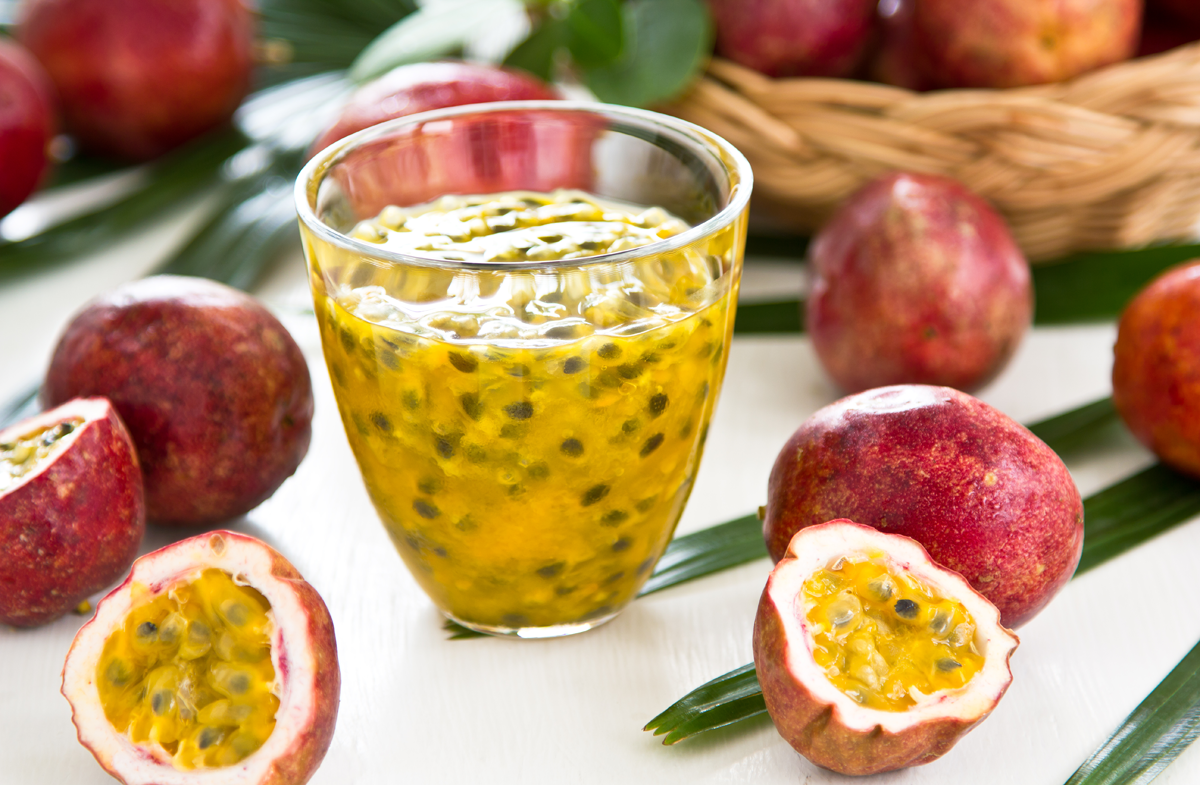
In case you’ve never seen one, this is a passion fruit. (They’re also called Lilikoi (pron. lily-koi). I’ve always thought that was a pretty word.)
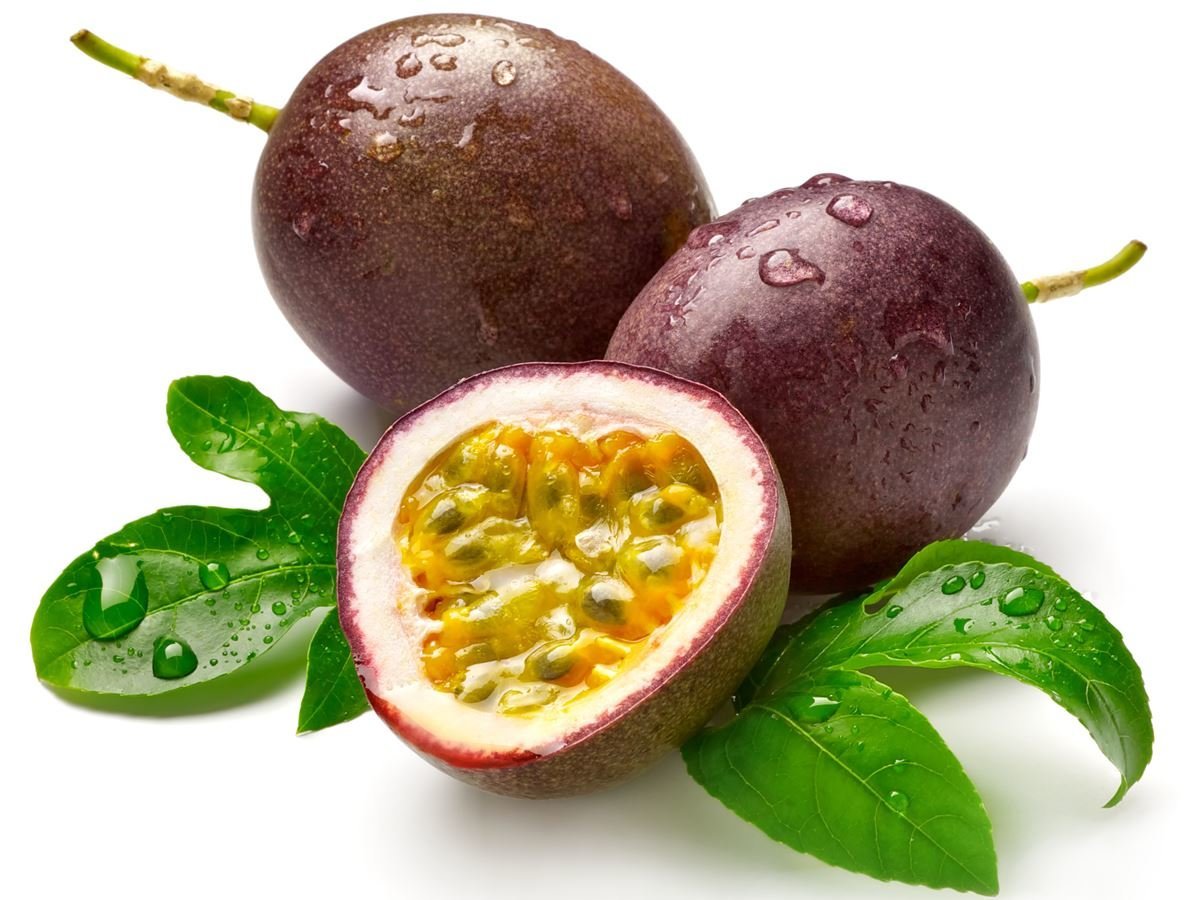
You can remove the pulp and seeds and make a WONDERFUL tasting puree.
….or you can buy it here if you don’t happen to have any growing in your backyard.
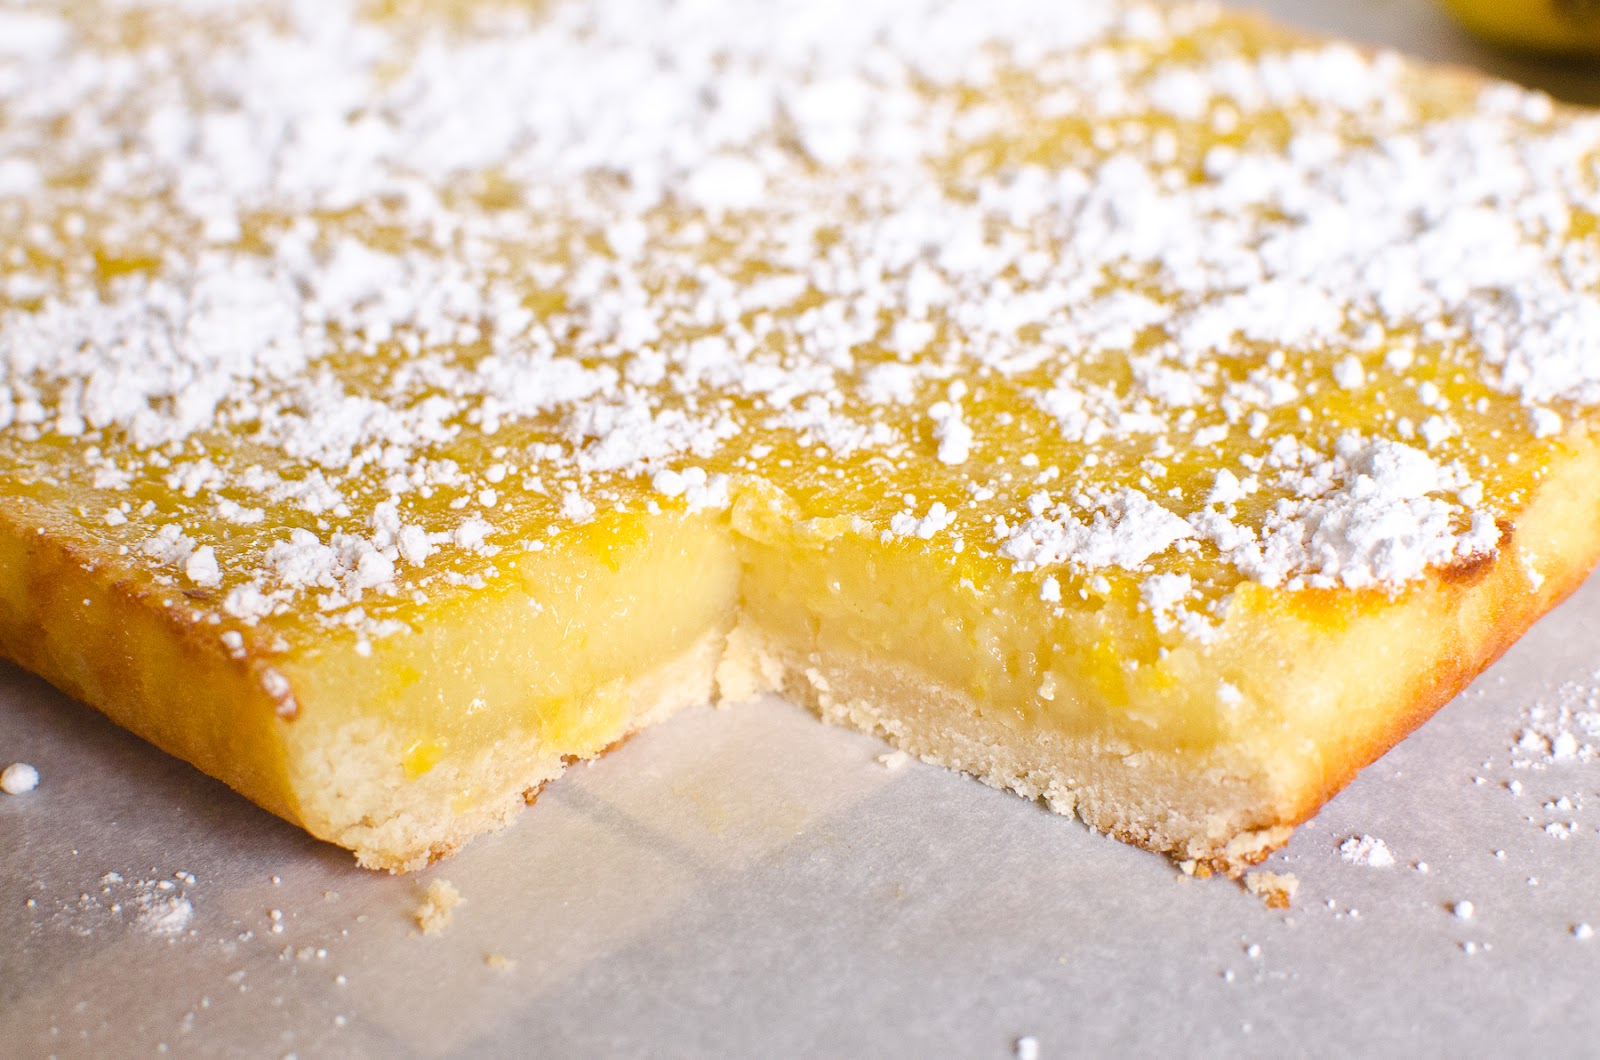
The base is a super-crispy buttery crust that I also used for my Pineapple Cheesecake Bars. It comes together in a snap and doesn’t require any chilling. It’s sturdy, sets easily, cuts cleanly and makes the perfect filling-to-crust ratio.
Cut in 3 rows by 6 rows to serve 18.
An AlohaDreams.com recipe
Preheat oven to 350 degrees. Line the bottom and sides of a 9 x 13 baking pan with aluminum foil or parchment paper, leaving enough overhang on all sides to lift later. Set aside.
In a medium bowl stir the melted butter, granulated sugar, vanilla, and salt. Add the flour and stir until everything is combined. Press the mixture evenly into the prepared baking pan.
Bake at 350 degrees about 15 minutes or until edges are lightly browned. While the crust is baking, prepare the passion fruit filling.
Cut into 4 rows by 6 rows to make 24 bars.
An AlohaDreams.com recipe
Preheat oven to 350 degrees. Line the bottom and sides of 13 x 18 inch baking pan with aluminum foil or parchment paper, leaving enough overhang on all sides to lift later. Set aside.
Bake at 350 degrees about 15 minutes or until edges are lightly browned. While the crust is baking, prepare the passion fruit filling.
When ready to serve, remove the bars from the pan using the parchment or foil to lift. Cut into 4 rows by 6 rows for 24 bars, wiping the knife between cuts. Sprinkle the top with powdered sugar and serving.
I'm so glad you dropped by. I'm Betsy. Here you'll find my favorite fabulous, trusted recipes - everything from delicious, quick meals for your family to wonderful classics made easy.
I'm also here to help you with large group recipes from 20 to 200. So next opportunity you get to cook for a large group - Say 'Yes!' Then relax. I've got your back.
Ever wished you could build your dream home? How about building your dream home in a tropical paradise? Join me, room by room, as we design and build a fabulous dream home in Hawaii!
If you're planning a vacation to Hawaii, I've got you covered on the very best places to go! From many amazing restaurants to incredible adventures in the surf and on land, this is your go-to source for unique and exciting things to do on the Big Island of Hawaii. Or just take a Virtual Vacation!! Let's go!
If you've been asked to cook for a large group activity, be it a Girl's Camp or a Graduation Party, say Yes! I'm here to help. From Menus to Game Plans to Recipes, I'll help you keep on schedule and turn out amazingly delicious food if you're cooking for a crowd! My recipes are tested and trusted. Let's cook!
Ever wished you could build your dream home? Like amazing house design and home building ideas? Me too! Join me as I design and build a home on the Big Island of Hawaii. Follow along while I design each room. Enjoy a front row seat for the entire amazing construction process. Let's play!
Would you like to throw a Luau, but not sure where to start? Want to know how to build a tiki bar and roast a pig? Here's everything you need to have a luau. How about a Christmas Feast or even a fabulous dinner for your neighborhood supper club? You've come to the right place. Let's party!
 Aloha Dreams
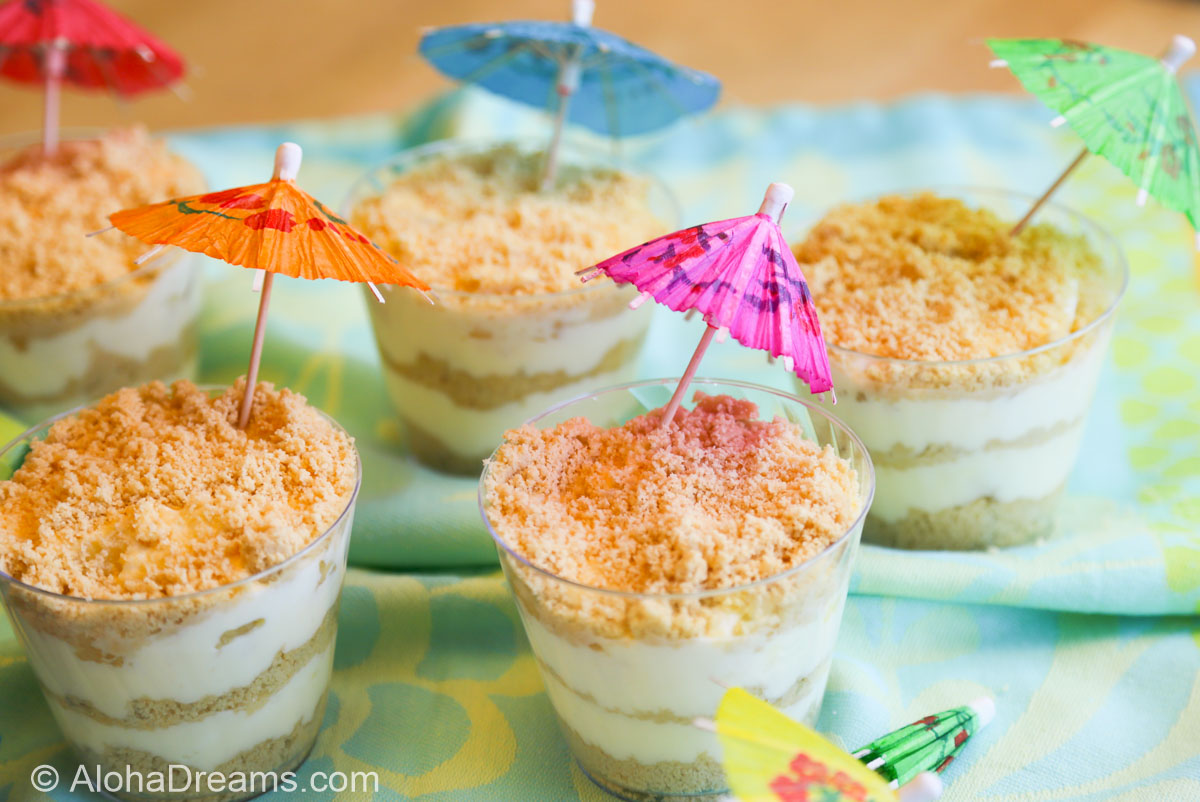
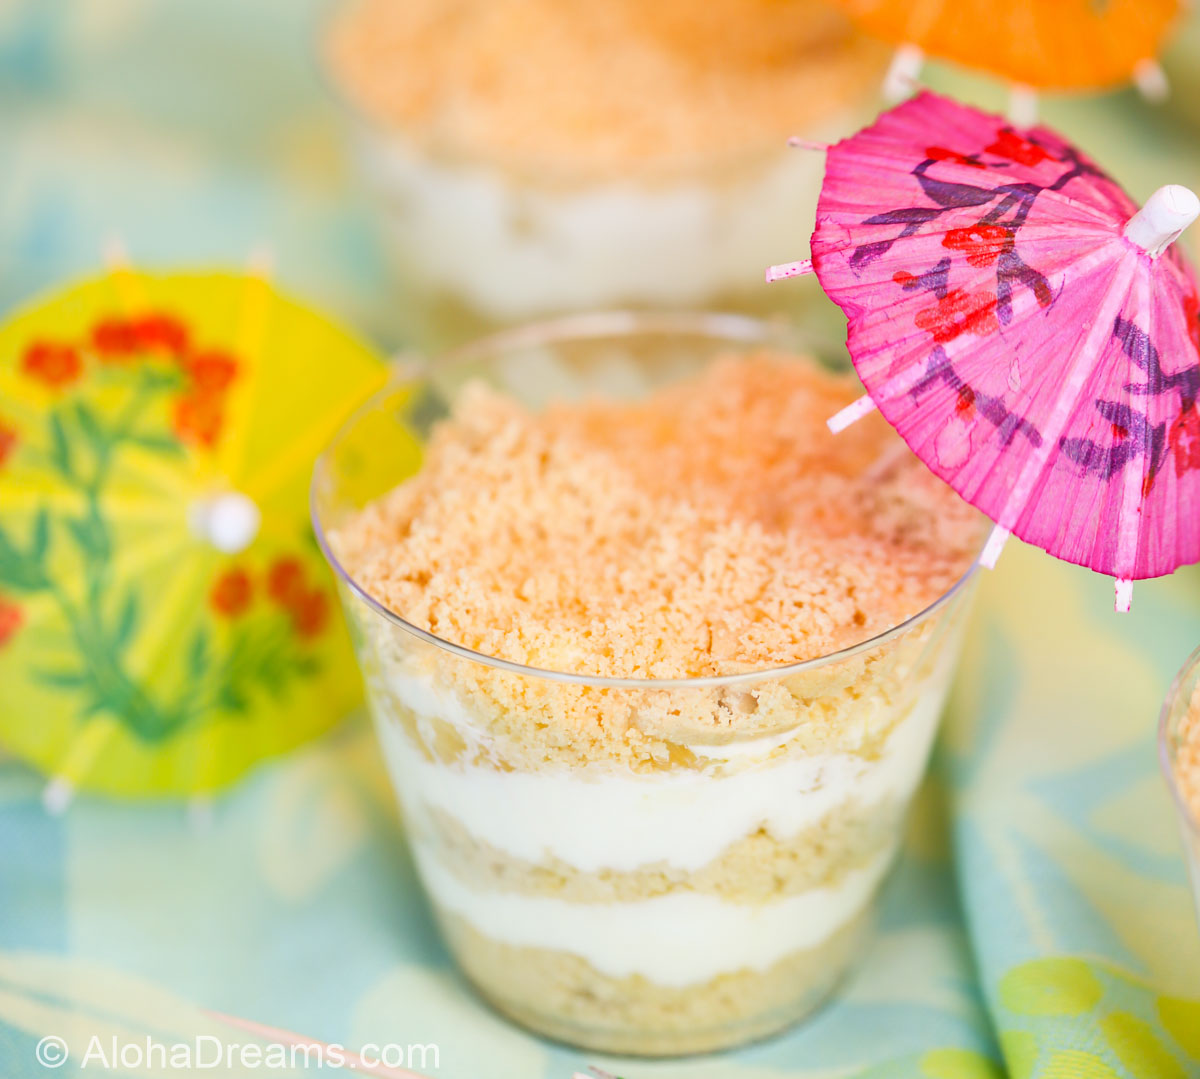
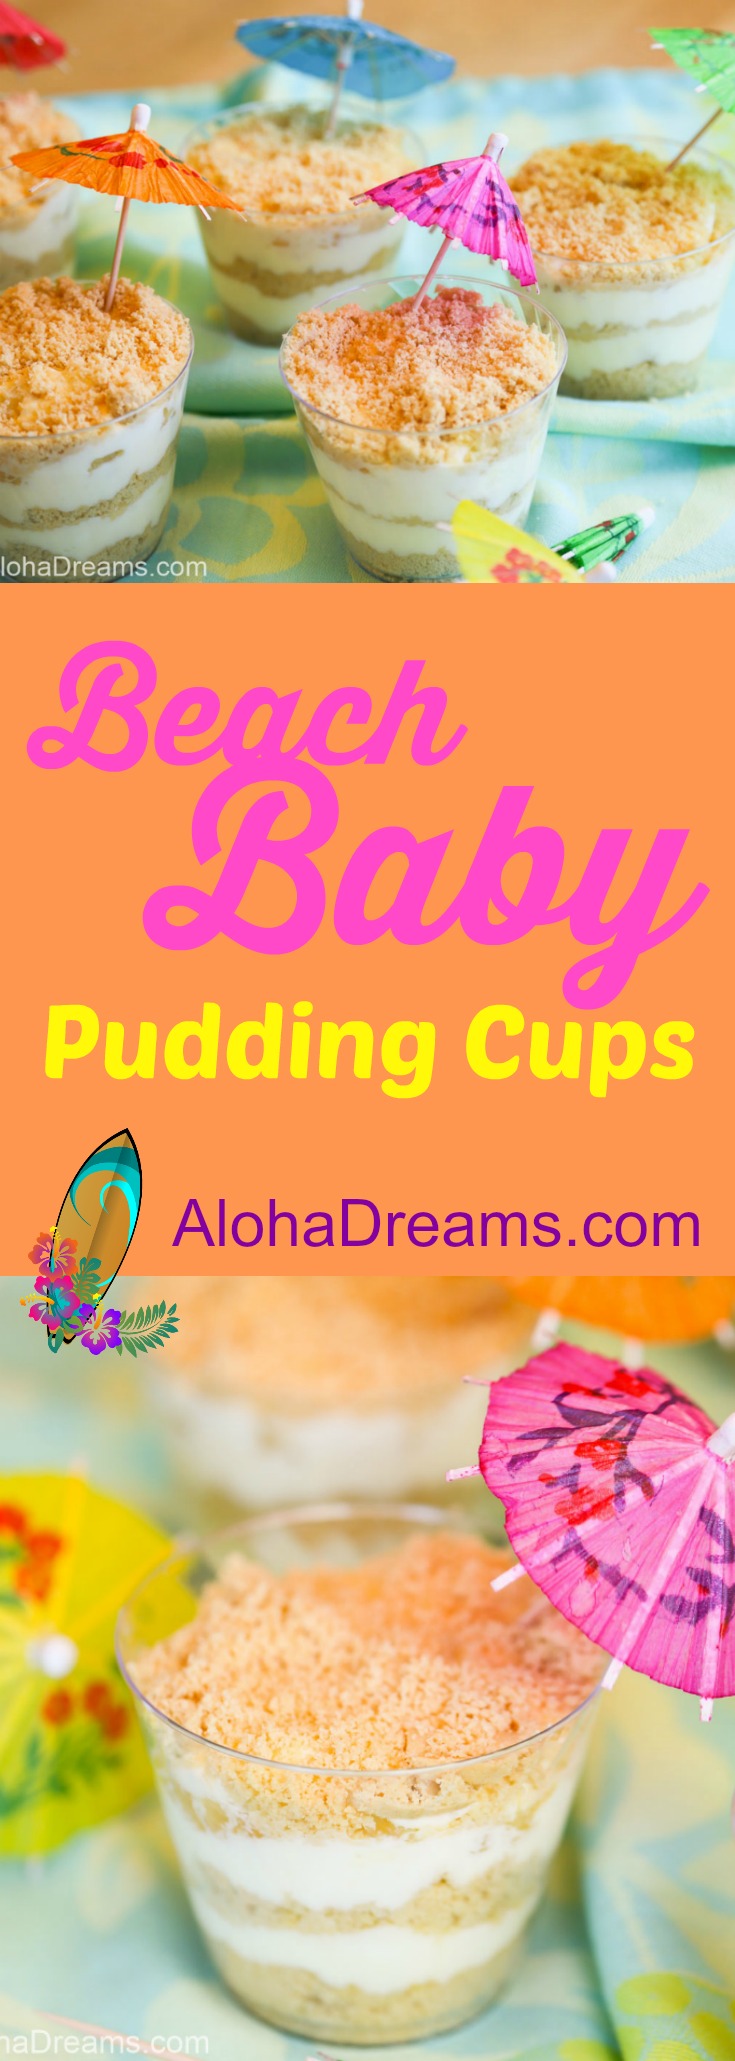
Aren’t these darling?
These Beach Baby Coconut Pudding Cups are everything great about the islands: creamy coconut pudding, sweet juicy pineapple and the “sand” is crushed Golden Oreo’s. I’ve made them multiple times for kids and the kids LOVE ‘EM (not to mention the adults). You will too since they are so easy to make. They are one of the 6 different desserts we’re having at our luau this weekend, including Hawaiian Pineapple Cheesecake Bars and Maui Flip Flops !!
How fun is that??
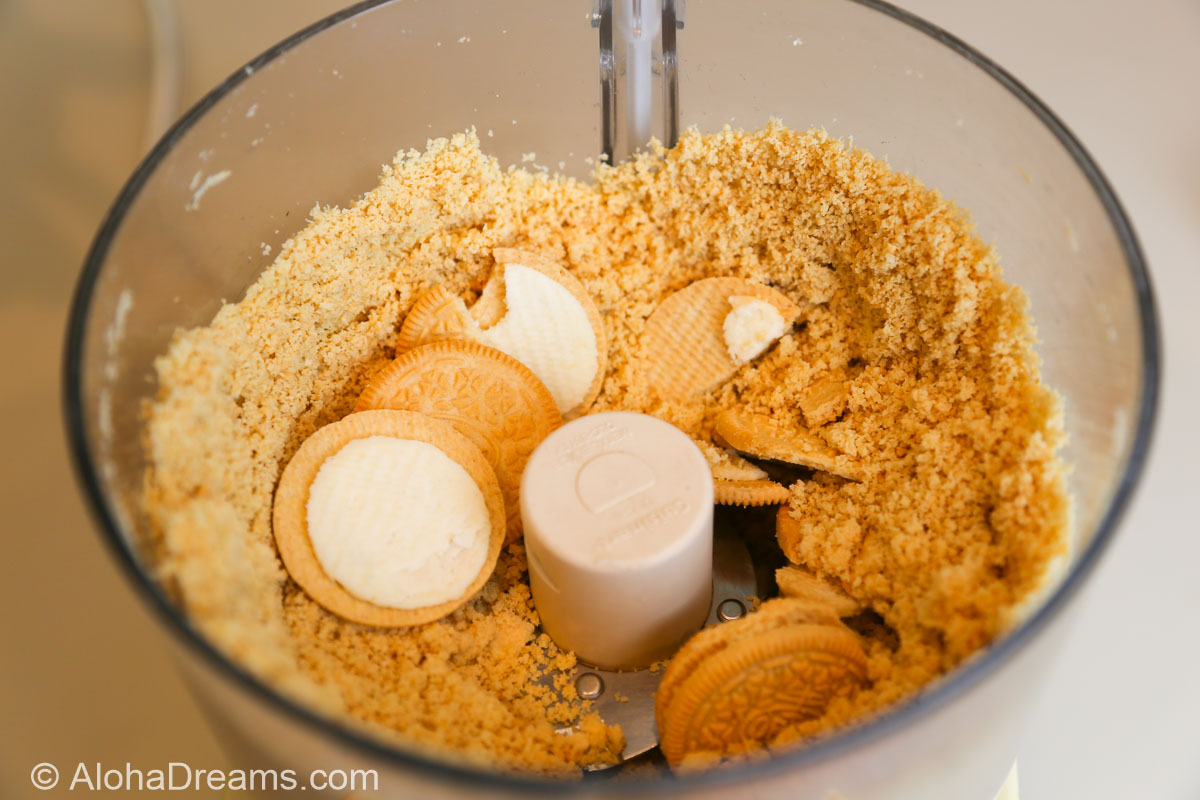
If you’ve seen recipes calling for an Oreo cookie crust you may have been like me and wondered if the recipe called for the whole cookie or just the 2 outside cookie “shells” without the creamy filling. And the answer is…..the whole cookie! Simply put the entire cookie in the food processor. Pulse it until it’s the consistency of sand.
These taste best if made the same day. But you can make them the night before if you’re stretched for time.
Go for it even if you’re not having a luau. The kids EVERYONE will love them!

Makes approximately 12 servings.
An AlohaDreams.com recipe.
Set out cream cheese and butter to soften. (Aloha Tip: to use immediately, you can soften the cream cheese by completely unwrapping it, placing in a microwave safe bowl and microwaving it for 10 seconds. You can do the same with the butter).
A real kid pleaser for your next party or family dinner.
An AlohaDreams.com recipe.
Set out cream cheese and butter to soften. (Aloha Tip: to use immediately, you can soften the cream cheese by completely unwrapping it, placing in a microwave safe bowl and microwaving it for 10 seconds. You can do the same with the butter.)
Put complete Oreo cookie (both cookie and filling) in the food processor and blend using pluses until they are the texture of sand. Set aside.
In a medium bowl combine cream cheese, butter, and powdered sugar with mixer. Fold in Cool Whip until well combined. In a separate bowl mix pudding mix and milk with a whisk. When well combined, add pudding to cream cheese mixture. Spoon the pudding cream cheese mixture into a 1 gallon bag. Place bag in a bowl and refrigerate for 15 minutes to get thicker.
Drain the pineapple in a strainer for 10 minutes, pressing down to remove the extra juice).
MAKE AHEAD NOTE: Can be made to this point up to 1 day ahead. Cover the Oreo crumbs and refrigerate the pineapple and cream cheese mixtures each in a separate covered container.
To assemble, place several tablespoons of Oreo crumbs in each tumbler. Cut off the corner of the baggie containing the pudding mixture. Add about ½ inch of the cream cheese pudding mixture to each tumbler. Gently tap the tumblers on the counter to displace any air bubbles if necessary. Add a thin layer of the crushed pineapple. Add another thin layer of Oreo Crumbs. Add a second thin layer of the pudding mixture followed with a second thin layer of the crushed pineapple. Top off with a sprinkling of the Oreo crumbs and a drink umbrella.
Refrigerate until ready to serve. Best made the same day, but can be made the night before.
I'm so glad you dropped by. I'm Betsy. Here you'll find my favorite fabulous, trusted recipes - everything from delicious, quick meals for your family to wonderful classics made easy.
I'm also here to help you with large group recipes from 20 to 200. So next opportunity you get to cook for a large group - Say 'Yes!' Then relax. I've got your back.
Ever wished you could build your dream home? How about building your dream home in a tropical paradise? Join me, room by room, as we design and build a fabulous dream home in Hawaii!
If you're planning a vacation to Hawaii, I've got you covered on the very best places to go! From many amazing restaurants to incredible adventures in the surf and on land, this is your go-to source for unique and exciting things to do on the Big Island of Hawaii. Or just take a Virtual Vacation!! Let's go!
If you've been asked to cook for a large group activity, be it a Girl's Camp or a Graduation Party, say Yes! I'm here to help. From Menus to Game Plans to Recipes, I'll help you keep on schedule and turn out amazingly delicious food if you're cooking for a crowd! My recipes are tested and trusted. Let's cook!
Ever wished you could build your dream home? Like amazing house design and home building ideas? Me too! Join me as I design and build a home on the Big Island of Hawaii. Follow along while I design each room. Enjoy a front row seat for the entire amazing construction process. Let's play!
Would you like to throw a Luau, but not sure where to start? Want to know how to build a tiki bar and roast a pig? Here's everything you need to have a luau. How about a Christmas Feast or even a fabulous dinner for your neighborhood supper club? You've come to the right place. Let's party!
 Aloha Dreams

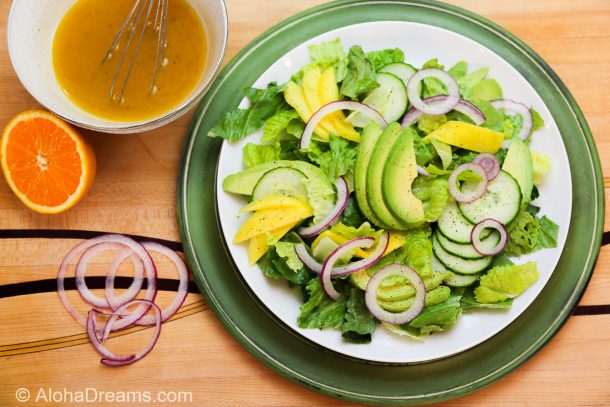
Have you ever been to The Polynesian Cultural Center? If not, you really owe it to yourself to visit it if you’re on Oahu. You’ll enjoy exploring the rich heritage of 6 Pacific Islands. Wander through 42 acres of tropical splendor and enjoy the adventure of traditional hands-on activities.

You can learn to cook the Samoan way, using sticks, stones, leaves, husks, coconut milk, taro, fish, and plenty of patience. Or dine like alii (a hereditary line of rulers) at an authentic Polynesian luau and top it off with the most spectacular evening show in the islands.

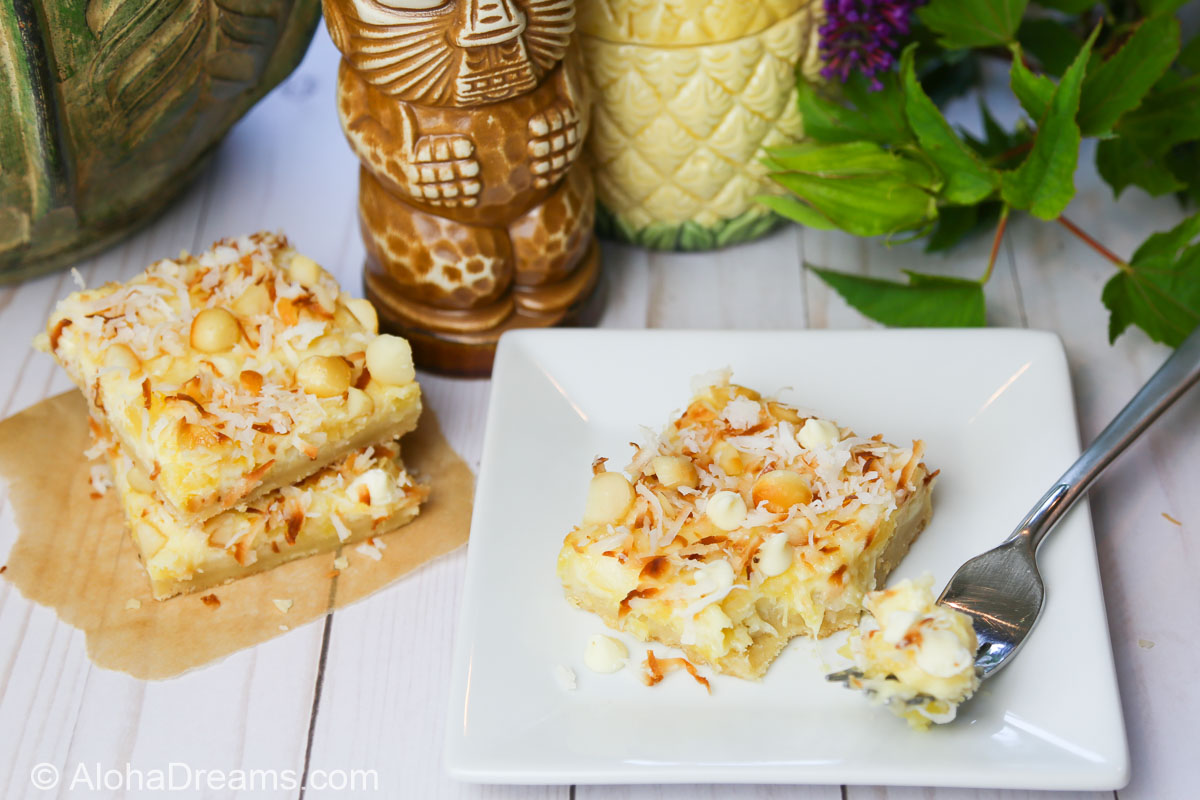
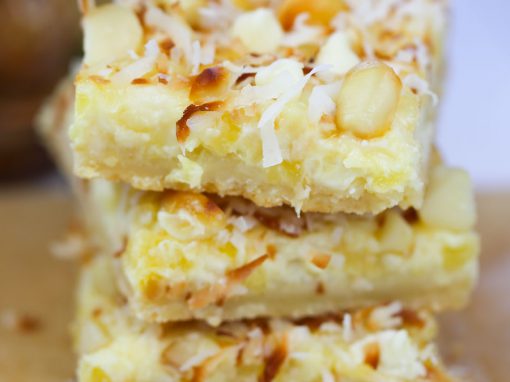
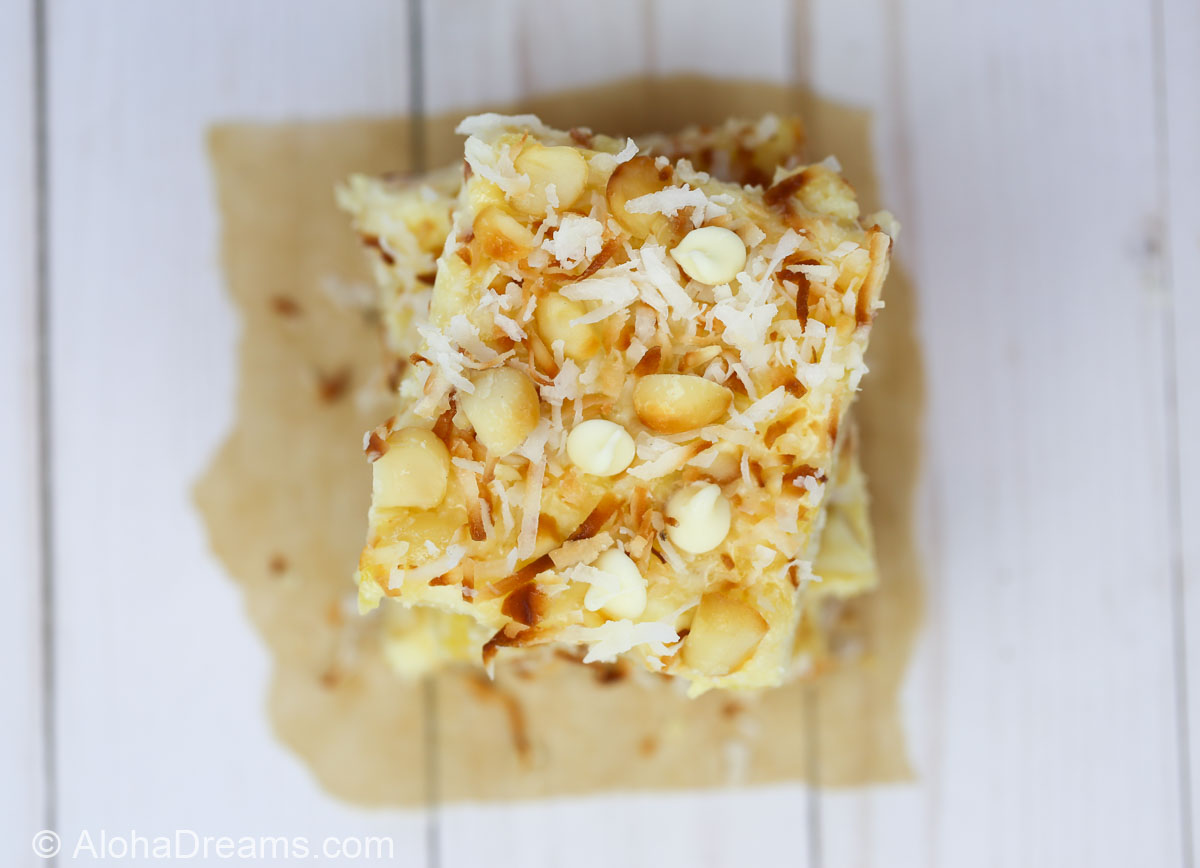
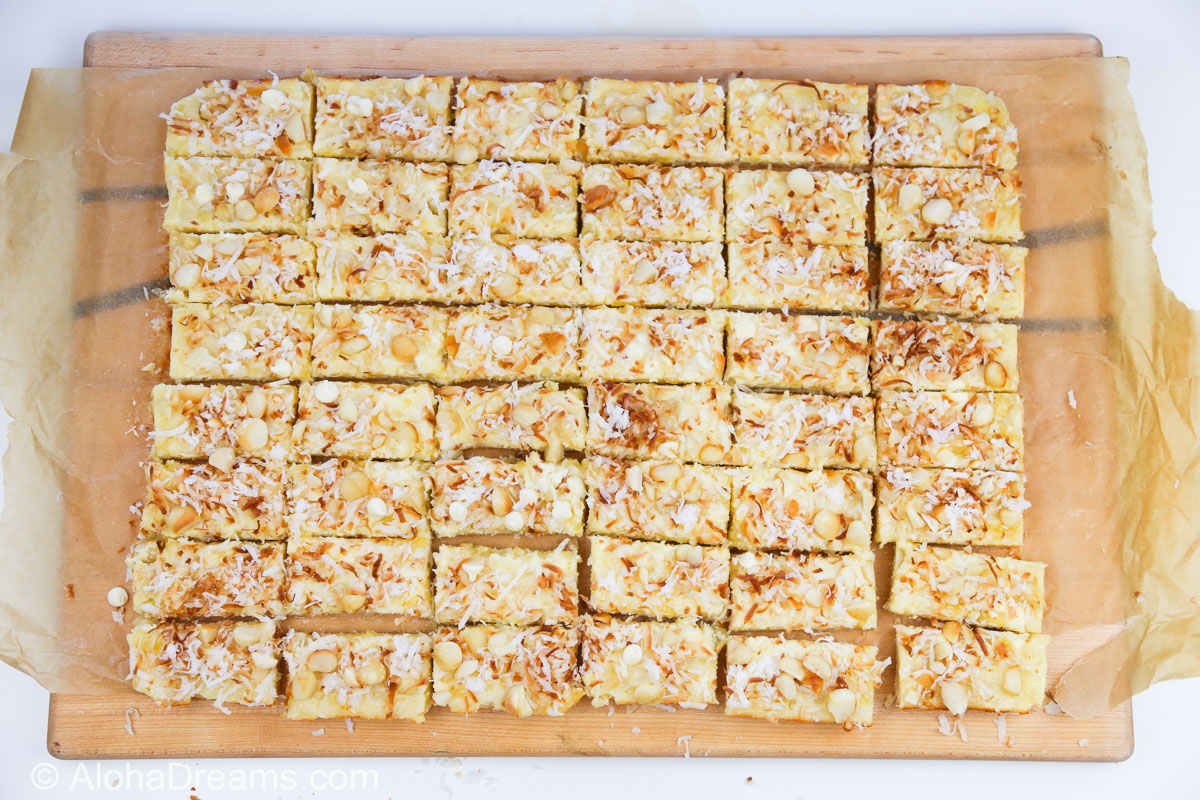
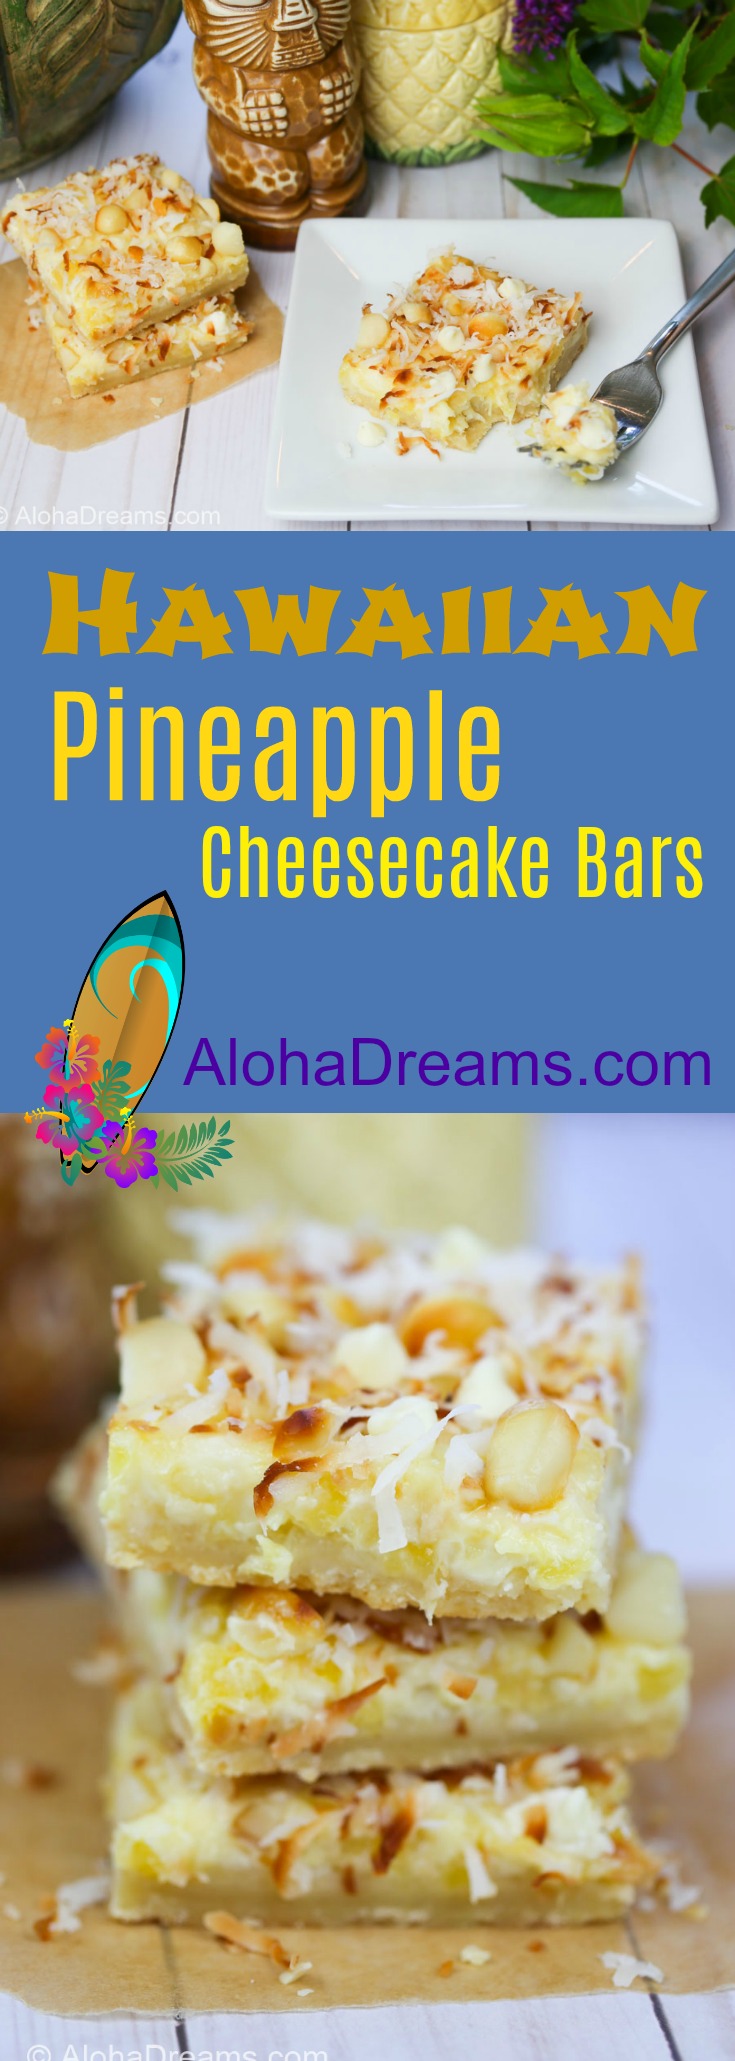
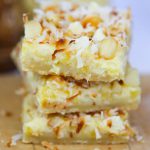
You’ll love how amazing these bars will turn out. They start with my favorite shortbread cookie as a base. On that is spread a wonderful creamy cheesecake with a hint of pineapple, sweet white chocolate chips and crunchy toasted macadamia nuts. Sprinkle on some toasted coconut and you’ll find out why everyone loves these! They’re the next best thing to a trip to the Polynesian Cultural Center!
These wonderful bars use my favorite shortbread recipe as a base. It’s buttery, crunchy and firm enough to hold together even when cut into small bar-size pieces. The dough comes together very easily and then you simply press it into the baking pan. Since you won’t be seeing it under all that delightful pineapple cheesecake filling, it doesn’t have to be very neat, simply even.
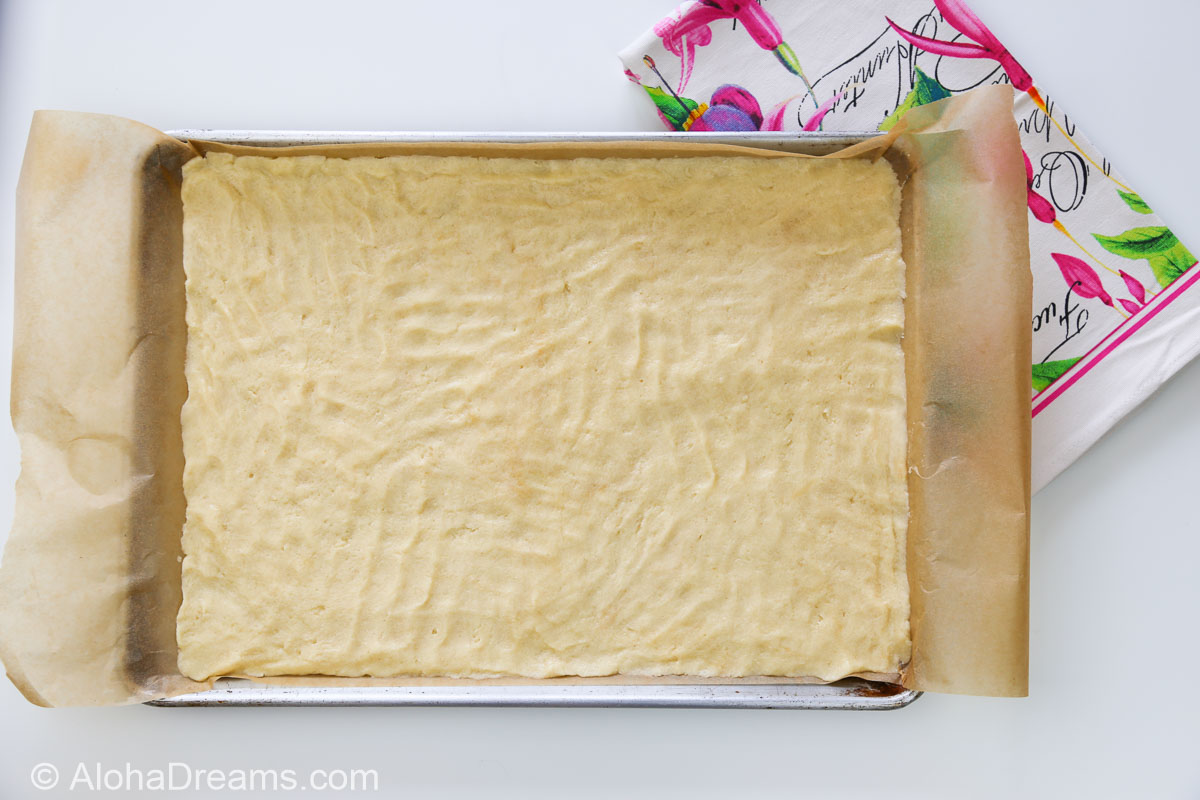
If you’ve never baked shortbread before the main thing is making sure you don’t over cook it. You want to remove it from the oven when it’s a very light golden brown. No darker than this.
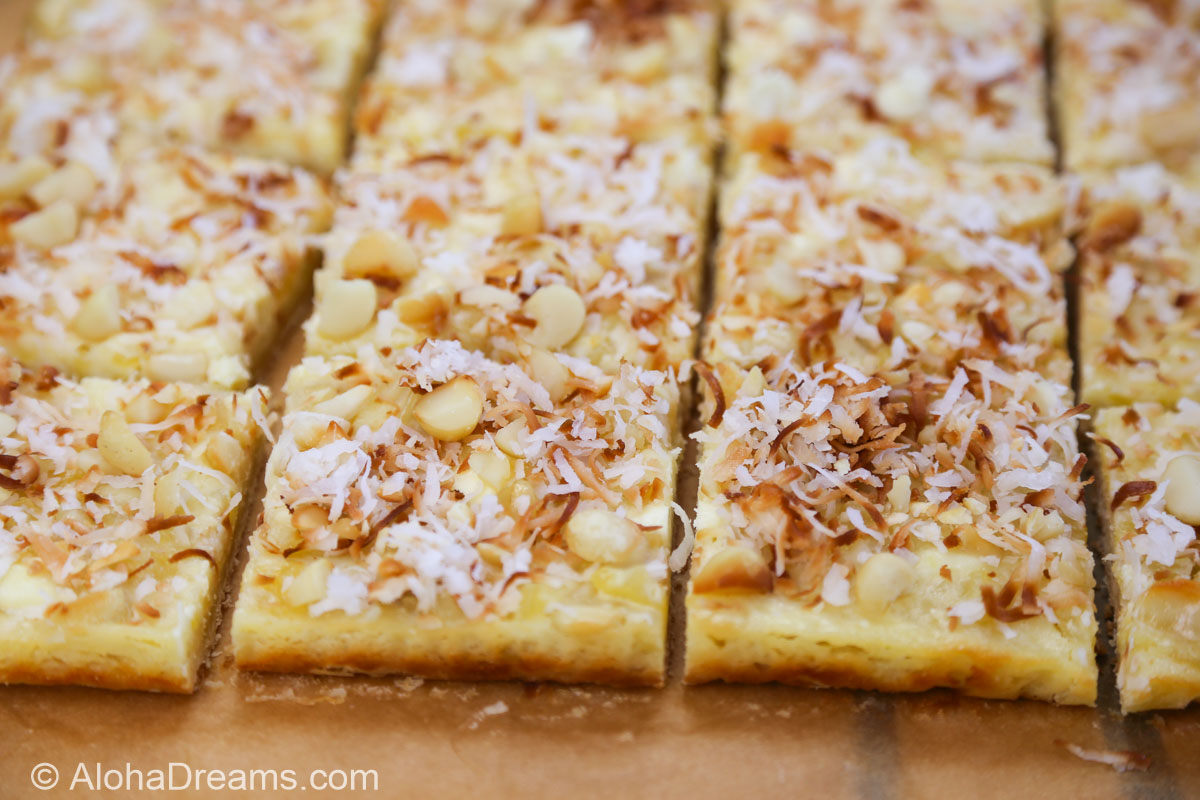
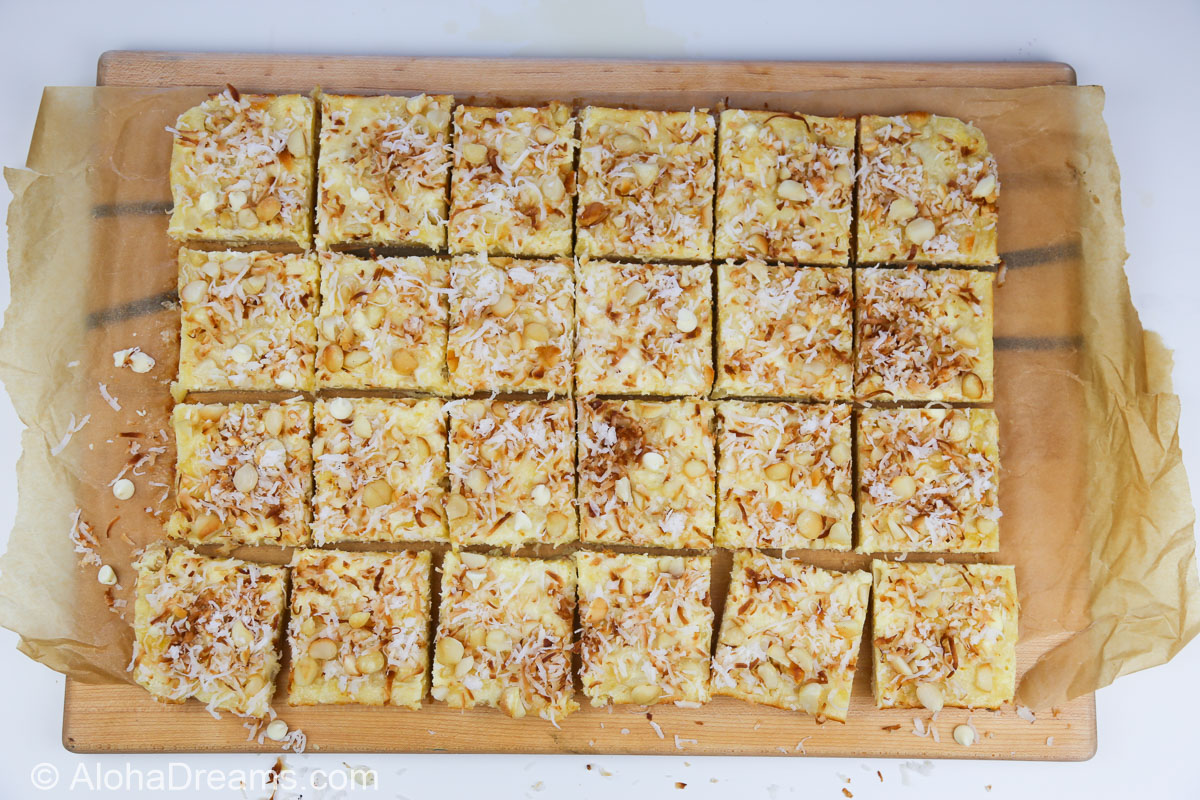
Cut into 4 rows by 6 rows to create 24 squares. This is a reasonable size for a single serving. Like this.
To serve a larger group cut each of the 24 squares in half long-wise. This size is ok if you’re serving several dessert choices, with enough of each choice for every guest.
An AlohaDreams.com recipe.
Move oven shelf to top position and turn on broiler. Spread 1/2 cup sweetened flake coconut and 1/4 cup rough chopped macadamia nuts on a cookie sheet. Heat under the broiler (DO NOT LEAVE THE BROILER) until coconut and nuts are a golden brown. (IF YOU LEAVE IT CAN EASILY BURN) Remove from oven and set aside.
Preheat oven to 300 degrees. Line the bottom and sides of baking pan with aluminum foil or parchment paper, leaving enough overhang on all sides to lift later. Set aside.
In a large bowl, with a mixer or by hand, mix eggs and 1 cup powdered sugar until completely combined. Add cream cheese, sugar, crushed pineapple and vanilla extract, and mix thoroughly. Gently fold-in 1/2 cup white chocolate chips and 1/4 cup chopped macadamia nuts.
Spread filling evenly over the shortbread base. Increase oven temperature to 350 and bake on ON A CENTER SHELF for additional 25 minutes or until batter is set. Remove from oven, immediately sprinkle 1/4 cup reserved chopped, toasted macadamia nuts and 1/2 cup toasted coconut.
An AlohaDreams.com recipe.
Move oven shelf to top position and turn on broiler. Spread 1 cup sweetened flake coconut and 1/2 cup rough chopped macadamia nuts on a cookie sheet. Heat under the broiler (DO NOT LEAVE THE BROILER) until coconut and nuts are a golden brown. (IF YOU LEAVE IT CAN EASILY BURN) Remove from oven and set aside.
Preheat oven to 300 degrees. Line the bottom and sides of baking pan with aluminum foil or parchment paper, leaving enough overhang on all sides. Set aside.
In a medium bowl stir the melted butter, granulated sugar, vanilla, and salt. Add the flour and stir until everything is combined. Press the mixture evenly into the prepared baking pan.
Bake at 300 degrees about 15 minutes or until edges are lightly browned. While the crust is baking, prepare the coconut topping and cream cheese filling.
In a large bowl, with a mixer or by hand, mix eggs and 2 cups powdered sugar until completely combined. Add cream cheese, sugar, crushed pineapple and vanilla extract, and mix thoroughly. Gently fold-in 1 cup white chocolate chips and 1/2 cup chopped macadamia nuts, reserving 1/2 cup of white chocolate chips and 1 cup chopped macadamia nuts.
Spread filling evenly over the shortbread base. Increase oven temperature to 350 and bake on ON A CENTER SHELF for additional 25 minutes or until batter is set. Remove from oven, immediately sprinkle 1/2 cup reserved chopped, toasted macadamia nuts and 1 cup toasted coconut.
When ready to serve cut into bars, 4 rows by 6 rows for a total of 24 bars.
I'm so glad you dropped by. I'm Betsy. Here you'll find my favorite fabulous, trusted recipes - everything from delicious, quick meals for your family to wonderful classics made easy.
I'm also here to help you with large group recipes from 20 to 200. So next opportunity you get to cook for a large group - Say 'Yes!' Then relax. I've got your back.
Ever wished you could build your dream home? How about building your dream home in a tropical paradise? Join me, room by room, as we design and build a fabulous dream home in Hawaii!
If you're planning a vacation to Hawaii, I've got you covered on the very best places to go! From many amazing restaurants to incredible adventures in the surf and on land, this is your go-to source for unique and exciting things to do on the Big Island of Hawaii. Or just take a Virtual Vacation!! Let's go!
If you've been asked to cook for a large group activity, be it a Girl's Camp or a Graduation Party, say Yes! I'm here to help. From Menus to Game Plans to Recipes, I'll help you keep on schedule and turn out amazingly delicious food if you're cooking for a crowd! My recipes are tested and trusted. Let's cook!
Ever wished you could build your dream home? Like amazing house design and home building ideas? Me too! Join me as I design and build a home on the Big Island of Hawaii. Follow along while I design each room. Enjoy a front row seat for the entire amazing construction process. Let's play!
Would you like to throw a Luau, but not sure where to start? Want to know how to build a tiki bar and roast a pig? Here's everything you need to have a luau. How about a Christmas Feast or even a fabulous dinner for your neighborhood supper club? You've come to the right place. Let's party!
 Aloha Dreams
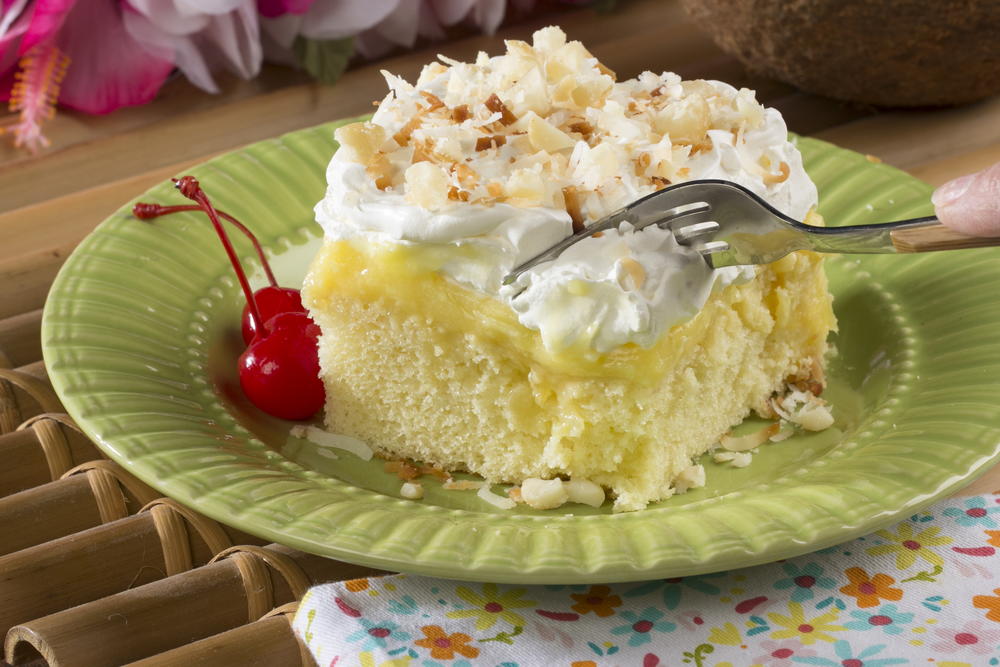
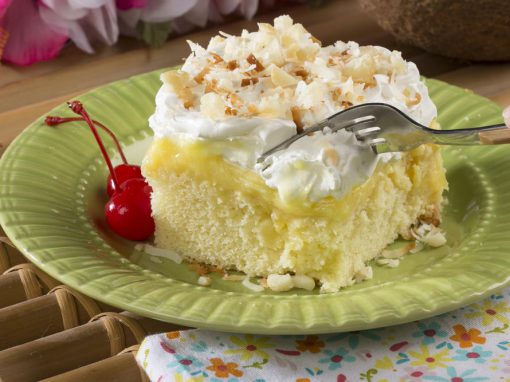
Looking for a quick and easy treat? This Hawaiian Wedding Cake comes together in a snap and tastes like a piña colada on your plate. It’s a perfect luau recipe. Using a simple cake mix, the three layers on top – crushed pineapple, a creamy pudding, whipped topping with toasted coconut – transport you on a tropical vacation.
You’ll want to make sure your cream cheese is softened before making this cake otherwise you’ll have un-blended pockets of cream cheese in your pudding mixture. If you’re like me and forget to set the cream cheese out to soften there’s an easy solution. Just cut the cream cheese in cubes, place it in a microwavable bowl and microwave for about 15 – 20 seconds. Stir well. If it is still not completely softened, continue for additional 10 second increments. Don’t allow the cream cheese to become hot. You just want it soft enough to mix easily.
You’ll also want to use whole milk to mix with the pudding. The whole milk does a better job thickening the pudding then skim or 2% milk.
This is an easy, tasty cake which comes together quickly. Ignore the directions on the cake mix box and use just the ingredients in the recipe. Cut in 3 rows x 6 rows to serve 18.
Set out cream cheese and whipped topping to come to soften to make them easy to spread. Spread coconut on a baking sheet and put under broiler until golden brown. DO NOT WALK AWAY. Set aside.
Drain pineapple and spread over cake. Spread pudding mixture over the pineapple. Top with whipped topping. Sprinkle toasted coconut over cake.
Store in the refrigerator. Cut in 3 rows x 6 rows to serve 18.
This is a quick and easy crowd pleaser. Do not use ingredients on the cake mix box. This is a double recipe, using two (9 x 13 inch) baking pans. Cut each pan in 3 rows x 6 rows to serve 18 per pan, or a total of 36.
Set out cream cheese and whipped topping to come to soften to make them easy to spread. Spread coconut on a baking sheet and put under broiler until golden brown. DO NOT WALK AWAY. Set aside.
I'm so glad you dropped by. I'm Betsy. Here you'll find my favorite fabulous, trusted recipes - everything from delicious, quick meals for your family to wonderful classics made easy.
I'm also here to help you with large group recipes from 20 to 200. So next opportunity you get to cook for a large group - Say 'Yes!' Then relax. I've got your back.
Ever wished you could build your dream home? How about building your dream home in a tropical paradise? Join me, room by room, as we design and build a fabulous dream home in Hawaii!
If you're planning a vacation to Hawaii, I've got you covered on the very best places to go! From many amazing restaurants to incredible adventures in the surf and on land, this is your go-to source for unique and exciting things to do on the Big Island of Hawaii. Or just take a Virtual Vacation!! Let's go!
If you've been asked to cook for a large group activity, be it a Girl's Camp or a Graduation Party, say Yes! I'm here to help. From Menus to Game Plans to Recipes, I'll help you keep on schedule and turn out amazingly delicious food if you're cooking for a crowd! My recipes are tested and trusted. Let's cook!
Ever wished you could build your dream home? Like amazing house design and home building ideas? Me too! Join me as I design and build a home on the Big Island of Hawaii. Follow along while I design each room. Enjoy a front row seat for the entire amazing construction process. Let's play!
Would you like to throw a Luau, but not sure where to start? Want to know how to build a tiki bar and roast a pig? Here's everything you need to have a luau. How about a Christmas Feast or even a fabulous dinner for your neighborhood supper club? You've come to the right place. Let's party!
Never miss a single Fabulous Recipe!
Sign UP today and ENJOY free Recipes & Party Ideas in your inbox.
(No spam - I promise!)