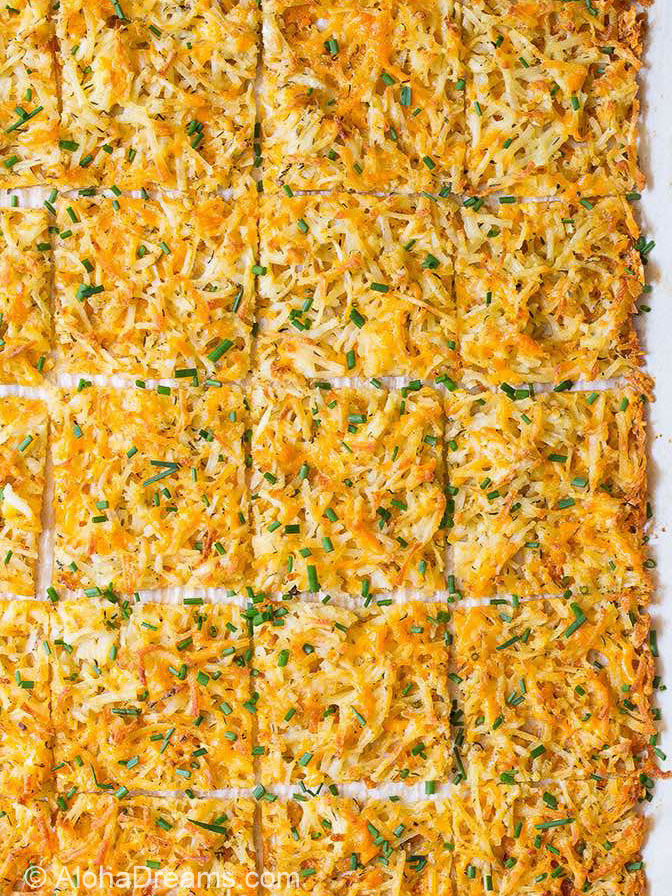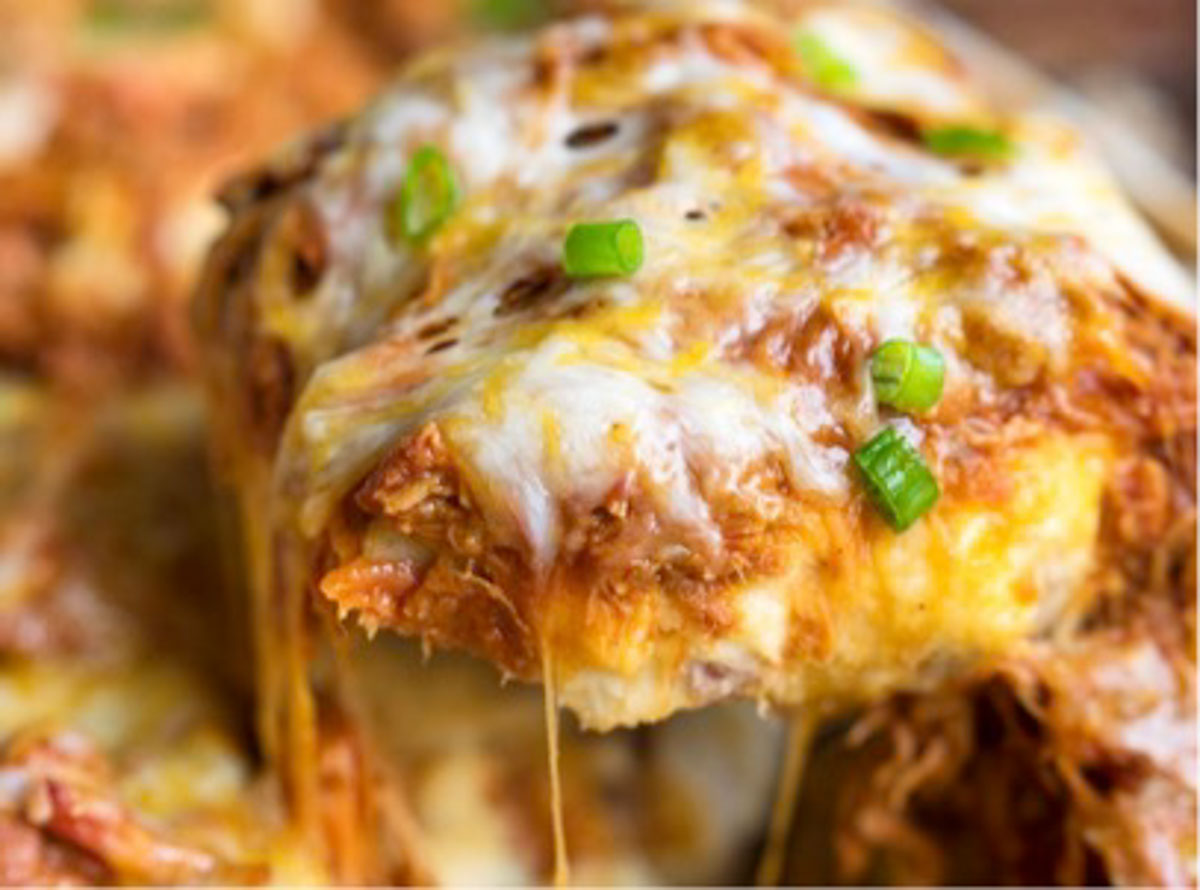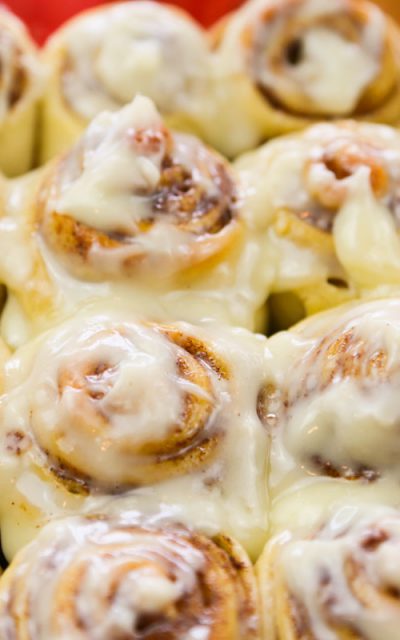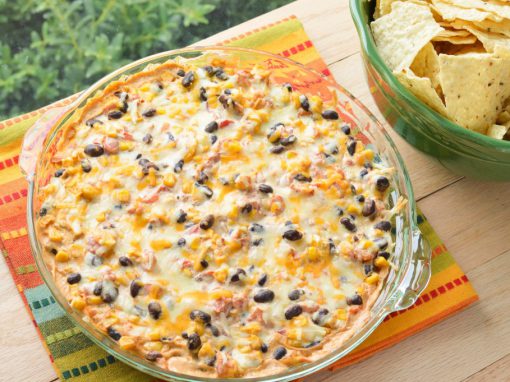
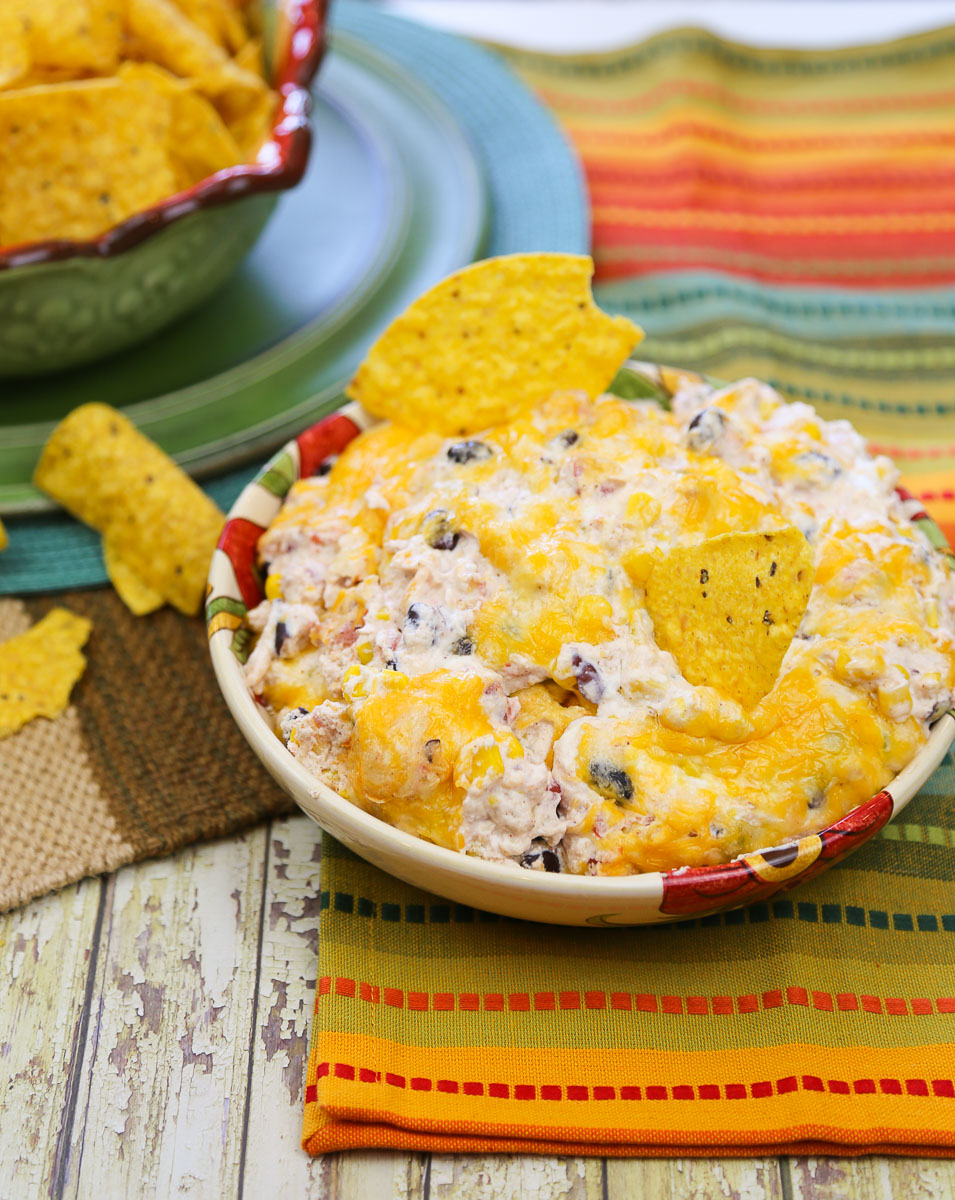
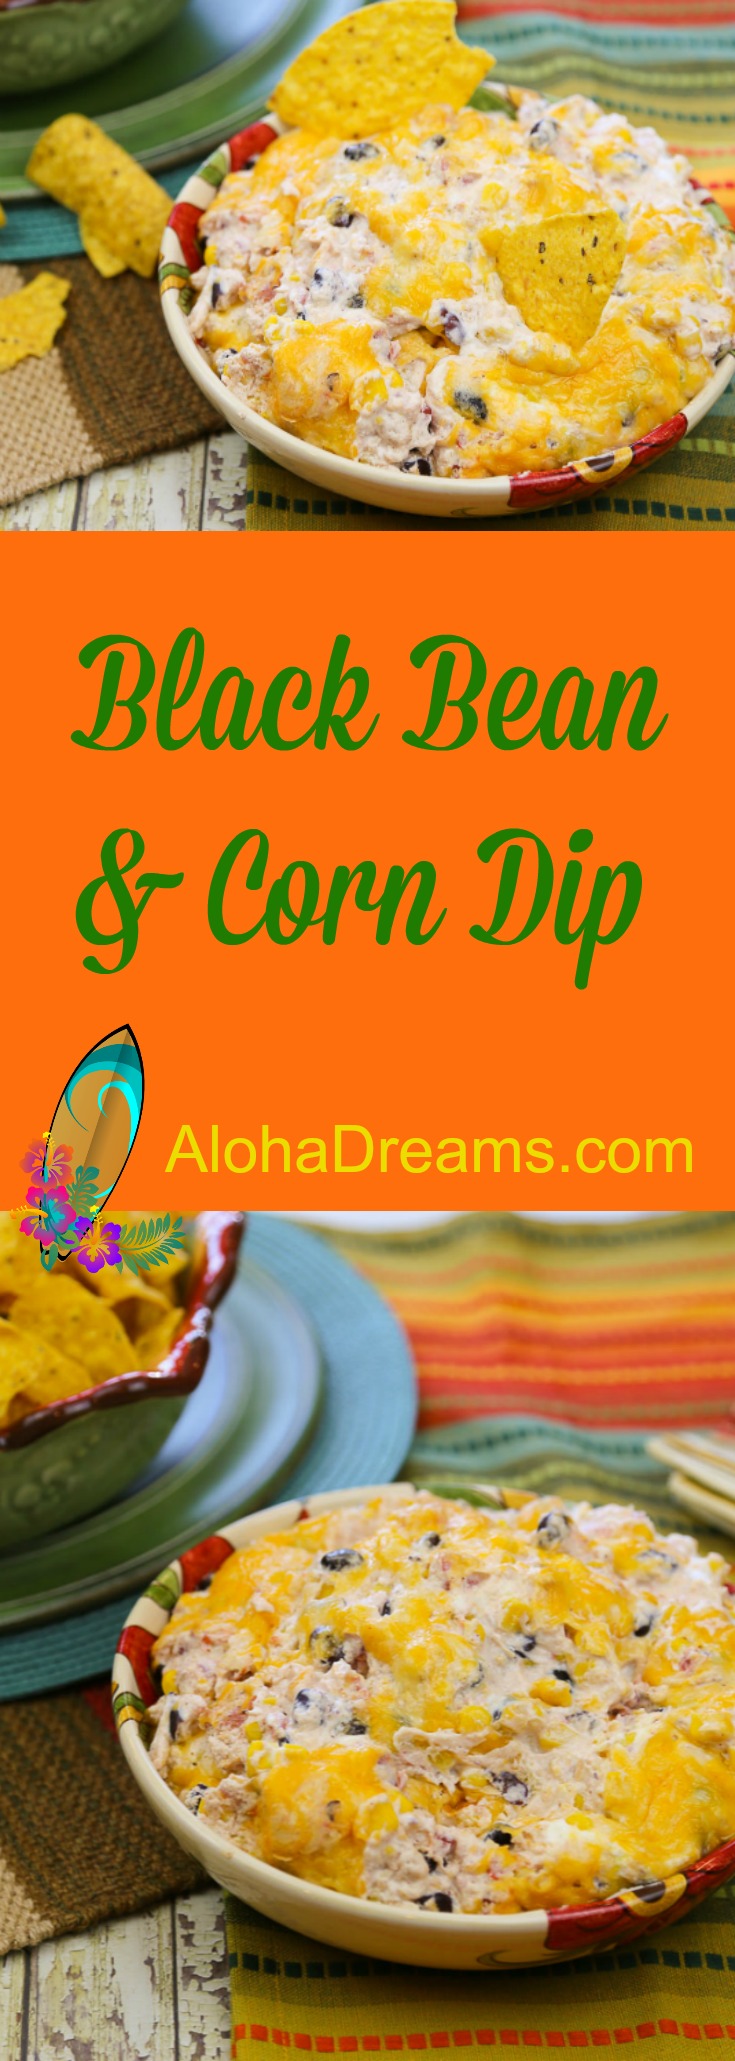
Hot Cheesy Black Bean & Corn Dip
 Aloha Dreams
Fabulous Recipes, Cooking for a Crowd & Dream Home Design


Hot Cheesy Black Bean & Corn Dip
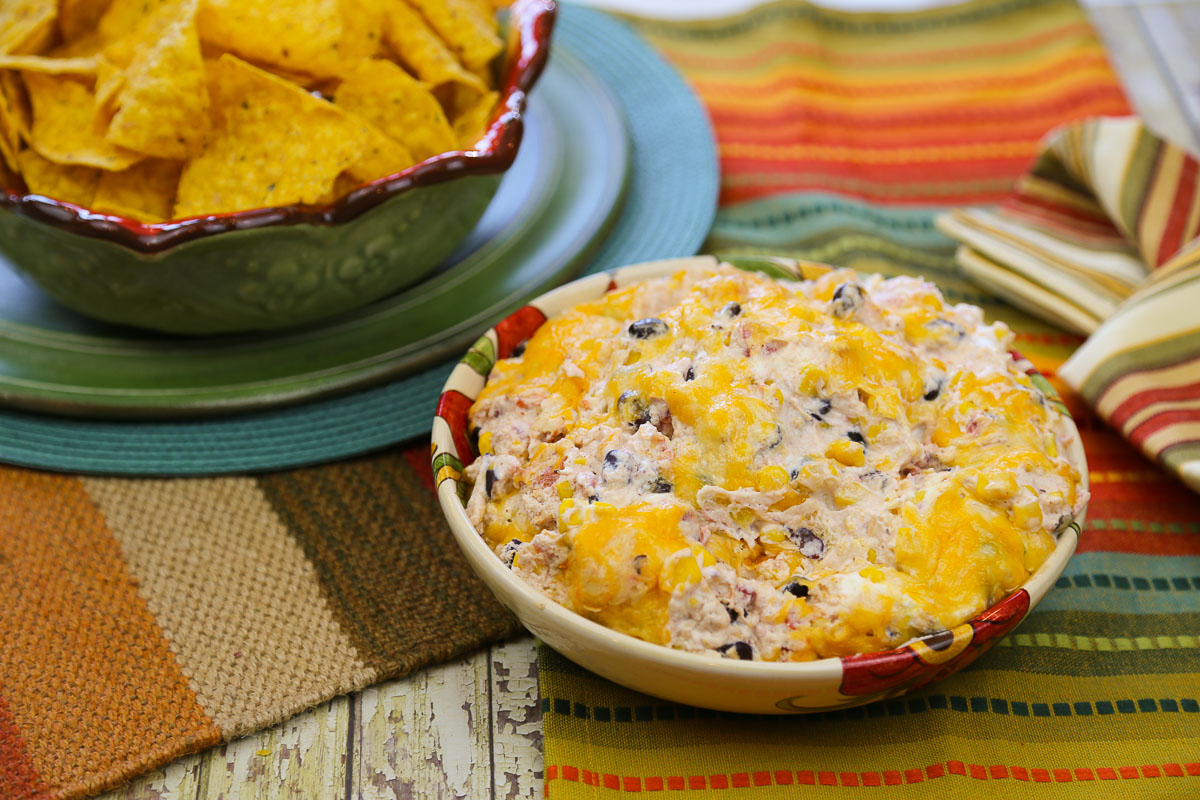
Need a quick & easy appetizer for your next cookout or party? Then look no further. This Corn & Black Bean dip is so full of flavor and super delicious! Plus, it uses pantry staples and comes together in a flash. You can use the leftovers to make quesadillas the next day.
This is a great dip for parties, weekends, cook outs, you name it. My business partner has a pair of miniature donkeys. Their names are Corn and Beans. This reminds me of them.
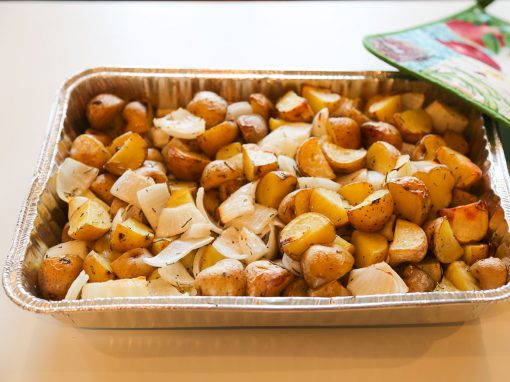
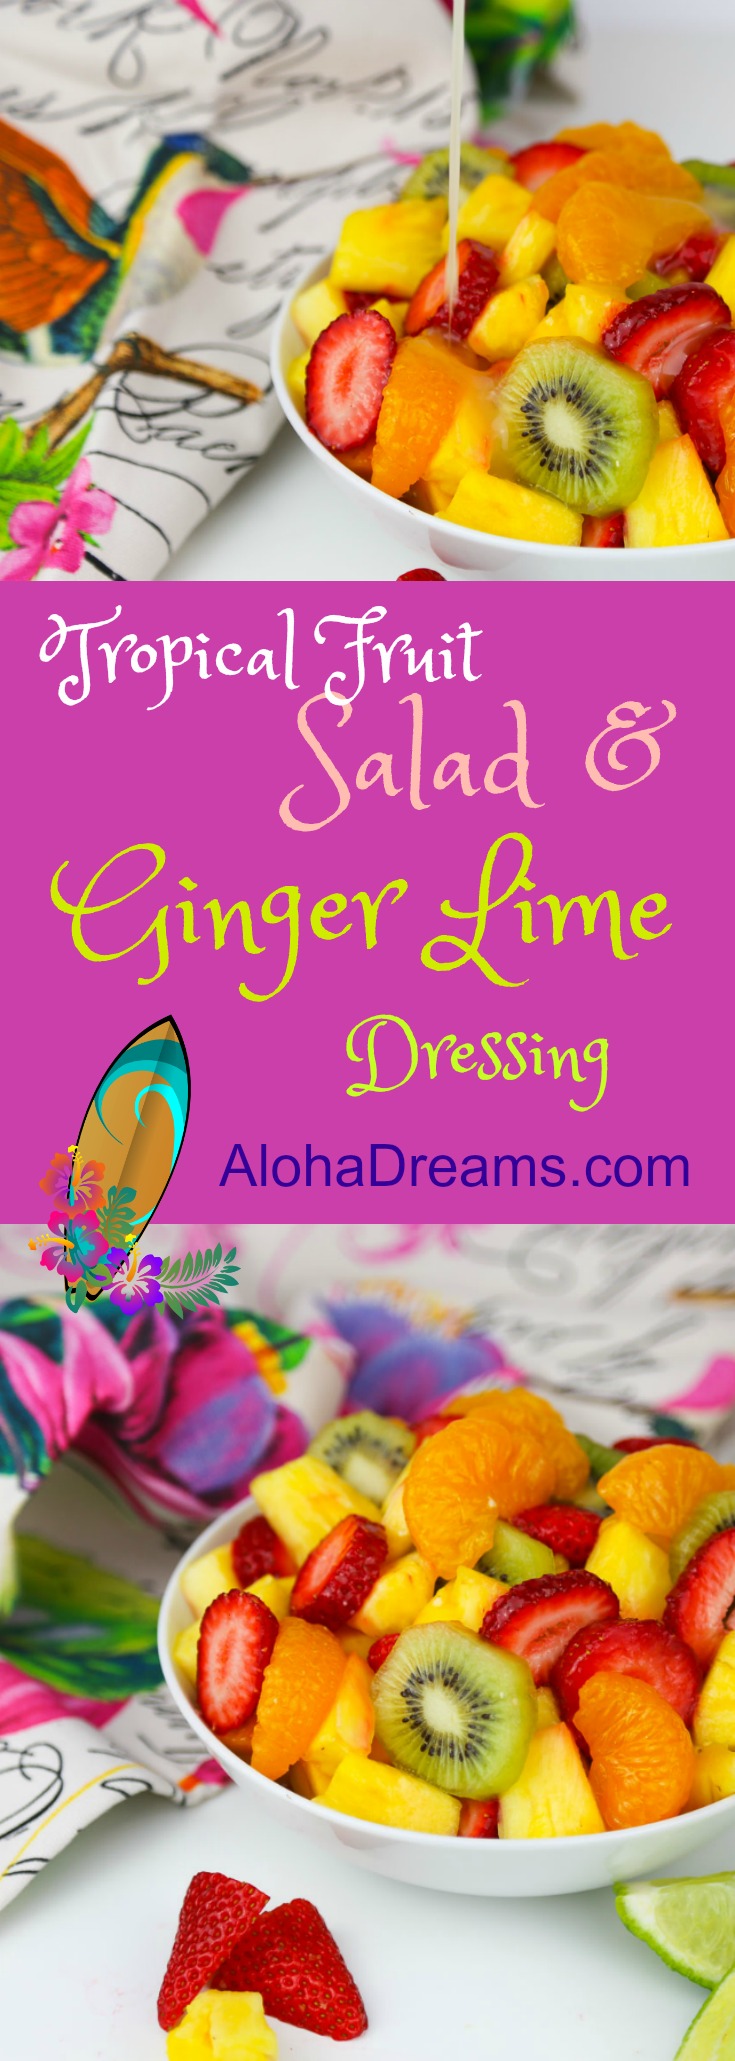
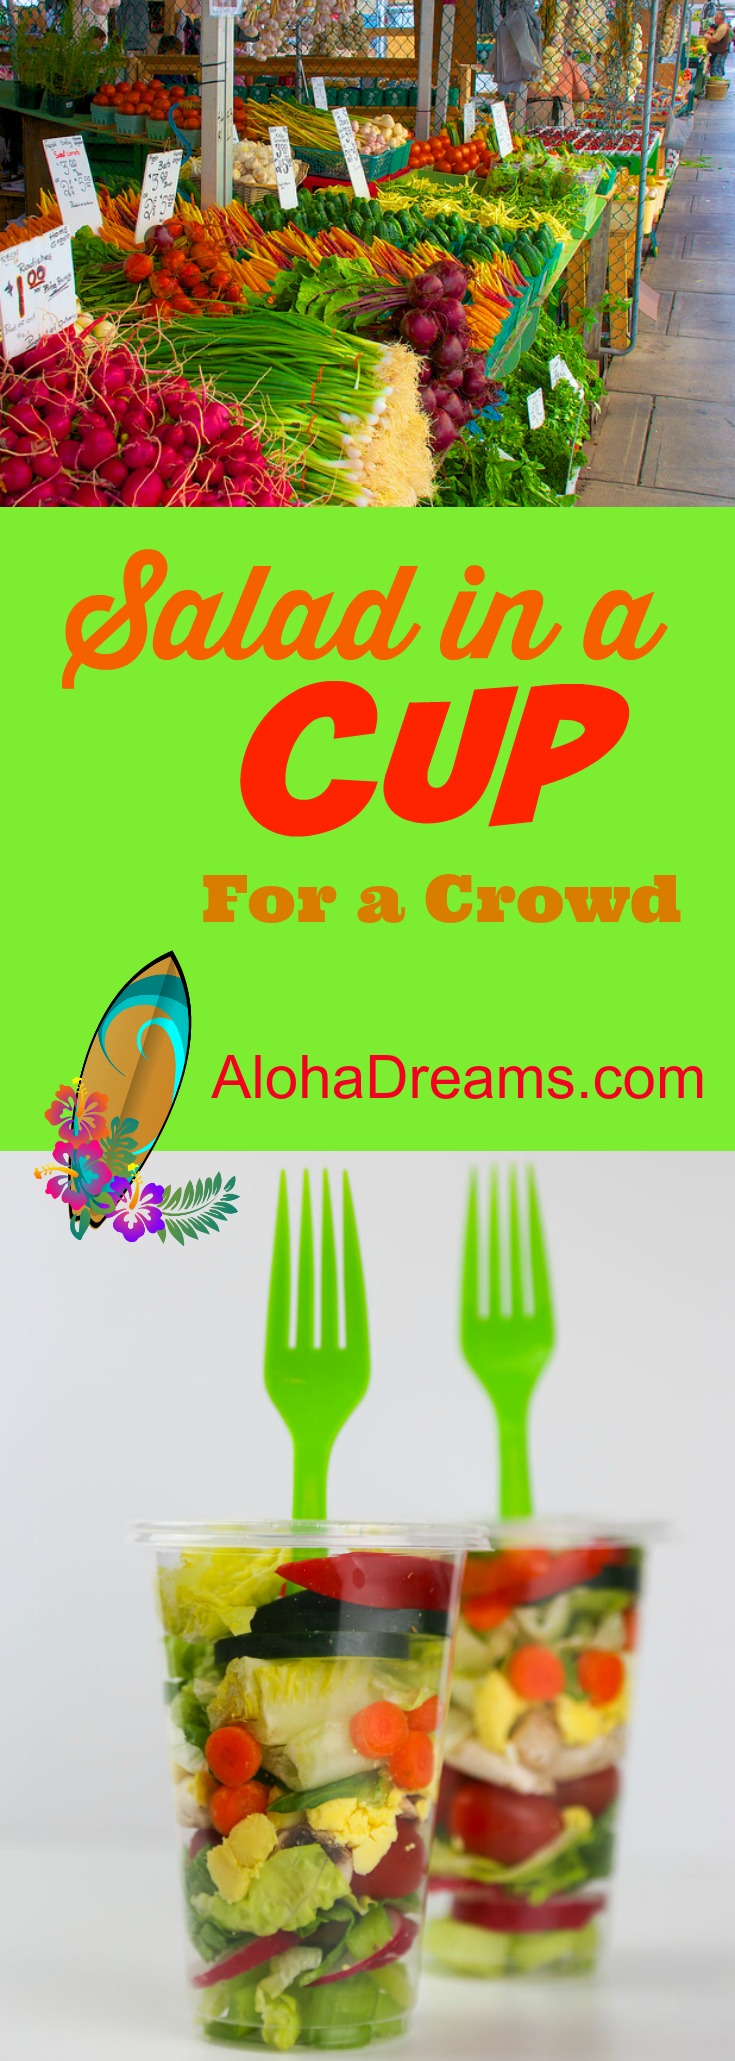
Pin for Later
Or Make Now.

Serving size 3.5 ounces
Makes 4 pounds 11 ounces
- 2 (15 ounce) cans yellow corn drained
- 1 (15 ounce) can black beans drained & rinsed
- 1 (10 ounce) can Mild Rotel drained, (diced tomatoes with mild green chilies)
- 2 (8 ounce) packets cream cheese softened & diced
- 1 (16 ounce) container sour cream
- 1 ½ teaspoon season salt
- ½ teaspoon chili powder
- 1 ½ teaspoon garlic powder
- 1 teaspoon cumin
- 2 cups shredded Mexican blend cheese (8 ounces), divided
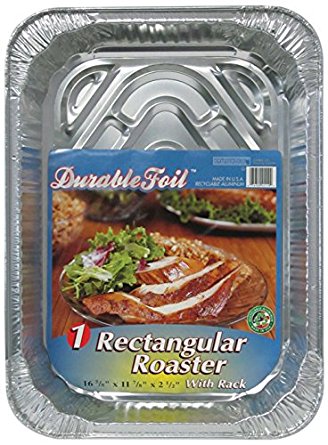
- 1 (9 x 13 inch) baking dish
-
Bring the cream cheese to room temperature. Preheat oven to 350 degrees.
-
Drain the corn and rotel and add to a medium-size bowl. Drain and rinse the black beans and add to the bowl. Stir in the cream cheese, chili powder, garlic powder, seasoned salt, cumin and 1 cup shredded cheese. Stir together to incorporate.
-
Pour into a 9 x 13 baking dish and spread evenly. Top with remaining 1 cup shredded cheese.
-
Bake for approximately 25 to 30 minutes, or until cheese has melted and mixture is bubbly.
-
Can be made in advance, covered and refrigerated up to 2 days.
-
When ready to serve, pre-heat oven to 350 degrees and bake for approximately 30 minutes or until cheese has melted and mixture is bubbly.
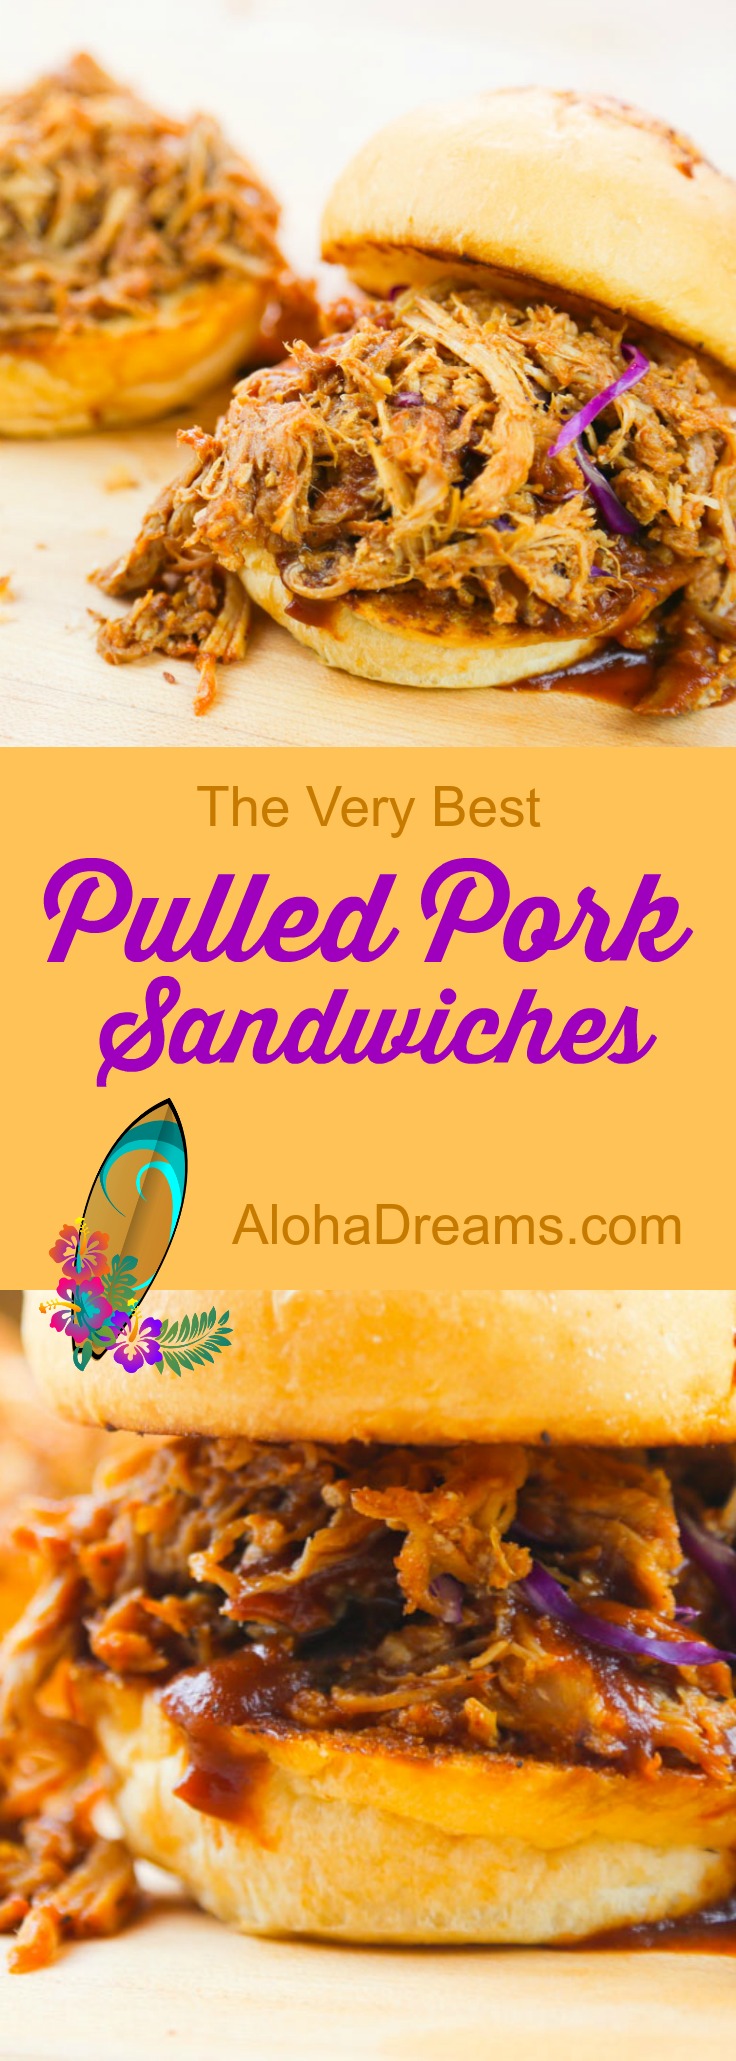
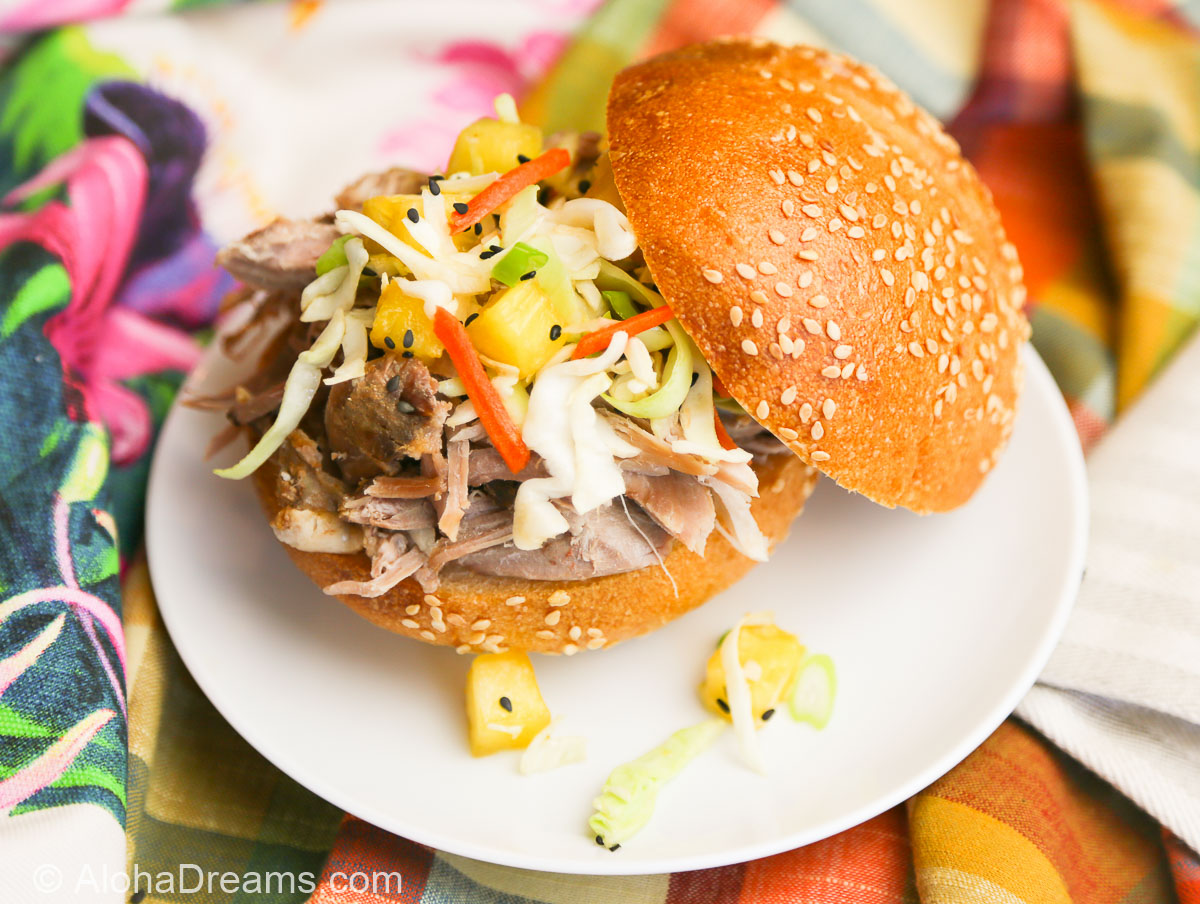
Still Hungry?


Welcome to Aloha Dreams!
I'm so glad you dropped by. I'm Betsy. Here you'll find my favorite fabulous, trusted recipes - everything from delicious, quick meals for your family to wonderful classics made easy.
I'm also here to help you with large group recipes from 20 to 200. So next opportunity you get to cook for a large group - Say 'Yes!' Then relax. I've got your back.
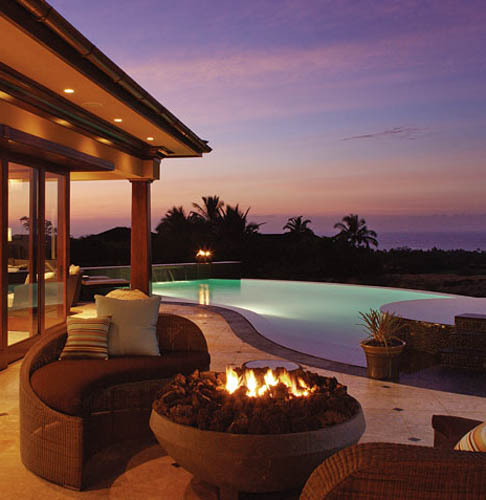
Ever wished you could build your dream home? How about building your dream home in a tropical paradise? Join me, room by room, as we design and build a fabulous dream home in Hawaii!
Explore Aloha Dreams


EXPLORE
If you're planning a vacation to Hawaii, I've got you covered on the very best places to go! From many amazing restaurants to incredible adventures in the surf and on land, this is your go-to source for unique and exciting things to do on the Big Island of Hawaii. Or just take a Virtual Vacation!! Let's go!
SAY YES!
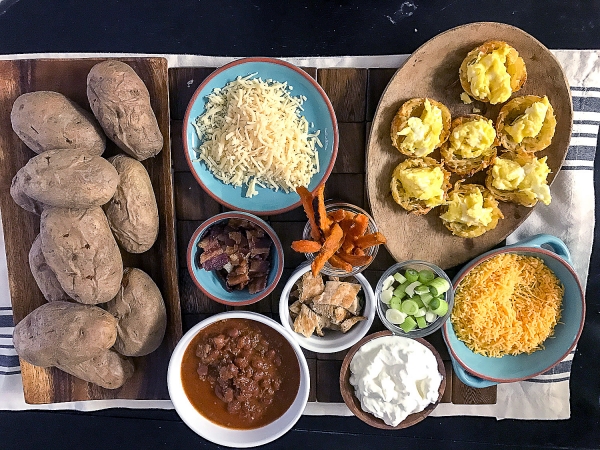
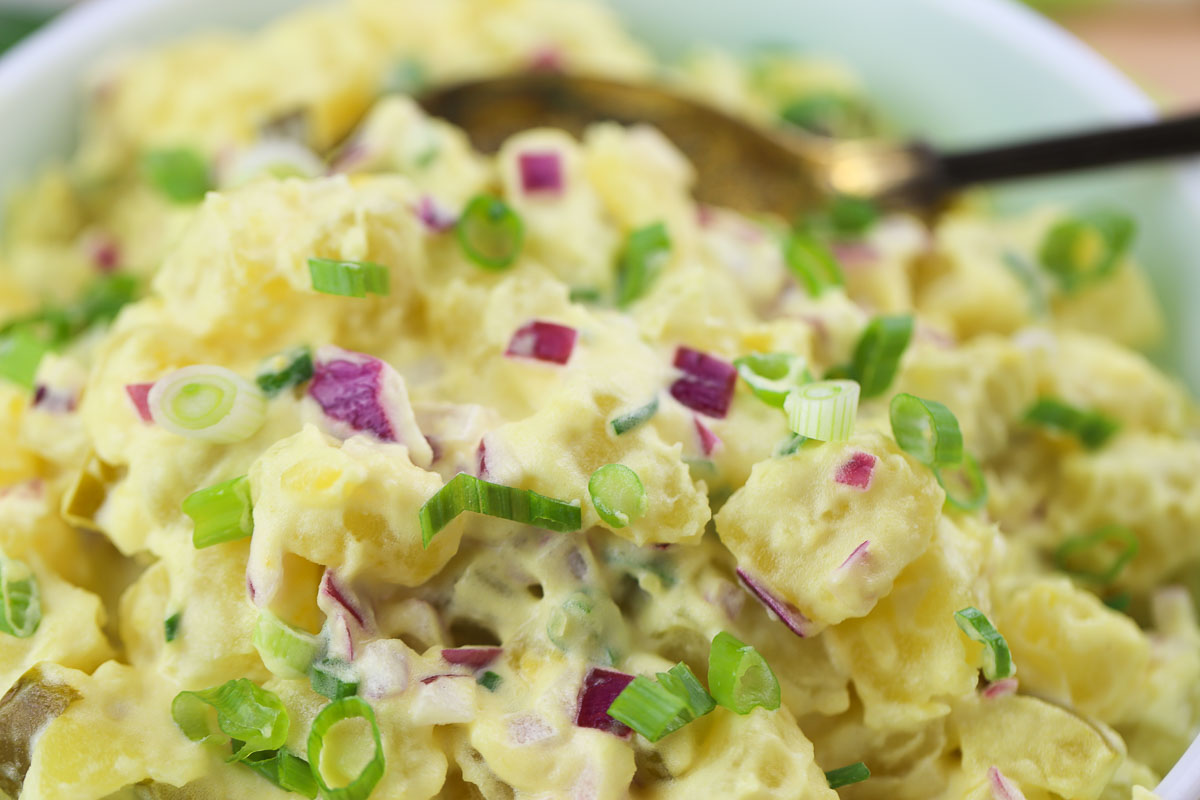
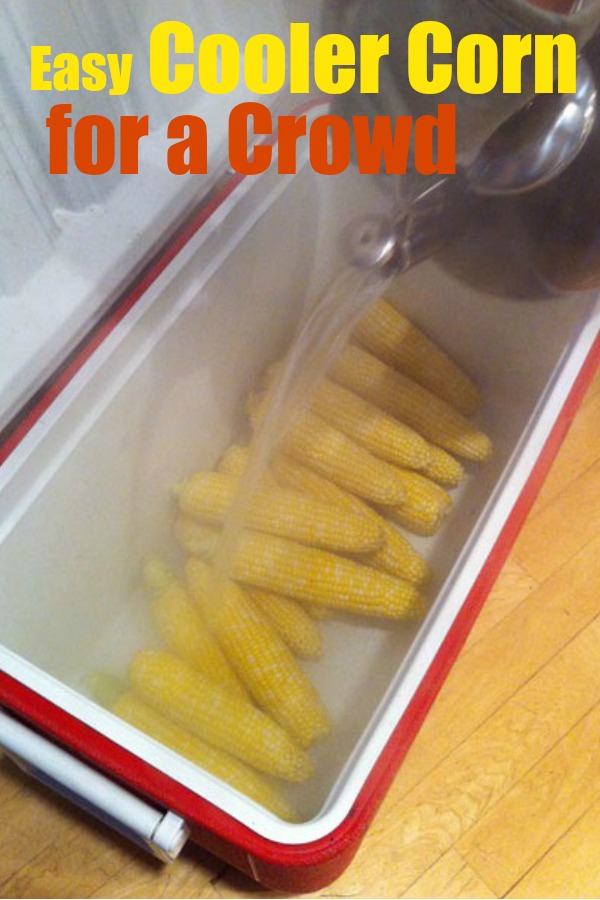
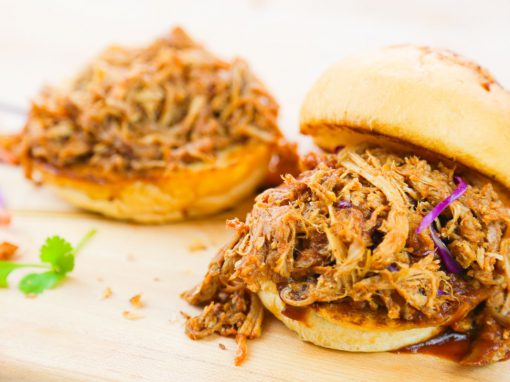
If you've been asked to cook for a large group activity, be it a Girl's Camp or a Graduation Party, say Yes! I'm here to help. From Menus to Game Plans to Recipes, I'll help you keep on schedule and turn out amazingly delicious food if you're cooking for a crowd! My recipes are tested and trusted. Let's cook!
AHONUI
Ever wished you could build your dream home? Like amazing house design and home building ideas? Me too! Join me as I design and build a home on the Big Island of Hawaii. Follow along while I design each room. Enjoy a front row seat for the entire amazing construction process. Let's play!
PARTY
Would you like to throw a Luau, but not sure where to start? Want to know how to build a tiki bar and roast a pig? Here's everything you need to have a luau. How about a Christmas Feast or even a fabulous dinner for your neighborhood supper club? You've come to the right place. Let's party!