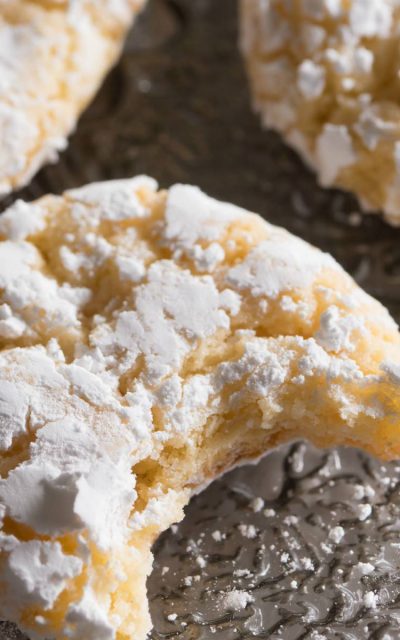
These Vanilla Sugar Crinkle Cookies are a delicious twist on the usual chocolate version.
read more
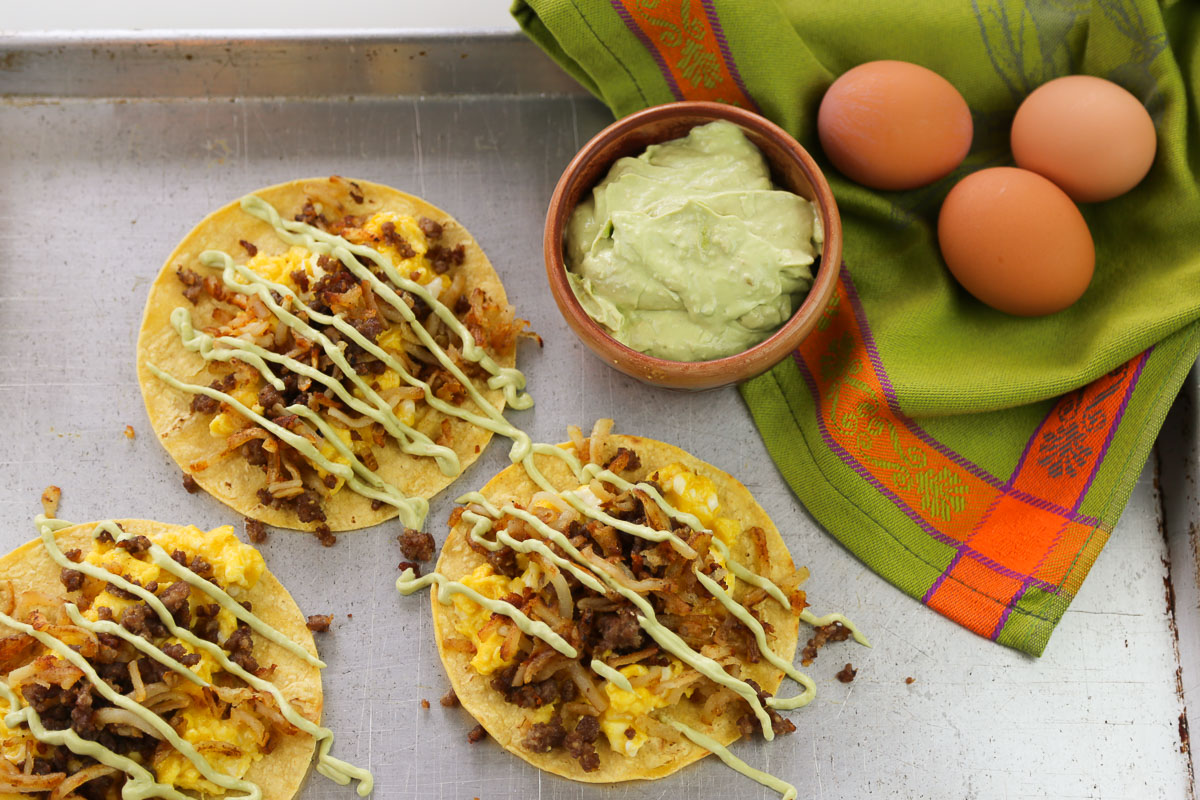
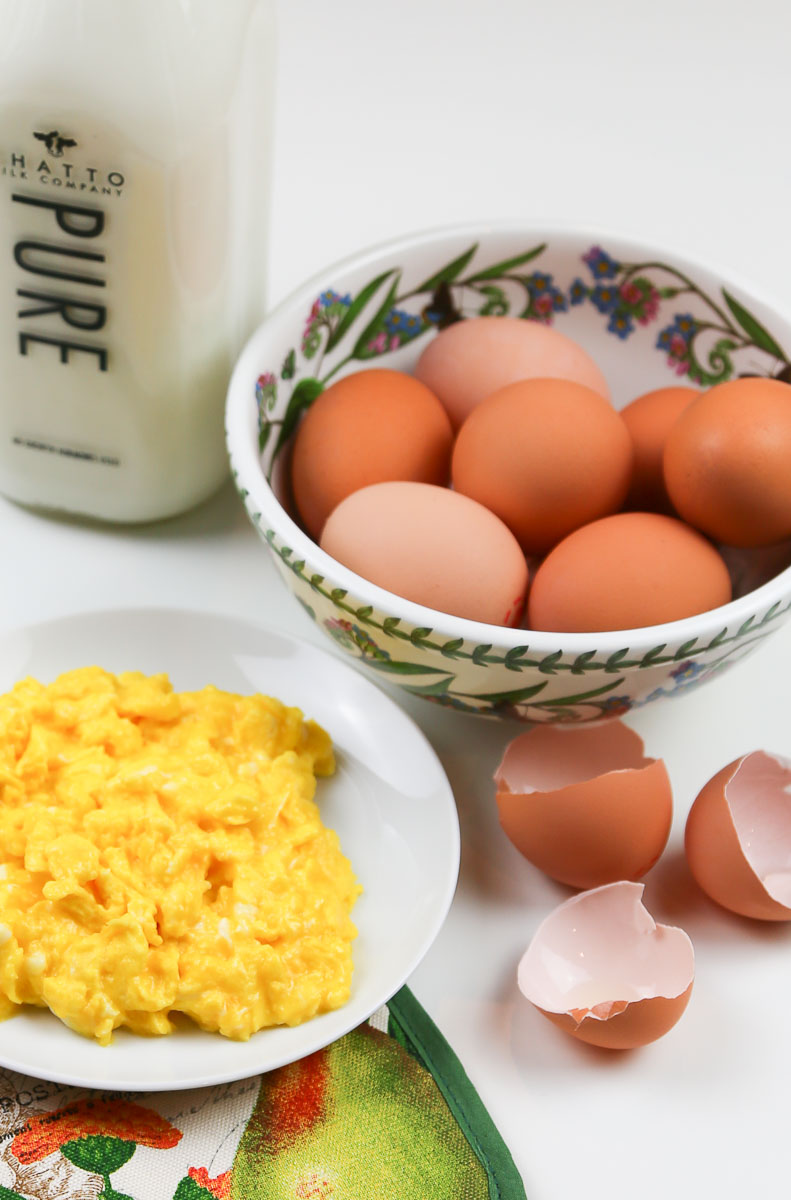
Fabulous Cheesy Scrambled Eggs for a Crowd


Fabulous Cheesy Scrambled Eggs for a Crowd
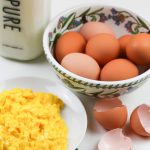
These eggs are a fluffy, moist cheesy addition to your breakfast line-up. You know those dry, rubbery, tasteless eggs typical of most buffet lines? Well, these eggs are most definitely not THOSE eggs. These eggs are a real winner. They can be made in advance and hold very well without losing their wonderful moist texture. And they taste fantastic. Jeff requests them on a regular basis, so I make a small batch just for him.
These scrambled eggs will become your new favorite go to! What’s the secret? Well, actually there are four.
#1 First, I use condensed milk. It’s what helps keep these eggs moist.
#2 Second, you’ll want to add some seasoned salt. I know it’s kinda retro, but it works for this recipe very well.
#3 Third, I use lots of cheese, which adds more moisture and even more flavor. You’ll appreciate that additional moisture if you’re holding these up to 20 – 30 minutes prior to serving in a slow cooker or oven on the lowest temp. They’ll be every bit as good as when they finished cooking.
#4 Finally, I fluff them right before serving. This breaks up the curds and makes them easier to serve.
While this recipe does require occasional stirring during the baking process, you can be doing other things while the eggs are baking rather than standing at the range top the entire time. Every time I fix these eggs, people constantly comment on how great they are. You’ll be very pleasantly surprised at how good baked scrambled eggs for a crowd can be. Whether you’re cooking for 24 or 224 (or just your hungry spouse), this recipe will deliver consistent, delicious scrambled eggs every time. It gets such good results, this is also now the recipe I use whenever I’m cooking small batches of scrambled eggs.
Pin for Later.

Welcome to Aloha Dreams!
I'm so glad you dropped by. I'm Betsy. Here you'll find my favorite fabulous, trusted recipes - everything from delicious, quick meals for your family to wonderful classics made easy.
I'm also here to help you with large group recipes from 20 to 200. So next opportunity you get to cook for a large group - Say 'Yes!' Then relax. I've got your back.
Ever wished you could build your dream home? How about building your dream home in a tropical paradise? Join me, room by room, as we design and build a fabulous dream home in Hawaii!
Or Make Now.
Fabulous Cheesy Scrambled Eggs for a Crowd
Prep Time
10 mins
Cook Time
32 mins
Total Time
42 mins
These eggs are outrageously good. And, even better, they're very easy.
Course:
Breakfast
Cuisine:
American
Servings: 24 people (2 eggs each)
Ingredients
- 2 dozen eggs
- 1 cup evaporated milk (8 ounces) (Do NOT use sweetened condensed)
- 2 teaspoons Lawry’s seasoned salt
- 2 tablespoons butter
- 1 and 1/3 cups shredded mild cheddar cheese (16 ounces)
Instructions
Instructions for each batch of 24.
-
NOTE: Don’t cook more than 24 eggs in each pan or the cooking time will be significantly impacted (ask me how I found out the very hard way.) Cooking 3 – 4 dozen eggs in a larger roasting pan is an entirely different recipe.
-
Preheat oven to 350 degrees F.
-
Grease the bottom of a 9 x 13 glass baking dish with the butter. Use all of it for flavor.
-
In a large bowl, whisk eggs and mix in milk, cheese and seasoned salt. Pour into the greased baking dish.
-
Bake, uncovered, for 15 minutes and then stir.
-
Bake for another 10 minutes and stir again.
-
Continue to bake until eggs are set, stirring every 2 minutes (it will probably take an 5 - 6 additional minutes. Plan on 30 - 35 minutes total.) NOTE: If you are baking more than two 9 x 13 dishes of eggs in the same oven at one time, plan on an additional 5 – 15 minutes depending on your oven and the number of batches. I would not do more than 4 batches in 1 oven.
MAKE AHEAD NOTE: As each batch finishes cooking, transfer them into your 6 quart slow cooker on the Low setting for up to 2 hours. Two batches of these eggs (4 dozen) will fit into one 6-quart slow cooker. Serve from the slow cooker or transfer to a more attractive aluminum catering pan for serving. (Having the eggs in the aluminum pans for this recipe will not cause discoloration of the eggs.)
-
NOTE: If holding for longer than about 15 - 30 minutes, add 1/4 tsp. of lemon juice (per dozen) to the eggs before cooking. The iron in the egg yolks and the sulfur in the egg whites oxidize with heat and time. The acid in the lemon juice prevents the iron and the sulfur oxidizing, leaving your eggs nice and yellow. By the way, this is the same thing that occurs when you over-cook hard boiled eggs, evident in the grey-green film on the yolk. Contrary to popular myth, it has nothing to do with the pan.
Prior to serving, fluff eggs with a rubber spatula or large spoon by breaking up the larger curd masses into several smaller pieces.
Stove-top Method Scrambled Eggs for a crowd
This recipe was given to me by a top-rated hotel chef. This is the method he uses, except he talked about the quantity of eggs in terms of gallons. This method is more labor intensive than the above recipe, but I believe produces a better texture in the finished eggs. I use the above recipe if I’ve got a lot going on and don’t have time or man-power to baby sit the egg cooking (except for the occasional stirring.) If I have more time and man-power, I like this recipe. This works fine with most any quantity you might use and is limited by the size of your cooking pot. Use the recipe ingredients above and the method below.
- Crack eggs into a large bowl. Add in remaining ingredients from recipe above. Whisk until blended or mix using a drill with a new, clean paint stirrer to blend.
- Spray large pot with non-stick cooking spray.
- Add up to 4 quarts of the egg mixture.
- Heat pot over medium high heat, stirring and scraping sides and bottom with a rubber scraper as eggs begin to set up. When about 1/3 of the egg mixture has begun to set, add in an additional 4 quarts of the egg mixture, stirring to incorporate the set eggs into the runny eggs.
- Continue adding eggs, stirring, scraping and incorporating the set egg component into the runny eggs until all eggs have been added. Cook, stirring, scraping and incorporating until the eggs have reached the desired consistency. NOTE: you want to stop when the eggs are still moist and a bit runny. They will set up as they hold and will taste better than if you cook them until they are dry and rubbery.
MAKE AHEAD NOTE:
- Eggs can be made to this point and held, in an uncovered container, such as a slow cooker (not roaster oven) for up to several hours. If holding for longer than about 15 – 30 minutes, add 1/4 tsp. of lemon juice (per dozen) to the eggs before cooking. The iron in the egg yolks and the sulfur in the egg whites oxidize with heat and time. The acid in the lemon juice prevents the iron and the sulfur oxidizing, leaving your eggs nice and yellow. By the way, this is the same thing that occurs when you over-cook hard boiled eggs, evident in the grey-green film on the yolk. Contrary to popular myth, it has nothing to do with the pan.
Here’s the Hungry Husband-Size Recipe.

Cheesy Scrambled Eggs
Prep Time
10 mins
Cook Time
5 mins
Total Time
15 mins
This is my same great group recipe, scaled down to serve 2-3 people.
Course:
Breakfast
Cuisine:
American
Servings: 2 people
Ingredients
- 6 eggs (large)
- 1/4 cup evaporated milk 2 ounces
- 1/2 teaspoon Lawry's seasoned salt
- 1 tablespoon butter
- 1/3 cup shredded mild cheddar cheese
Instructions
-
In a medium bowl, whisk eggs and mix in milk, cheese and seasoned salt. Set aside
-
In a medium skillet over medium-high heat, melt 1 tablespoon of butter, swirling to disburse evenly.
-
When butter is melted, add egg mixture. As eggs start to cook, begin scraping bottom of the skillet (like a snow plow). As eggs start to puff up, reduce heat to medium and continue scrambling until they reach your desired degree of doneness. Serve hot.
Want more great group recipes ?

Vanilla Sugar Crinkle Cookies

Chocolate Brownie Crookies
These Chocolate Brownie Cookies are hard to beat!
read more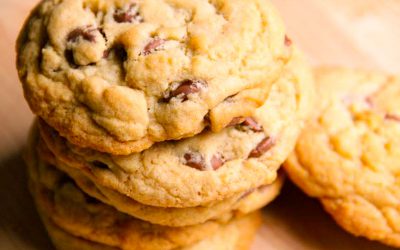
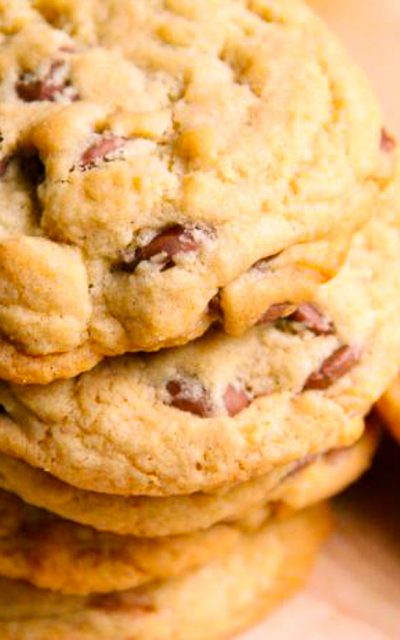
Ultimate Chocolate Chip Cookies
You’ll love these Ultimate Chocolate Chip Cookies. They are crispy on the edges and chewy in the middle.
read more
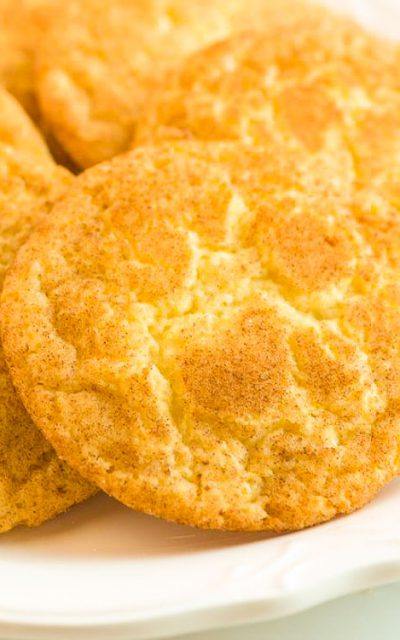
Snickerdoodles
Snickerdoodle recipes just don’t get better than these! This is a great recipe for an old favorite. They are very easy to make, and travel well too.
read more
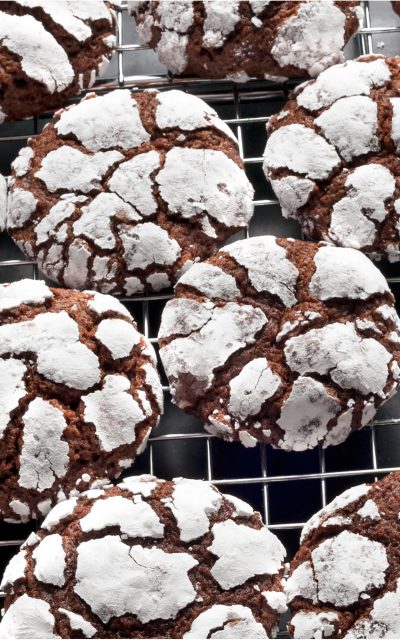
Chunky Chocolate Crinkle Cookies
These Chunky Chocolate Crinkle Cookies are one of my summer baking favorites!
read more
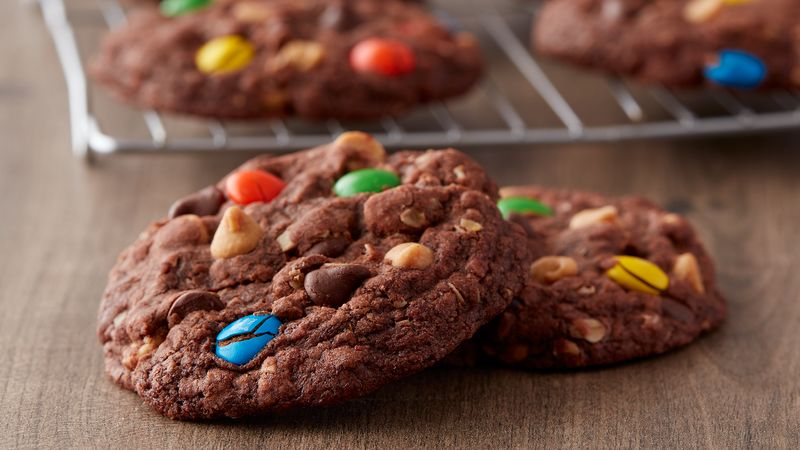
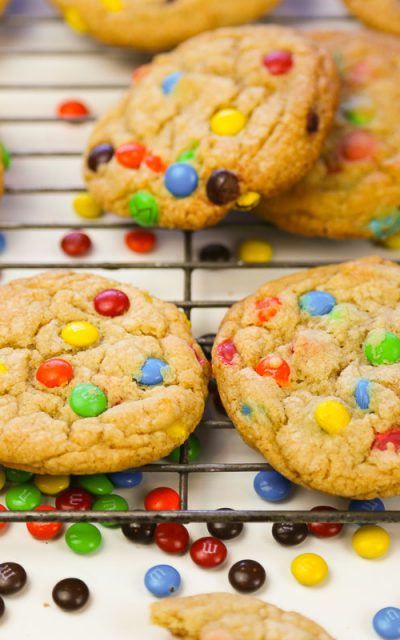
Mini M&M Cookies with Toffee Bits
Crispy soft cookies with bits of toffee and colorful M&M’s Minis. Bet you can’t eat just one!
read more
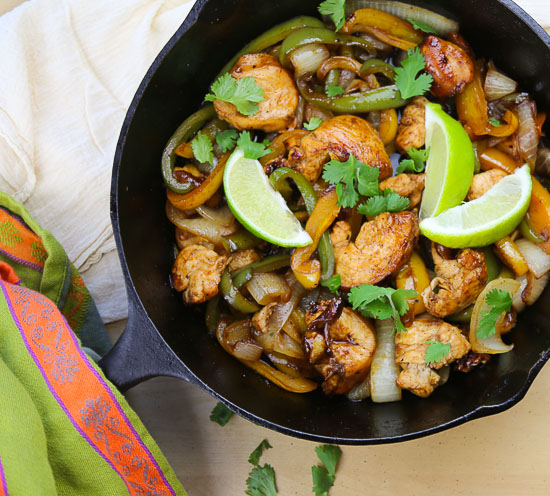
Easy Make Ahead Chicken Fajitas
These chicken fajitas are as easy as they are delicious. A delicious make ahead dinner for your family or a crowd.
read more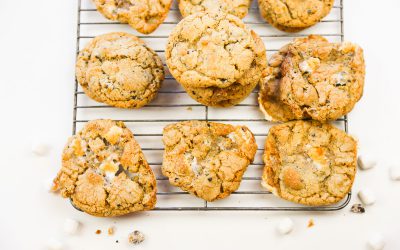
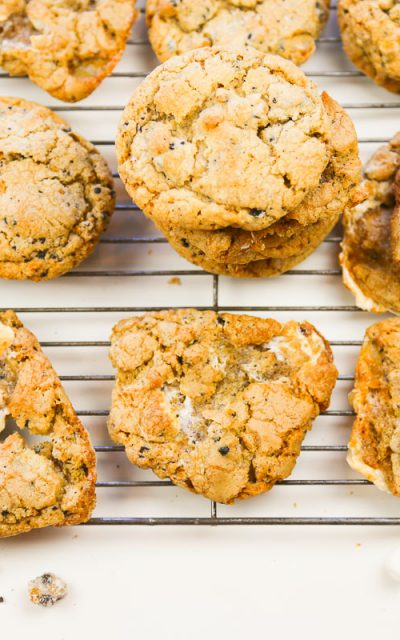
Marshmallow Cookies ‘N’ Cream Cookies
Crunchy, chewy, laced with bits of chocolate and gooey mashmallow, this wonderful cookie will be a real hit with your family and friends.
read more