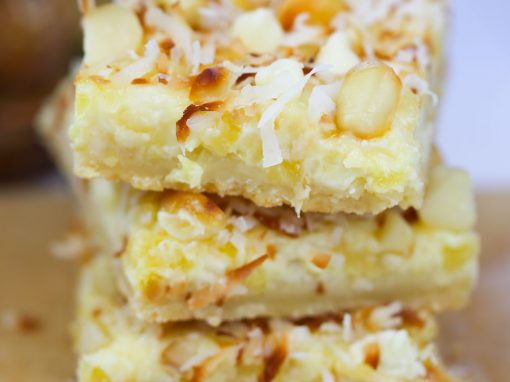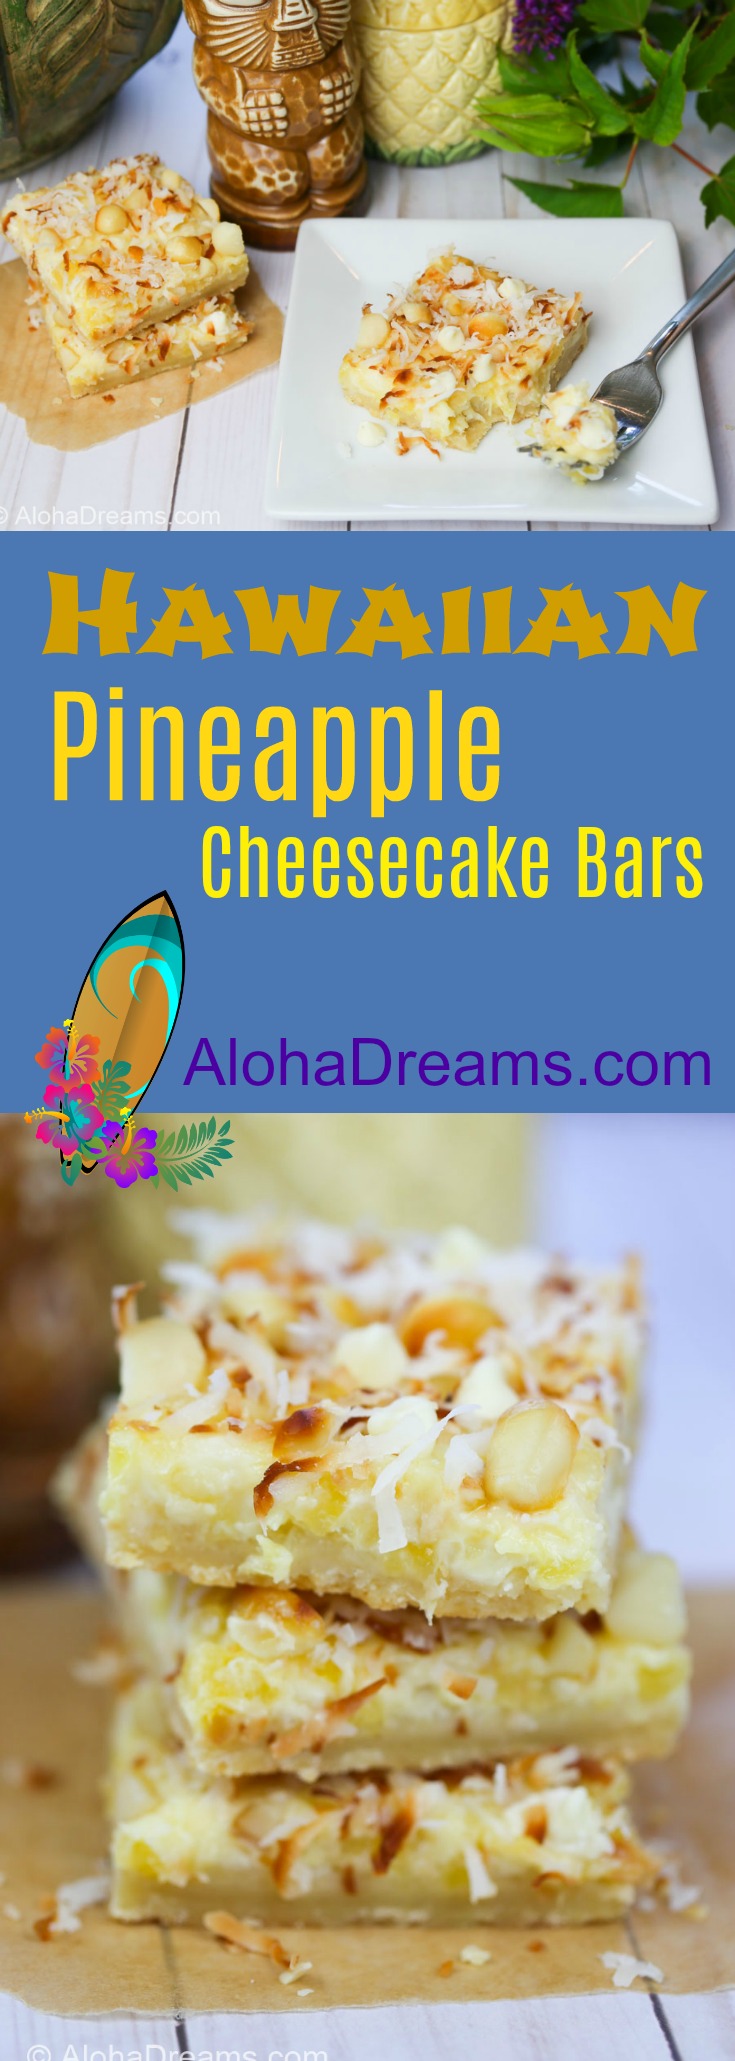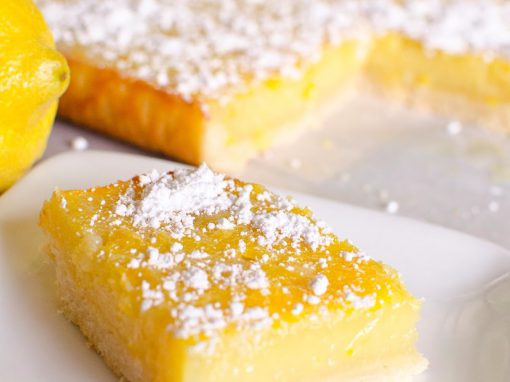
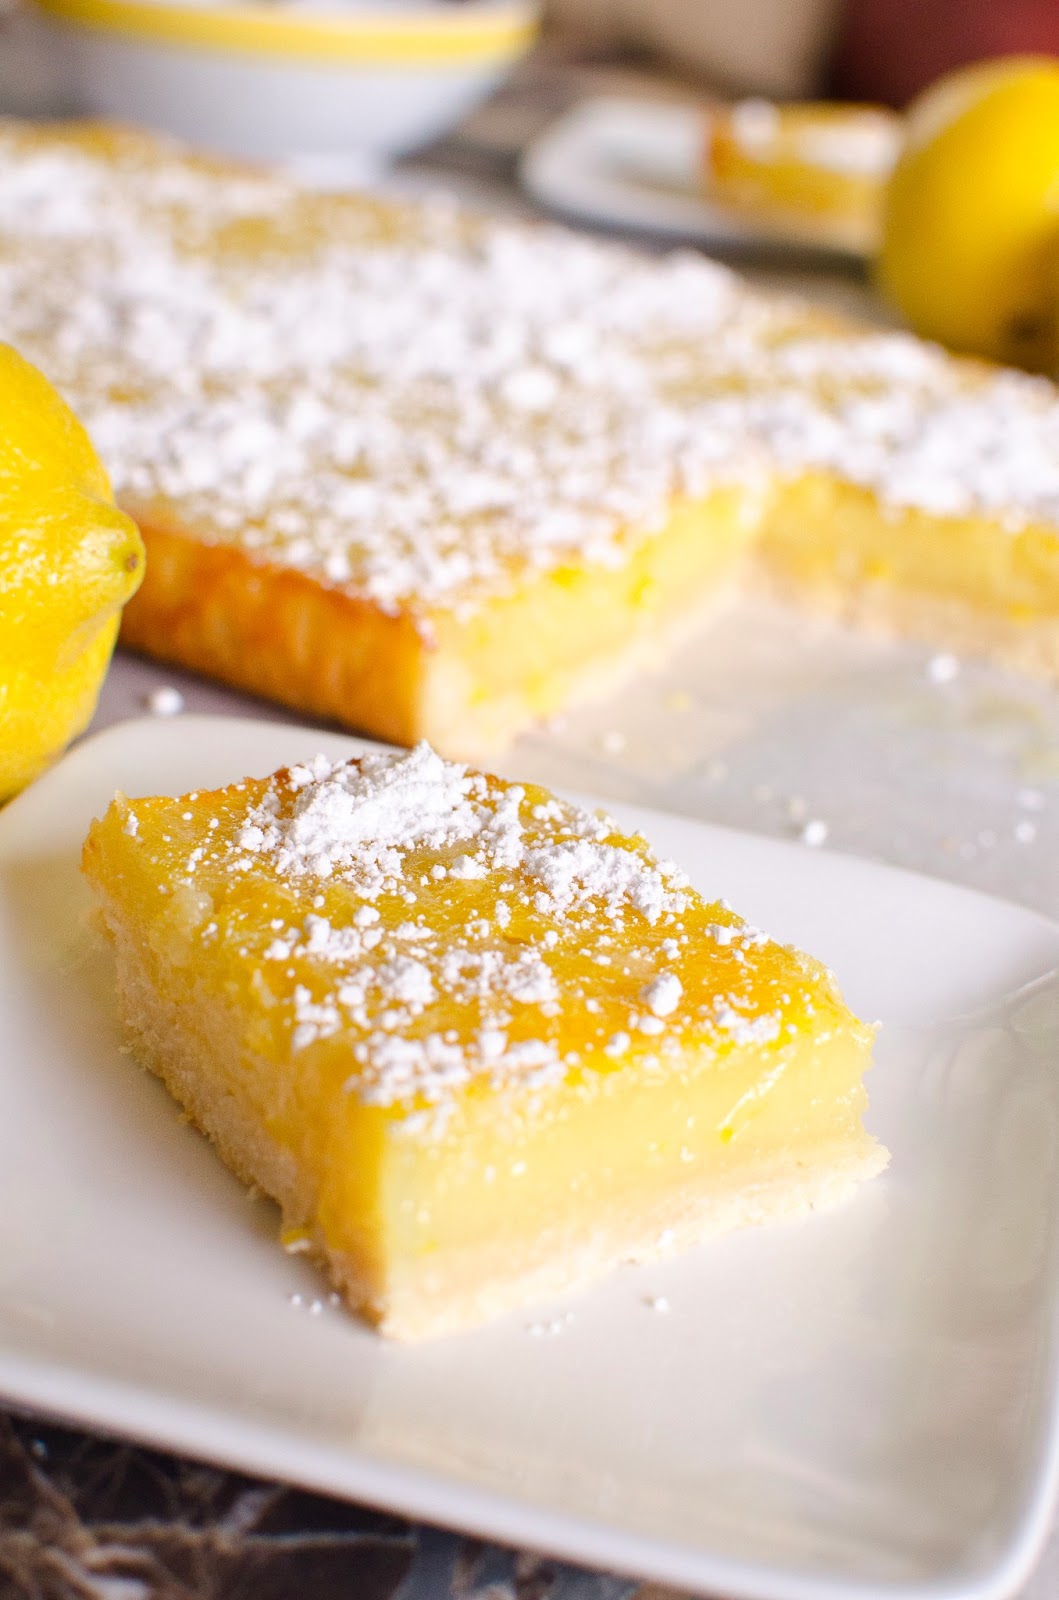
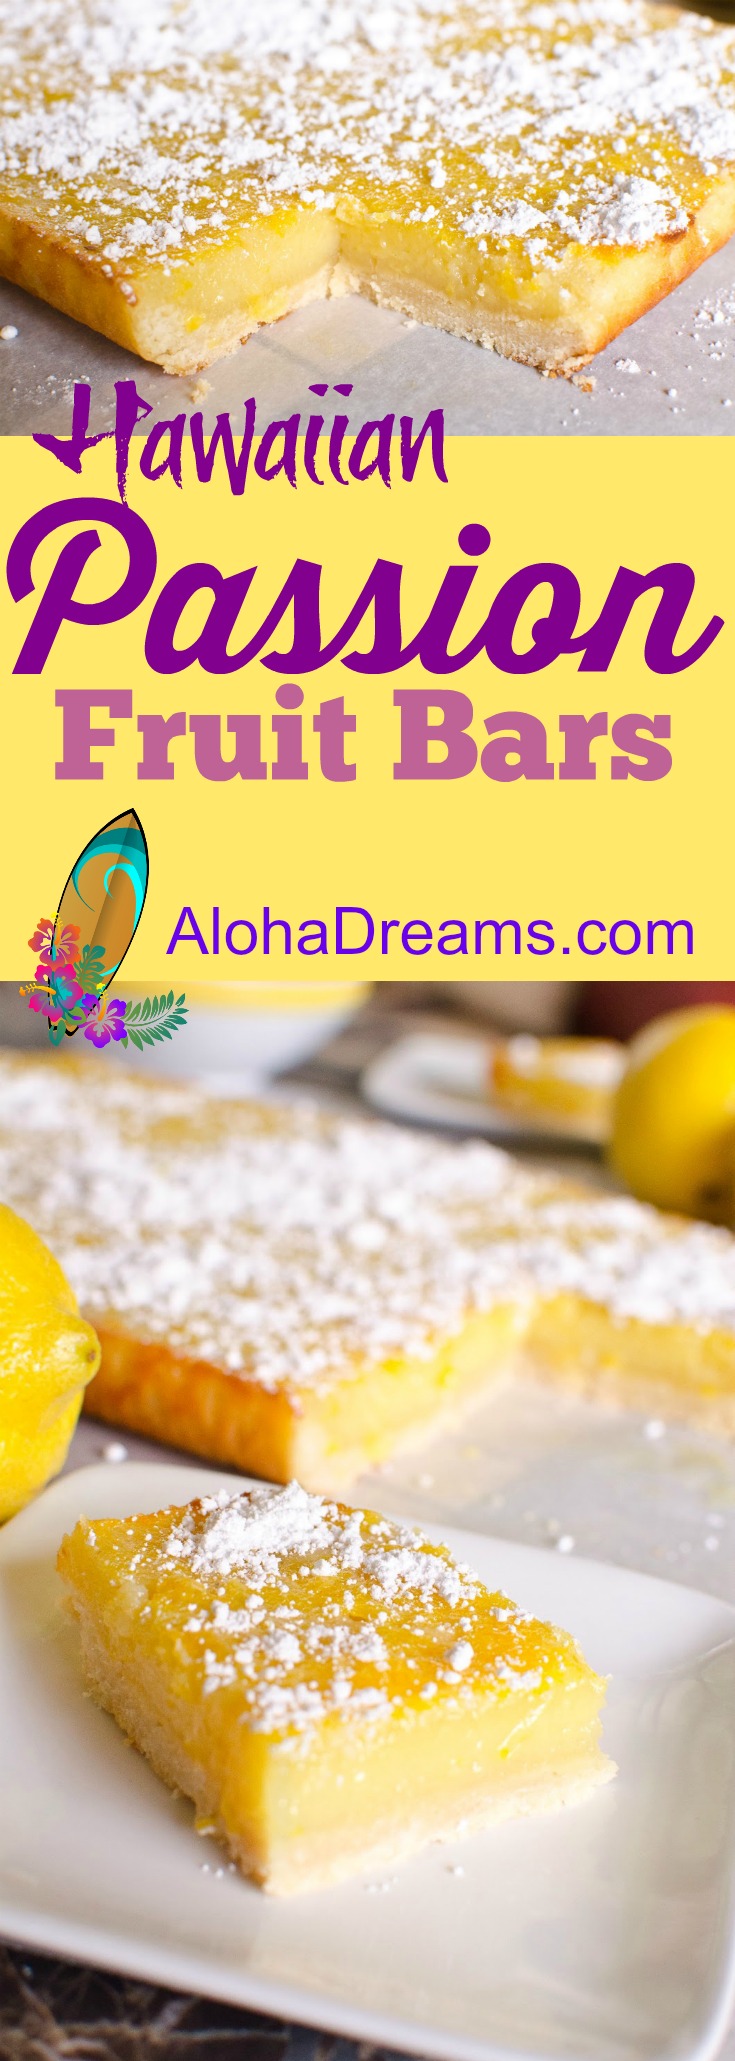
Hawaiian Passion Fruit Bars


Hawaiian Passion Fruit Bars
Raise your hands if you like lemon bars.
Me too!
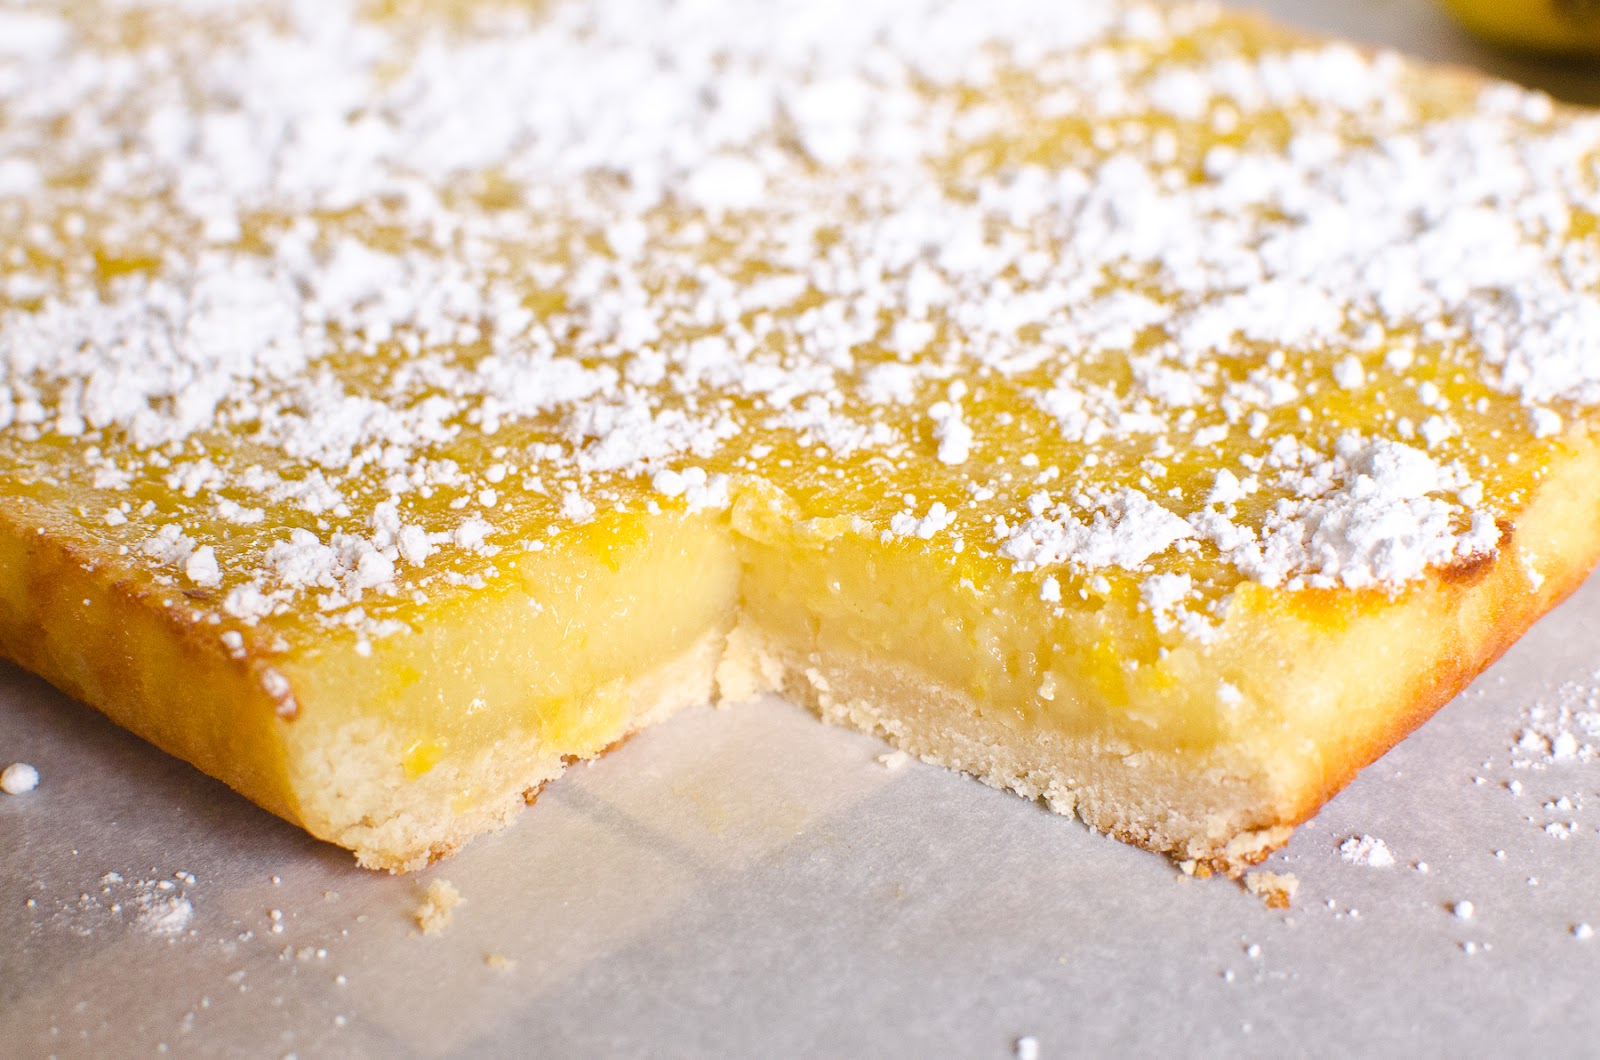
But some people find them a bit too tart for their dessert tastes. Welcome to the solution. Passion Fruit Bars are still a tangy treat – but the sweet kick from the passion fruit juice off-sets the tang wonderfully and it all goes perfectly with the buttery shortbread crust!
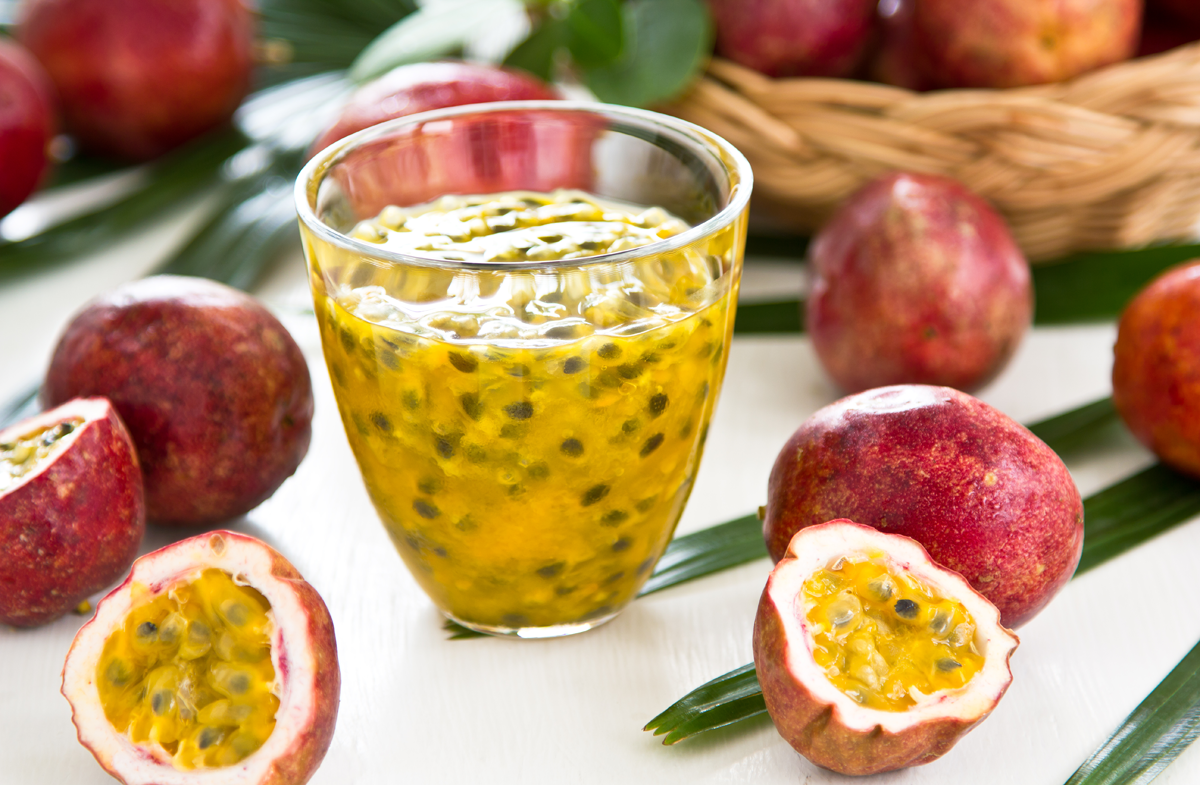
In case you’ve never seen one, this is a passion fruit. (They’re also called Lilikoi (pron. lily-koi). I’ve always thought that was a pretty word.)
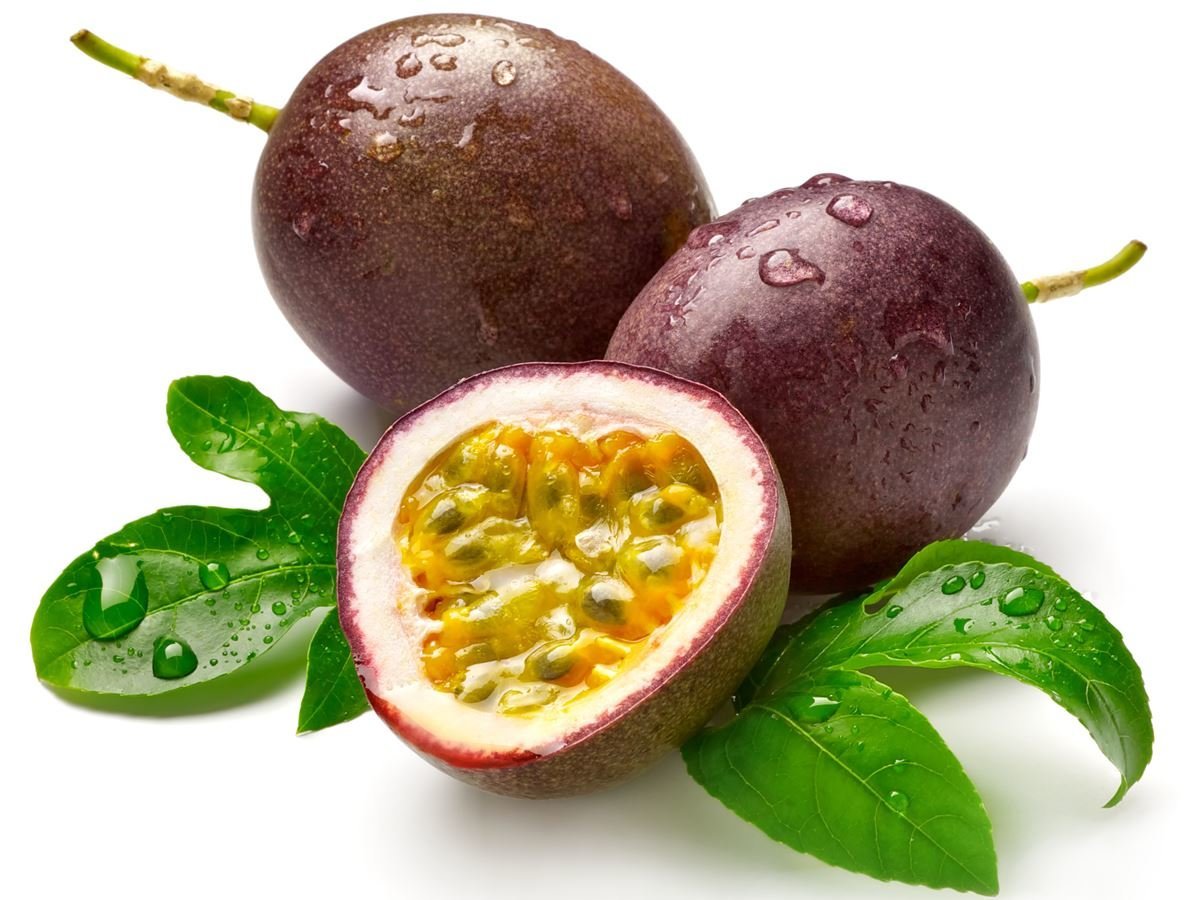
You can remove the pulp and seeds and make a WONDERFUL tasting puree.
….or you can buy it here if you don’t happen to have any growing in your backyard.
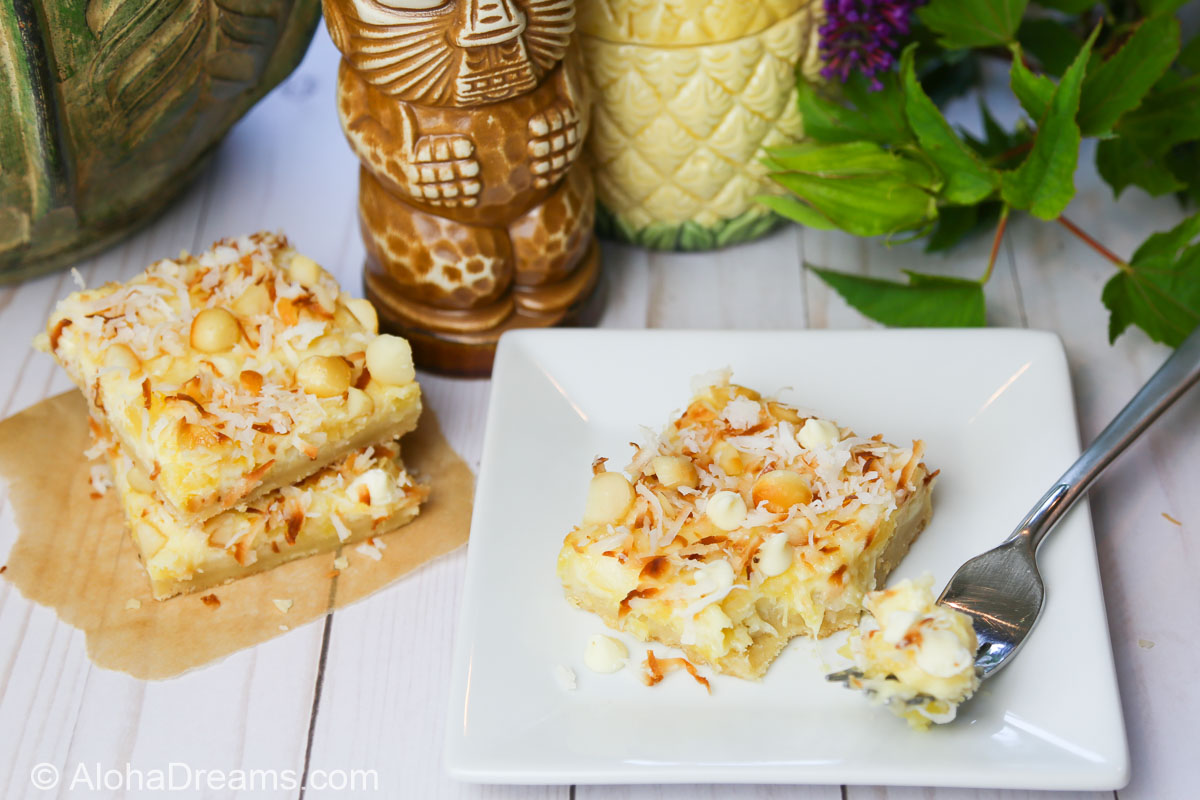
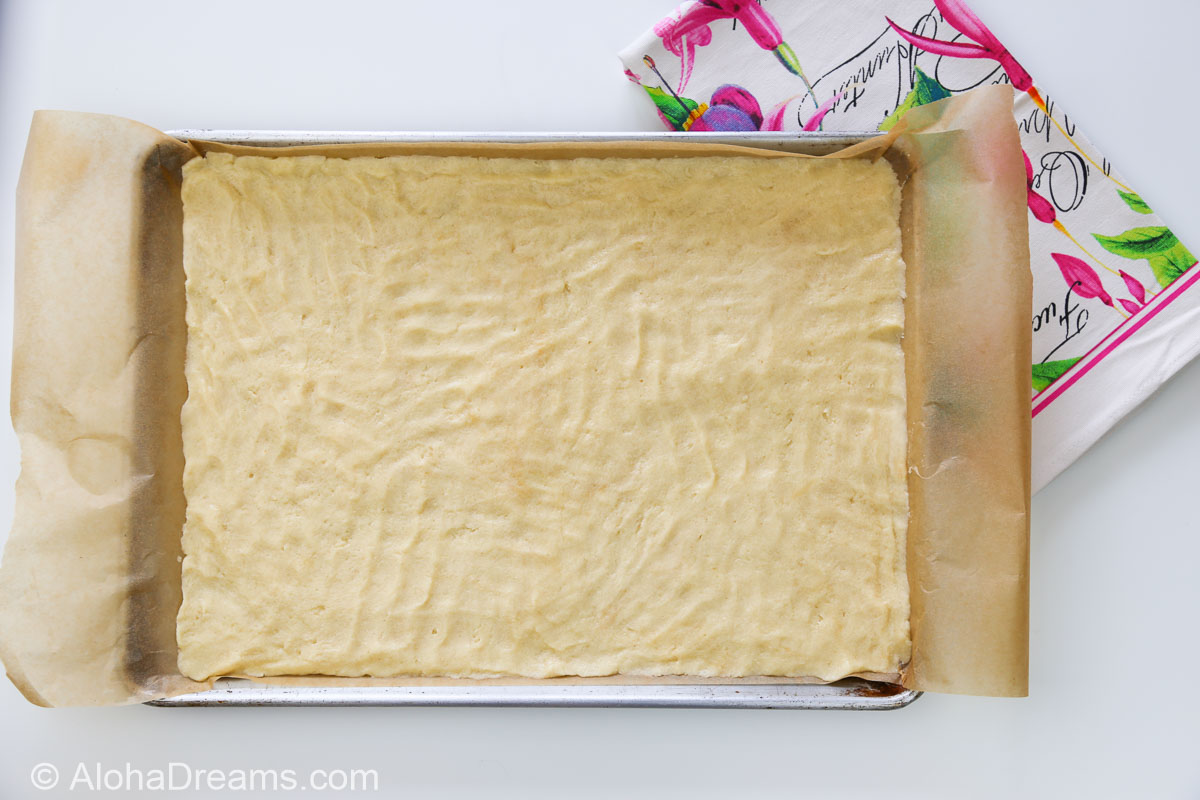
The base is a super-crispy buttery crust that I also used for my Pineapple Cheesecake Bars. It comes together in a snap and doesn’t require any chilling. It’s sturdy, sets easily, cuts cleanly and makes the perfect filling-to-crust ratio.
Pin for Later
Or Make Now
Family Size
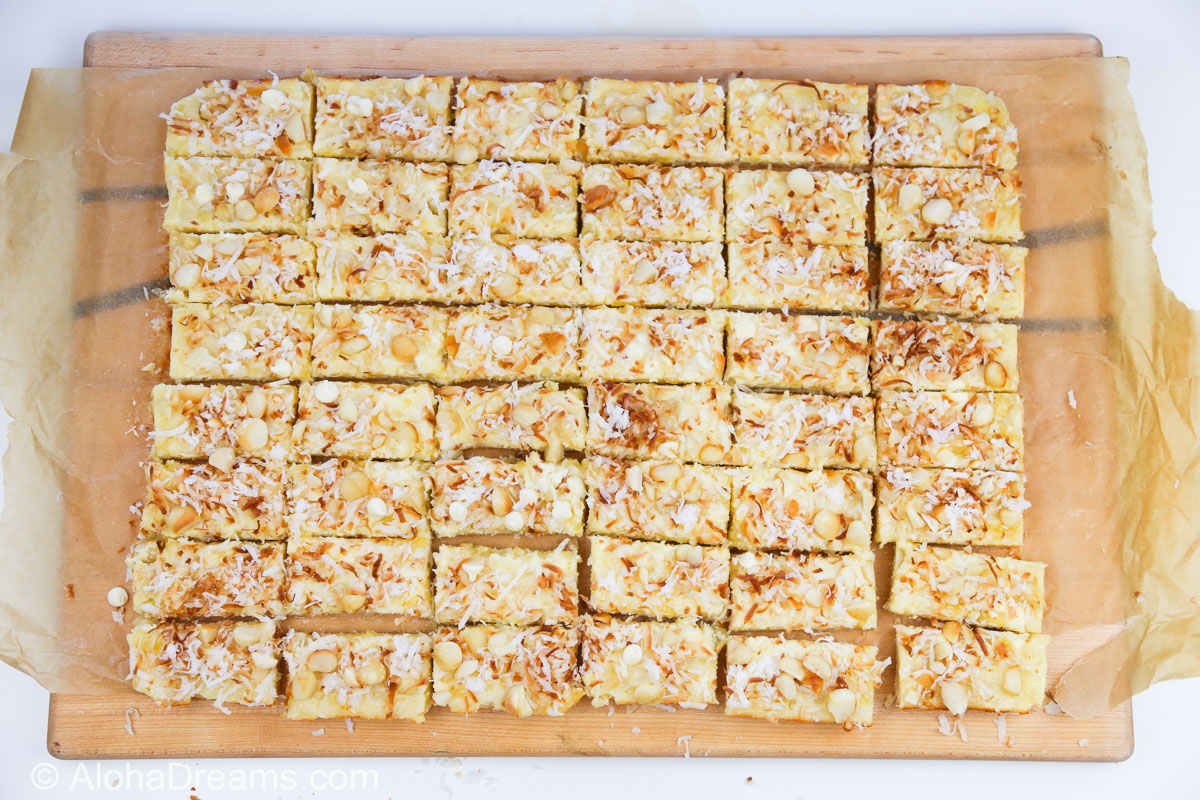
Cut in 3 rows by 6 rows to serve 18.
An AlohaDreams.com recipe
- 1 cup all-purpose flour (4.25 ounces or 120 grams) spoon into measuring cup
- 1/4 cup granulated sugar
- 1/2 cup unsalted butter (1 stick, melted and slightly cooled)
- 1/2 teaspoon vanilla extract
- 1/2 teaspoon salt
- 8 large eggs
- 2 1/3 cups granulated sugar (increase sugar to 2 2/3 cups if using passion fruit concentrate)
- 1 1/2 cups passion fruit puree
- 1/2 cup all-purpose flour
-
Preheat oven to 350 degrees. Line the bottom and sides of a 9 x 13 baking pan with aluminum foil or parchment paper, leaving enough overhang on all sides to lift later. Set aside.
-
In a medium bowl stir the melted butter, granulated sugar, vanilla, and salt. Add the flour and stir until everything is combined. Press the mixture evenly into the prepared baking pan.
-
Bake at 350 degrees about 15 minutes or until edges are lightly browned. While the crust is baking, prepare the passion fruit filling.
-
In a large bowl, whisk together the eggs, granulated sugar, and passion fruit puree. Sift the flour into the egg mixture. Whisk until combined.
-
When the crust is done baking, slide the rack half-way out of the oven. Pour the filling over the hot crust and return it to the oven. Reduce temperature to 325 F and bake for 25-30 minutes. It’s done when the center barely jiggles when the pan is tapped.
-
Remove the pan from the oven and let cool until it reaches room temperature, then refrigerate to get cold before cutting.
-
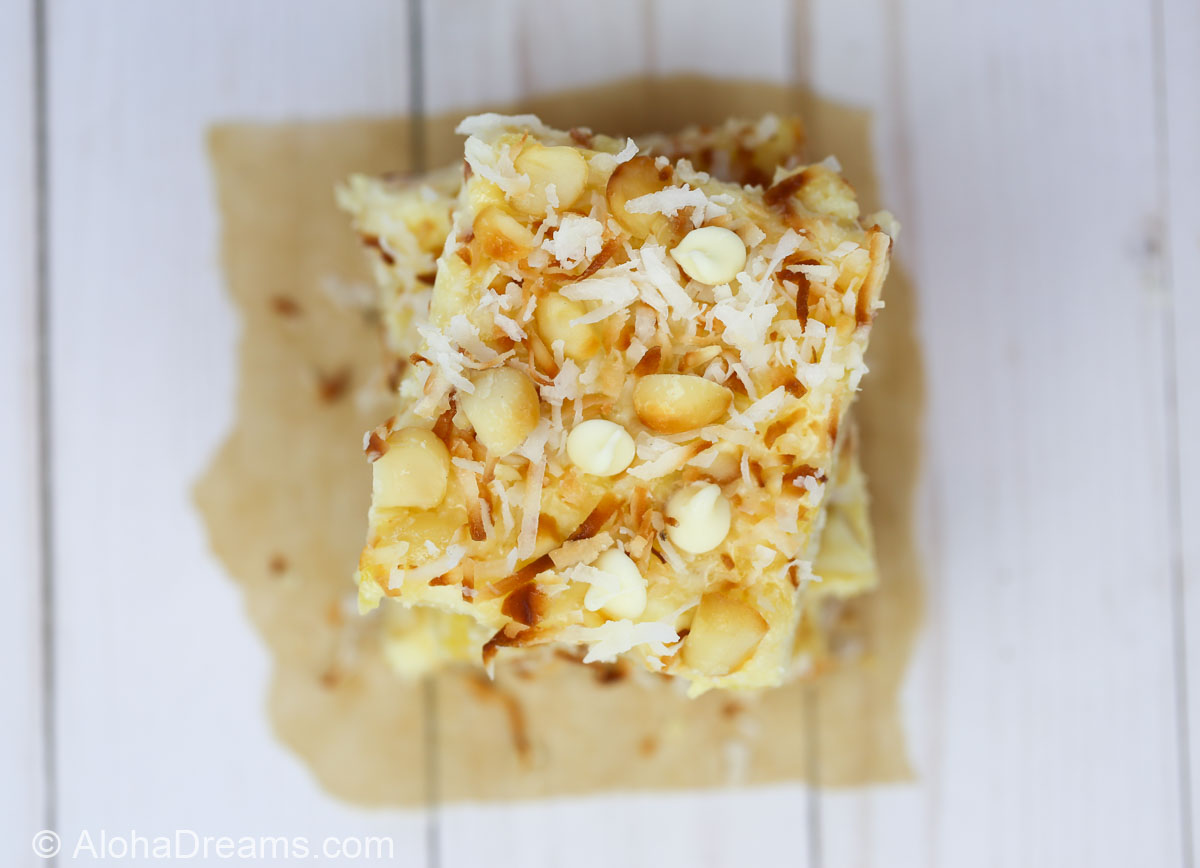
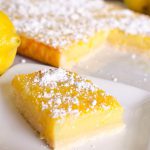
When ready to serve, remove the bars from the pan using the parchment or foil to lift. Cut into 3 rows by 6 rows for 18 bars, wiping the knife between cuts. Sprinkle the top with powdered sugar and serving.
Large Group
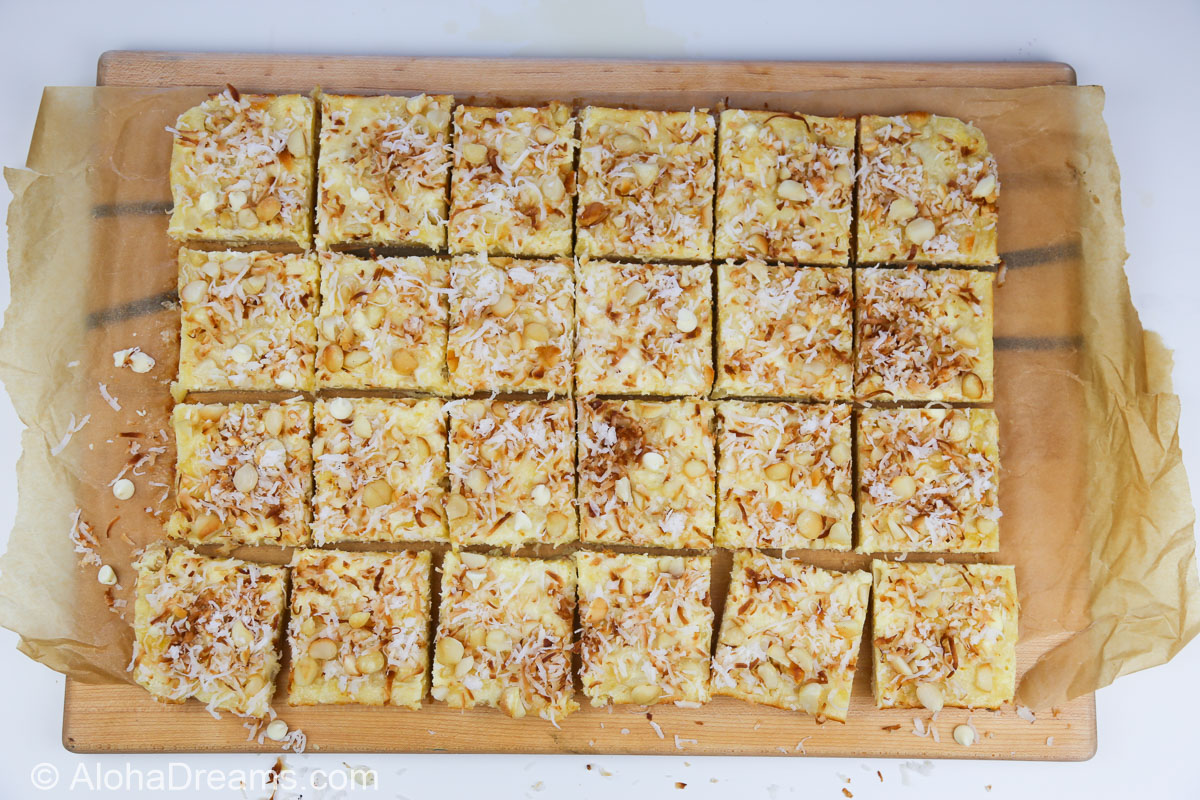
Cut into 4 rows by 6 rows to make 24 bars.
An AlohaDreams.com recipe
- 3 cups all-purpose bleached flour (12.75 ounces or 360 gram) Spoon into measuring cup to measure
- 3/4 cup granulated sugar
- 1 1/2 cup unsalted butter (2 1/2 sticks, melted)
- 1 teaspoon vanilla extract
- 1/2 teaspoon salt
- 16 large eggs
- 4 2/3 cups granulated sugar (increase sugar to 5 cups if using passion fruit concentrate)
- 3 cups passion fruit puree (24 fl. ounces)
- 1 cup all-purpose flour
- 1 (13 x 18) half sheet baking pan
-
Preheat oven to 350 degrees. Line the bottom and sides of 13 x 18 inch baking pan with aluminum foil or parchment paper, leaving enough overhang on all sides to lift later. Set aside.
-
In a medium bowl stir the melted butter, granulated sugar, vanilla, and salt. Add the flour and stir until everything is combined. Press the mixture evenly into the prepared baking pan.
-
Bake at 350 degrees about 15 minutes or until edges are lightly browned. While the crust is baking, prepare the passion fruit filling.
-
In a large bowl, whisk together the eggs, granulated sugar, and passion fruit puree. Sift the flour into the egg mixture. Whisk until combined.
-
When the crust is done baking, slide the rack half-way out of the oven. Pour the filling over the hot crust and return it to the oven. Reduce temperature to 325 F and bake for 25-30 minutes. It’s done when the center barely jiggles when the pan is tapped.
-
Remove the pan from the oven and let cool until it reaches room temperature, then refrigerate to get cold before cutting.
-
When ready to serve, remove the bars from the pan using the parchment or foil to lift. Cut into 4 rows by 6 rows for 24 bars, wiping the knife between cuts. Sprinkle the top with powdered sugar and serving.

Welcome to Aloha Dreams!
I'm so glad you dropped by. I'm Betsy. Here you'll find my favorite fabulous, trusted recipes - everything from delicious, quick meals for your family to wonderful classics made easy.
I'm also here to help you with large group recipes from 20 to 200. So next opportunity you get to cook for a large group - Say 'Yes!' Then relax. I've got your back.
Ever wished you could build your dream home? How about building your dream home in a tropical paradise? Join me, room by room, as we design and build a fabulous dream home in Hawaii!
Explore Aloha Dreams


EXPLORE
If you're planning a vacation to Hawaii, I've got you covered on the very best places to go! From many amazing restaurants to incredible adventures in the surf and on land, this is your go-to source for unique and exciting things to do on the Big Island of Hawaii. Or just take a Virtual Vacation!! Let's go!
SAY YES!
If you've been asked to cook for a large group activity, be it a Girl's Camp or a Graduation Party, say Yes! I'm here to help. From Menus to Game Plans to Recipes, I'll help you keep on schedule and turn out amazingly delicious food if you're cooking for a crowd! My recipes are tested and trusted. Let's cook!
AHONUI
Ever wished you could build your dream home? Like amazing house design and home building ideas? Me too! Join me as I design and build a home on the Big Island of Hawaii. Follow along while I design each room. Enjoy a front row seat for the entire amazing construction process. Let's play!
PARTY
Would you like to throw a Luau, but not sure where to start? Want to know how to build a tiki bar and roast a pig? Here's everything you need to have a luau. How about a Christmas Feast or even a fabulous dinner for your neighborhood supper club? You've come to the right place. Let's party!