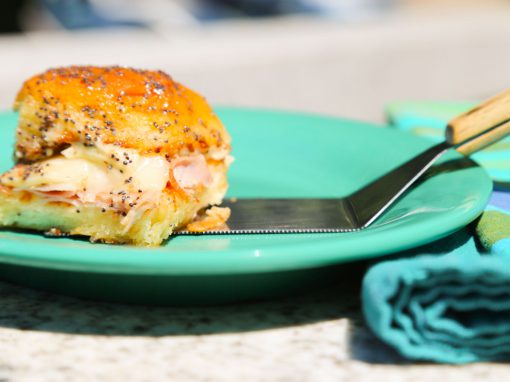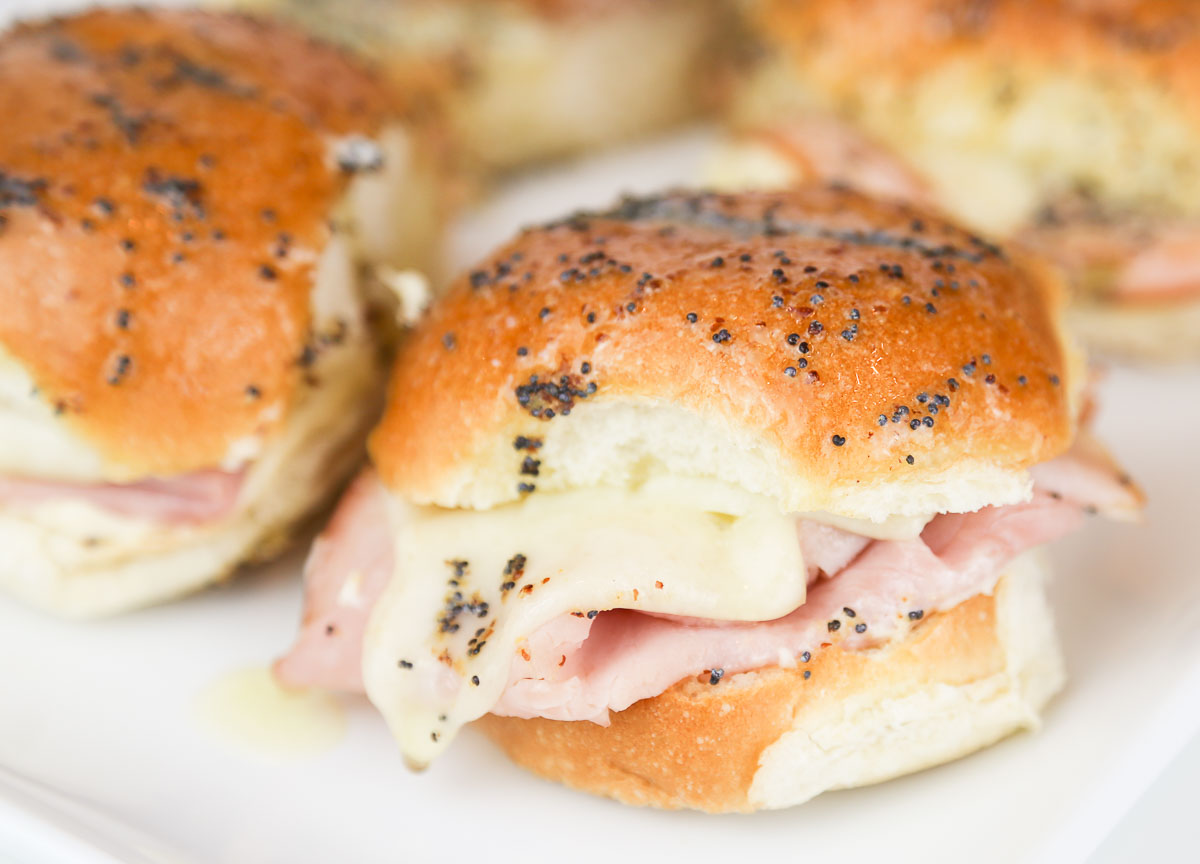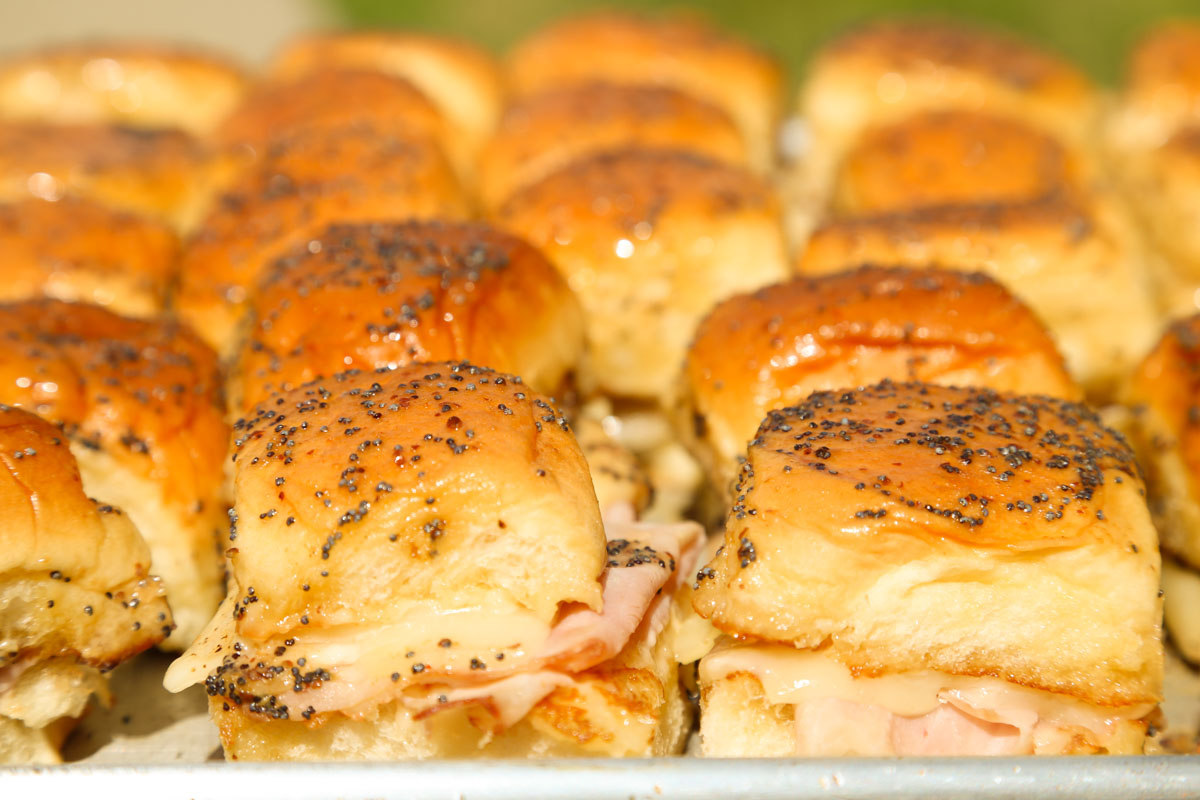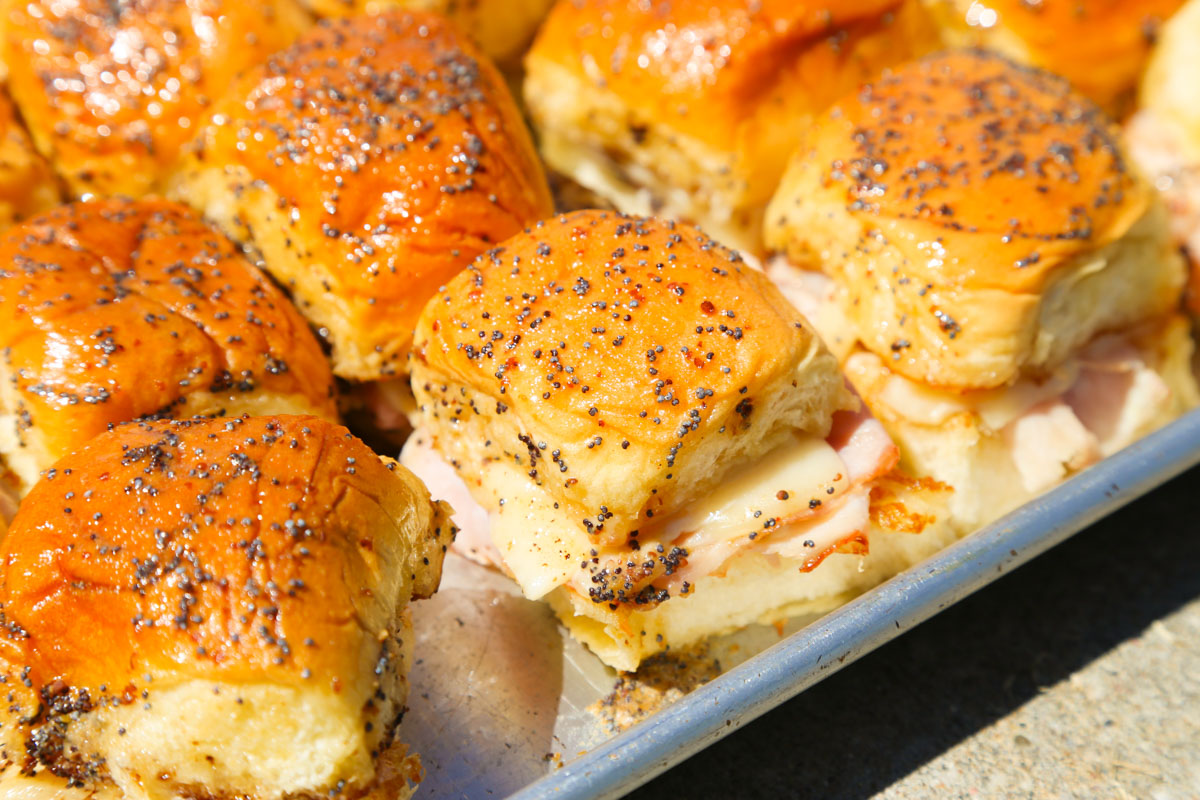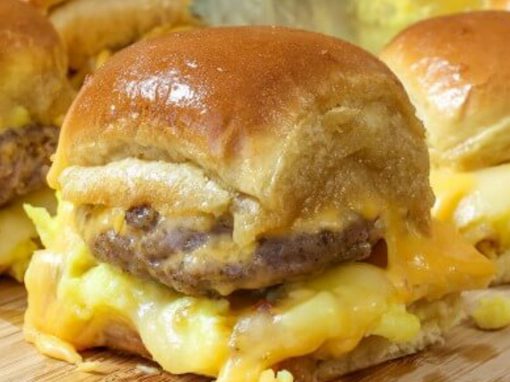
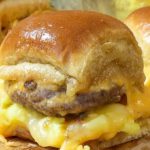
Sausage, Egg and Cheese Sliders for a Crowd


Sausage, Egg & Cheese Breakfast Sandwiches
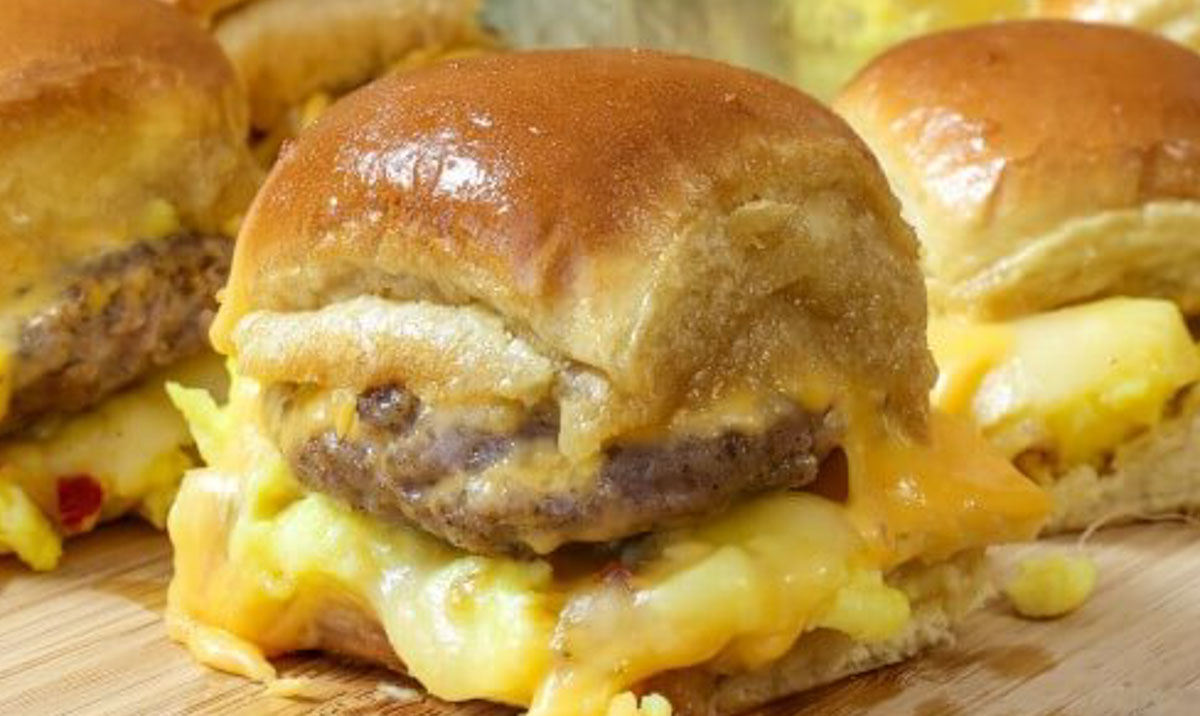
Move over McDonalds. These sweet and savory breakfast sliders are perfect for serving a crowd. They can easily be made the day before and simply heated up when you’re ready to serve.
They will have your house smelling so good your family will be waiting at the table, at least mine was! A few simple ingredients and a few minutes in the kitchen give you a fabulous breakfast. It’s a real crowd pleaser.
Expect recipe requests!
Family Size
- 2 (16 ounce) roll Pork Sausage - mild
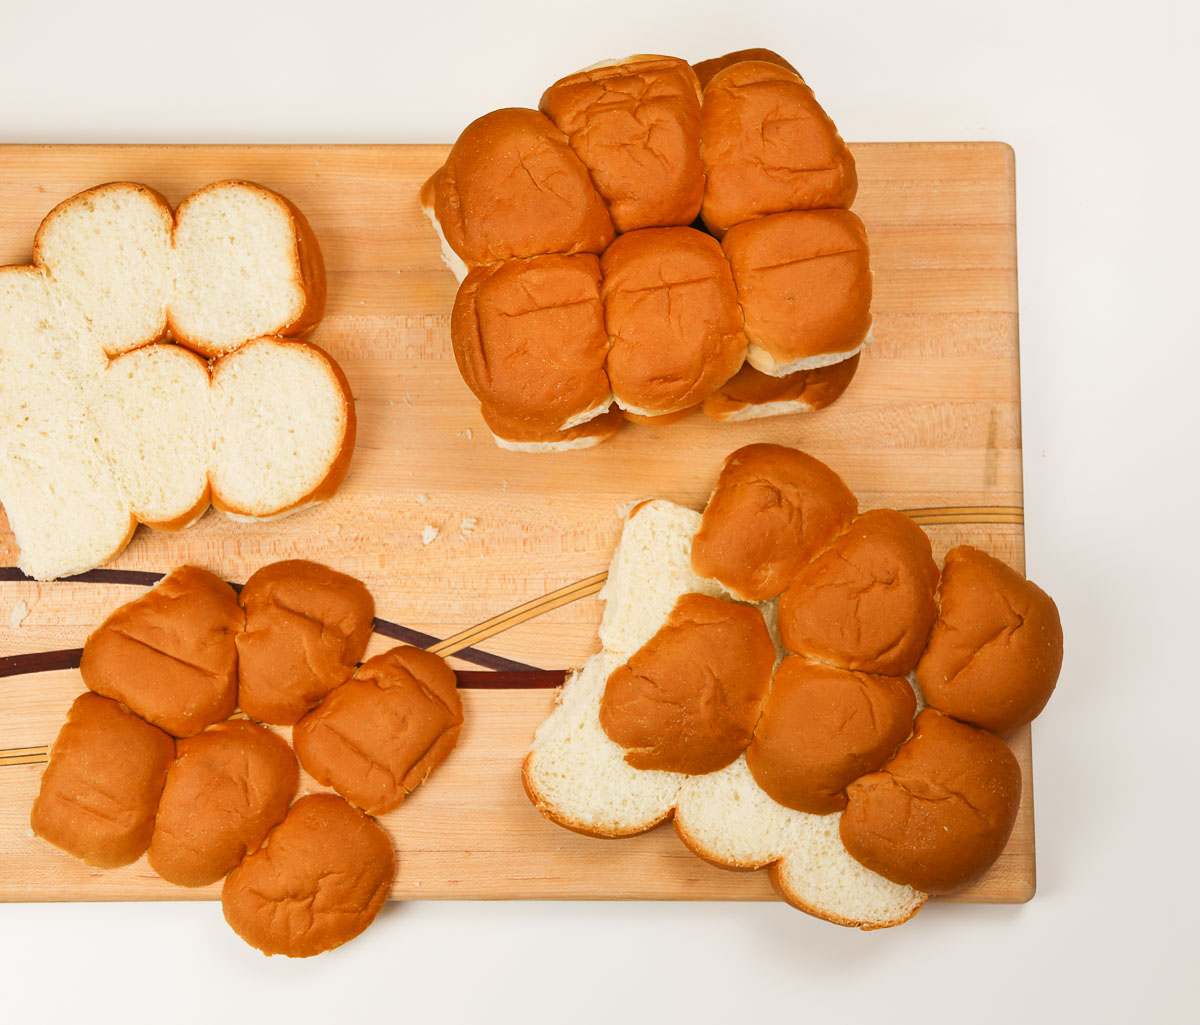
- 12 King's Hawaiian dinner rolls
- 8 large eggs - scrambled
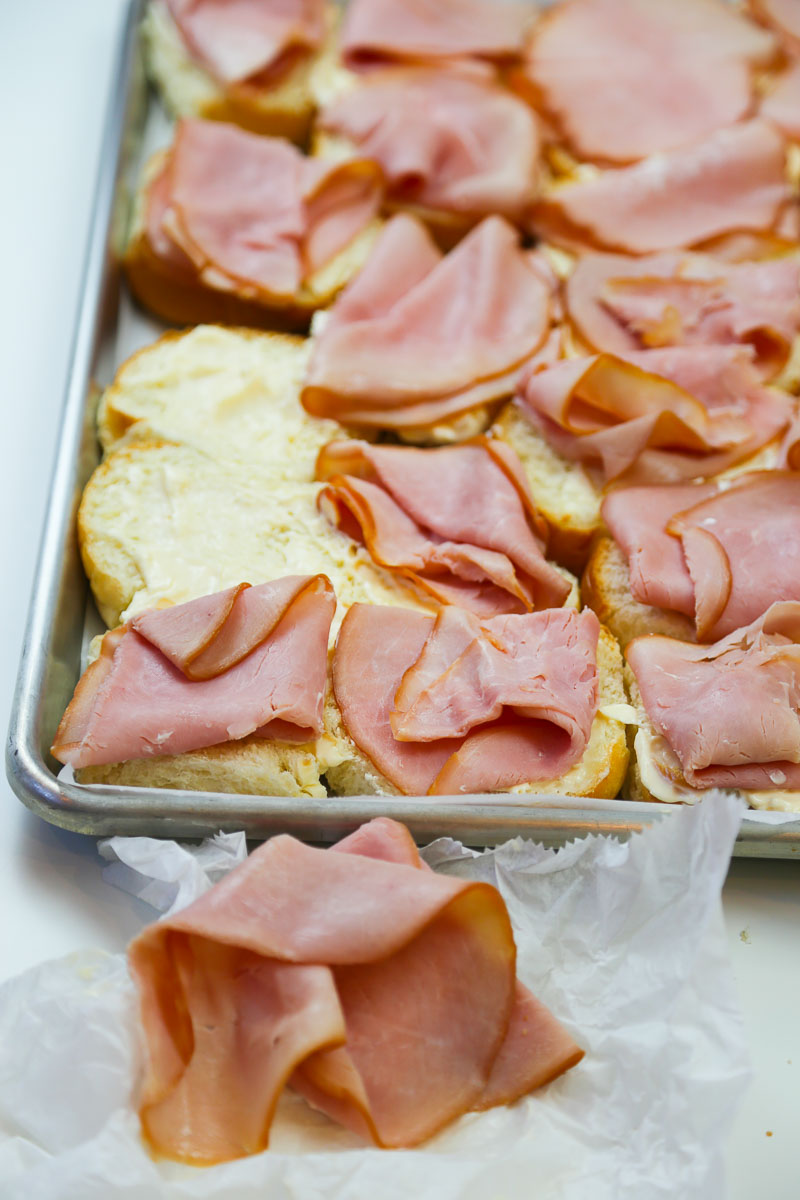
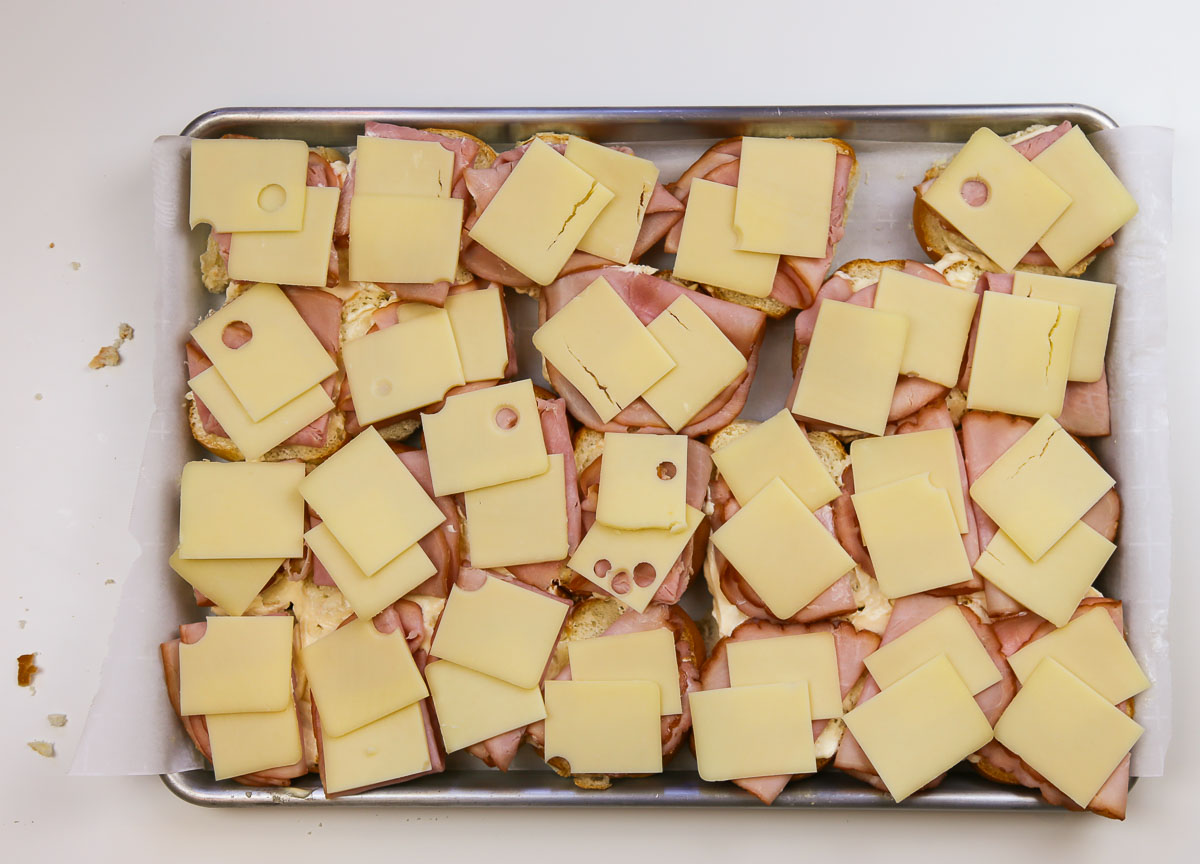
- 6 slices Monterey jack cheese - cut into quarters
- 6 slices American cheese
- 1/2 cup butter - melted
- 1/4 cup maple syrup
-
Preheat oven to 350°F.
-
Form sausage into 12 patties, making each slightly larger than a dinner roll. Heat a large skillet over medium heat. Add sausage patties to skillet and cook until completely cooked through. Remove from skillet and set aside.
-
While sausages are cooking, cut rolls in half lengthwise (keeping rolls in a sheet if possible). Place bottom half of rolls in a 9 x 13 baking dish. Set tops aside.
-
Place a heaping spoonful of scrambled eggs onto each bottom rolls. Top eggs with 2 quarter slices of Monterey jack cheese. Place sausage patty on top of Monterey jack cheese and top sausage with 2 quarter slices of American cheese. Place top half of buns on top of bottom buns.
-
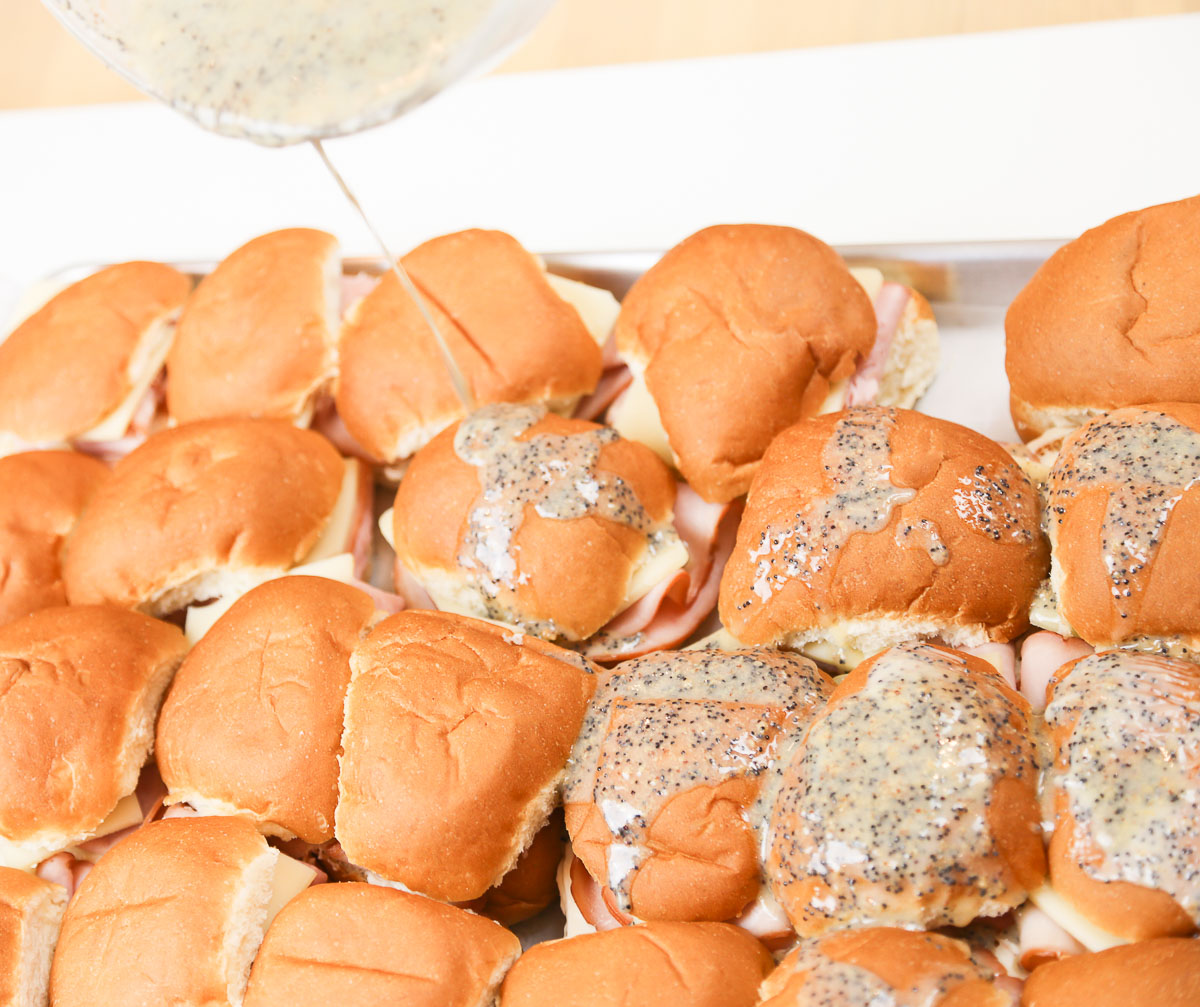
Combine melted butter and maple syrup in small bowl. Brush over tops of rolls allowing sauce to drip down sides and into bottom. Use entire amount.
-
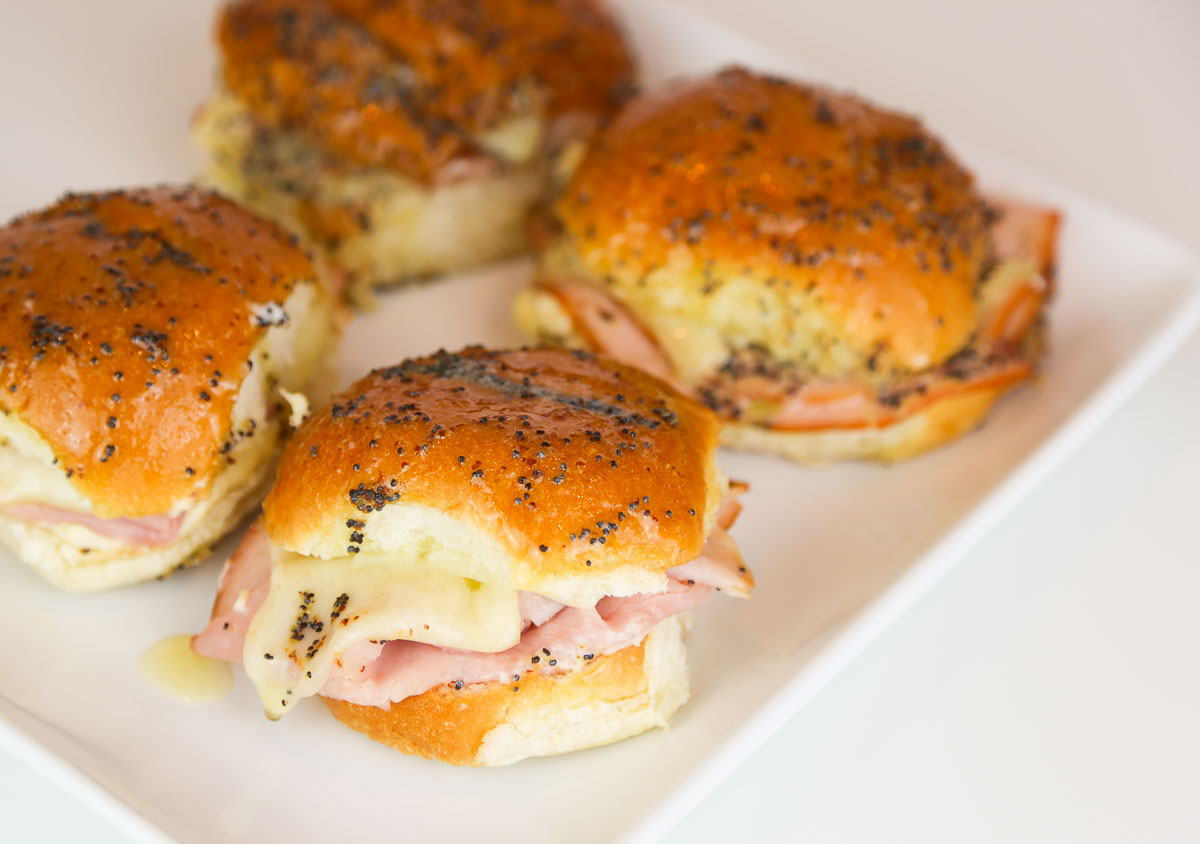
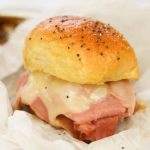
Bake 15-20 minutes at 350 degrees or until cheese is bubbly and melted. Serve hot.
-
MAKE

Welcome to Aloha Dreams!
I'm so glad you dropped by. I'm Betsy. Here you'll find my favorite fabulous, trusted recipes - everything from delicious, quick meals for your family to wonderful classics made easy.
I'm also here to help you with large group recipes from 20 to 200. So next opportunity you get to cook for a large group - Say 'Yes!' Then relax. I've got your back.
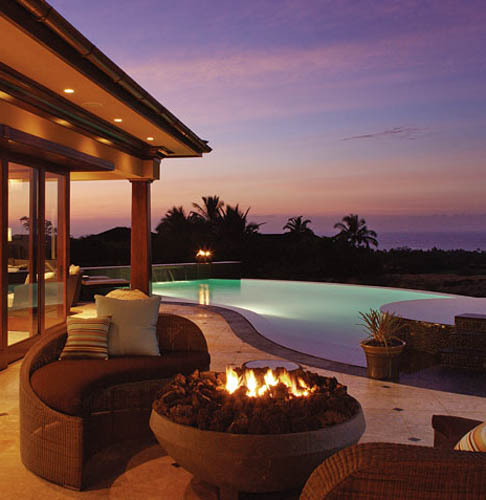
Ever wished you could build your dream home? How about building your dream home in a tropical paradise? Join me, room by room, as we design and build a fabulous dream home in Hawaii!
Large Group
- 4 (16 ounce) rolls Pork Sausage - mild
- 40 King's Hawaiian Sweet dinner rolls
- 3 dozen large eggs
- 1 1/2 cups evaporated milk (12 ounces) (Do NOT use sweetened condensed)
- 1 tablespoon Lawry’s seasoned salt
- 10 slices Monterey Jack cheese - quartered
- 10 slices American cheese - quartered
- 1 cup butter - melted
- 1 cup maple syrup
- 1 (18 x 13 inch) half sheet pan
- 2 (9 x 13 inch) baking pans
-
Preheat oven to 350°F. Thoroughly grease two 13x9 baking dishes. Set aside.
-
Spread sausage evenly in the bottom of a half sheet pan. Pat down and set aside.
-
Scramble eggs, evaporated milk and seasoned salt in a bowl, then pour into the two 13x9 well greased baking dishes. Bake eggs and sausage at 350F for 18-20 minutes or until the eggs are set and the sausage is done (170F). Cover the eggs with a sheet of parchment if necessary to keep the tops from getting brown.
-
While sausage and eggs are cooking, cut rolls in half lengthwise (keeping in a sheet if possible).
-
When done, remove the sausage and eggs from oven (keep oven on), remove sausage from the pan and cut sausage into 40 patties (8 rows by 5 rows). Pour out sausage grease and wipe down the half baking sheet.
-
Place bottom half of rolls in the half sheet baking pan. Place 1 sausage patty on each roll bottom. Slice each dish of eggs into 20 pieces. Place 1 egg slice on each sausage patty.
-
Top eggs with 1 quarter slice of Monterey Jack cheese and 1 quarter slice of American cheese. Carefully place top half of buns on top.
-
Combine melted butter and maple syrup in small bowl. Brush over tops of rolls allowing sauce to drip down sides and into bottom. Use entire amount.
-
Bake at 350 degrees F for 15-20 minutes or until cheese is bubbly and melted. Serve hot.

Explore Aloha Dreams


EXPLORE
If you're planning a vacation to Hawaii, I've got you covered on the very best places to go! From many amazing restaurants to incredible adventures in the surf and on land, this is your go-to source for unique and exciting things to do on the Big Island of Hawaii. Or just take a Virtual Vacation!! Let's go!
SAY YES!
If you've been asked to cook for a large group activity, be it a Girl's Camp or a Graduation Party, say Yes! I'm here to help. From Menus to Game Plans to Recipes, I'll help you keep on schedule and turn out amazingly delicious food if you're cooking for a crowd! My recipes are tested and trusted. Let's cook!
AHONUI
Ever wished you could build your dream home? Like amazing house design and home building ideas? Me too! Join me as I design and build a home on the Big Island of Hawaii. Follow along while I design each room. Enjoy a front row seat for the entire amazing construction process. Let's play!
PARTY
Would you like to throw a Luau, but not sure where to start? Want to know how to build a tiki bar and roast a pig? Here's everything you need to have a luau. How about a Christmas Feast or even a fabulous dinner for your neighborhood supper club? You've come to the right place. Let's party!