
No Results Found
The page you requested could not be found. Try refining your search, or use the navigation above to locate the post.
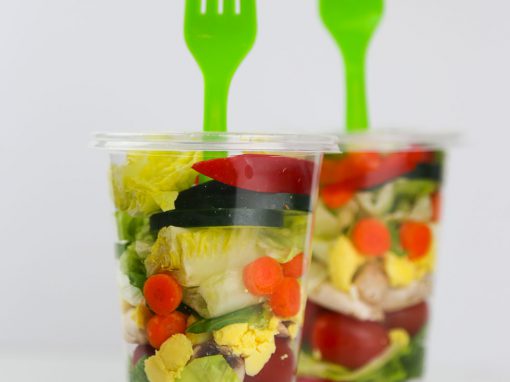


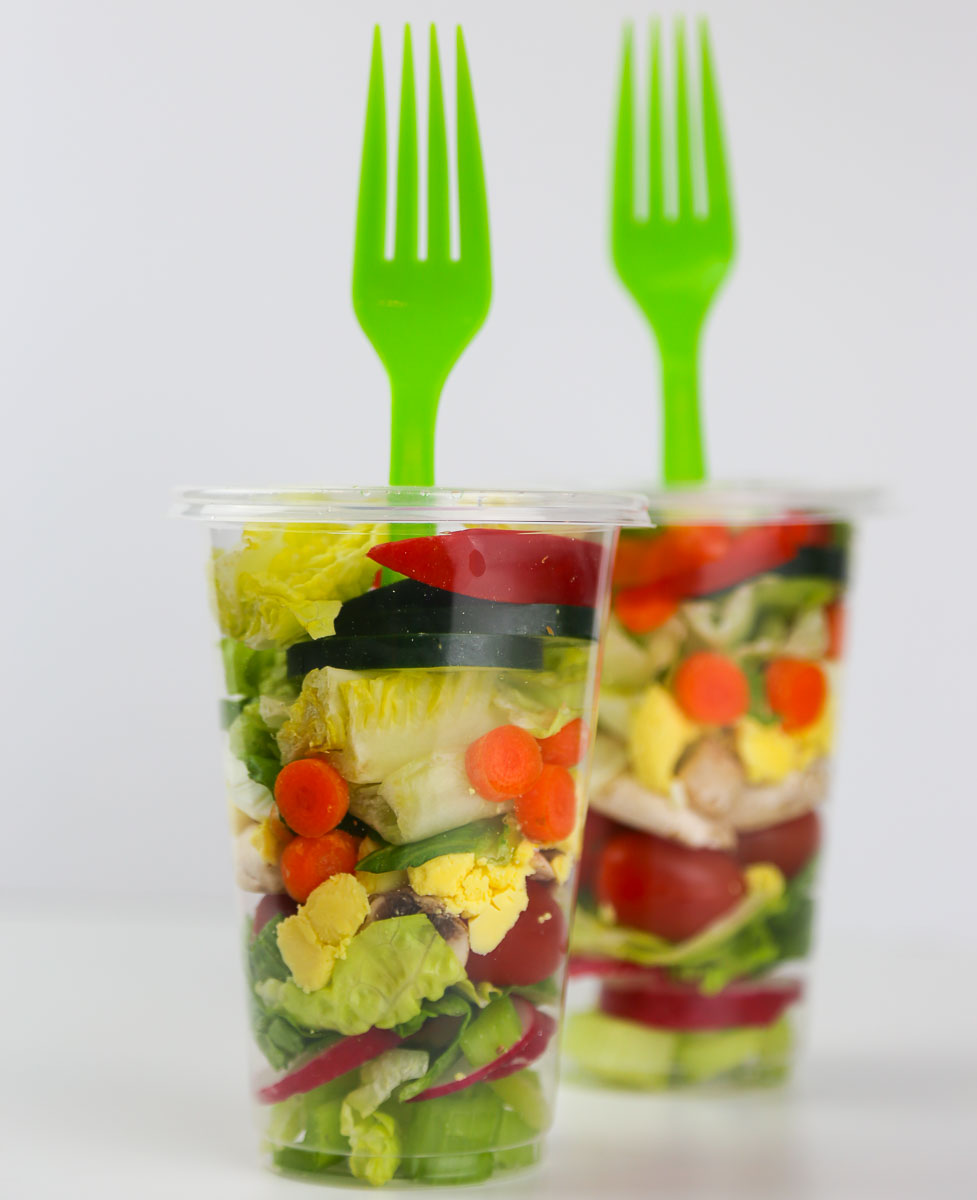
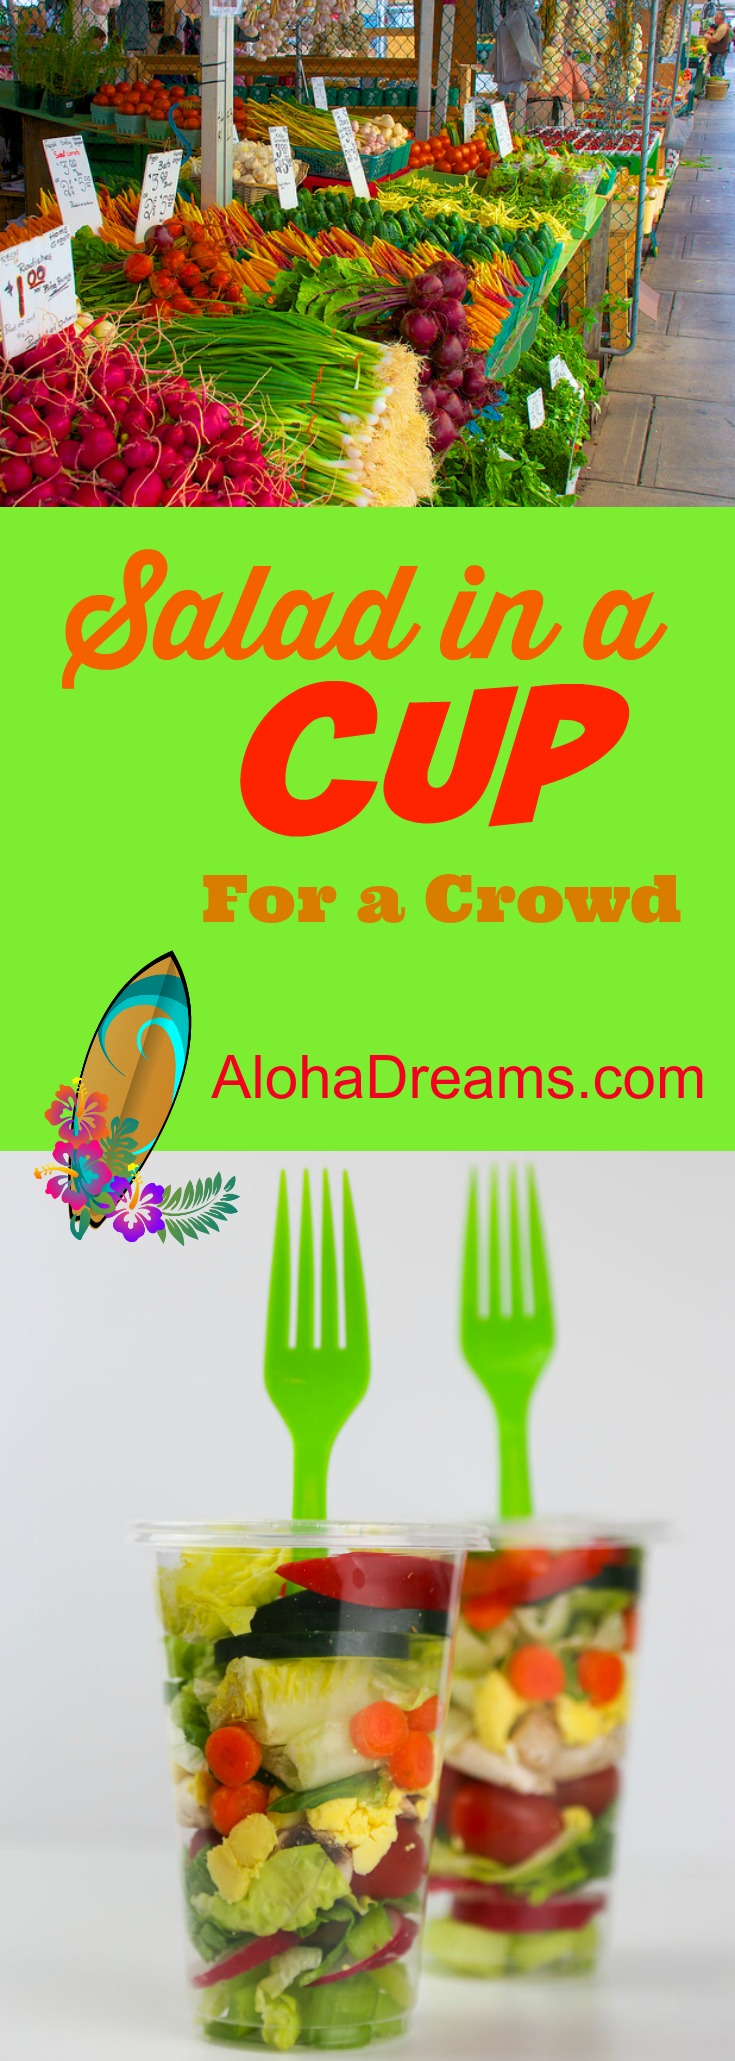
This salad-to-go is perfect for summertime events without a kitchen. It’s a ridiculously easy, quick salad that teens and adults really enjoy. Just stick a fork in the straw hole and you’re good to go. It’s handy for weekday lunches too. In a hurry? Grab a cup and head out the door.
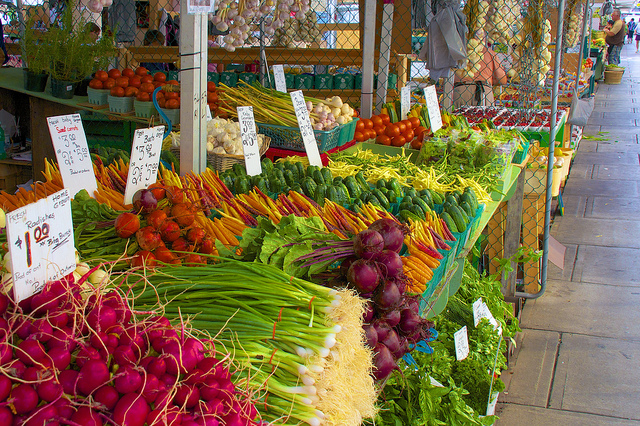
Salad in a cup is a fresh, easy side dish that requires no cooking and little prep. Served by itself or with Cheesy Garlic Bubble-Up Bread, it’s a great summertime large group option to take advantage of summer’s bounty in backyard, your neighborhood or your local farmer’s market.
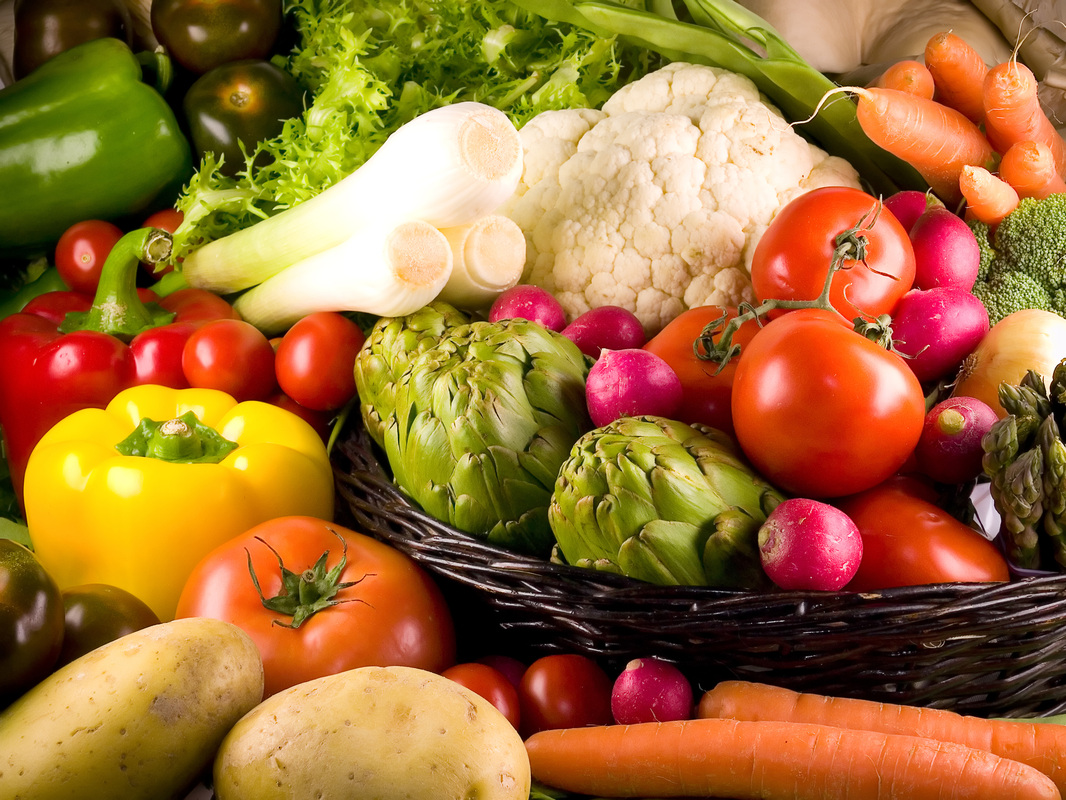
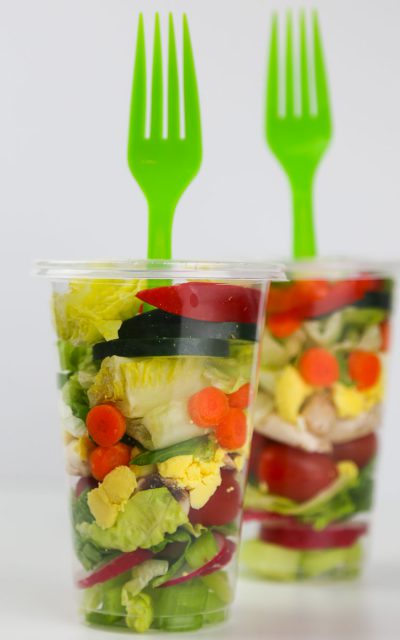
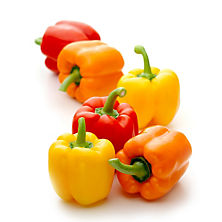
Fill it with all the goodies you like in a salad – lettuce, cucumber, crunchy red, yellow and orange bell peppers for color, hard boiled eggs, cherry tomatoes, mushrooms, carrot slices, or radishes could all make an appearance. Whatever’s fresh in your garden (or your neighbor’s.) If it’s mid-summer, he’ll be looking for a home for his extra produce. Other fun add-ins could be: celery, chopped broccoli, snow peas, cheese (crumbled or shredded), cauliflower, sunflower seeds, bacon bits, bean sprouts, or ham cubes.
The clear beverage cups make for a fun presentation. This recipe is sized for the 16 ounce cups. Party City carries these in 50-count packs. Pick up the clear plastic cup lids there too. The lid has an opening for a straw. Instead of that, just insert a plastic fork, and they are ready to serve. You have an easy clean up with this one as well, or they can be washed and reused several times.
If you desire a larger serving size with easier access, you could also use a clear plastic 19 ounce container and increase the lettuce by 1.5 ounces per person.
It is easy to fill a lot of these at once. Either do it assembly line fashion (like I did with these) or combine everything in a bowl, toss and spoon into the cups. I pack the dressing separately. Vinaigrette dressings are a good choice with these because the thinner dressing is easier to get to the bottom of the cup. Leave a little space at the top so your guests can mix up their salad if you filled the cup in layers.

A fun, easy way to serve salad on the go! Try it for your next event.
Combine the salad ingredients in a large bowl. You can either dress the salad now or provide your guests the ability to pour the dressing on at the event. (my preference so the lettuce stays fresh)
Divide between the cups. And cover the cups with a lid. Transport to serving area.
When ready to serve, if the salad is not already dressed, insert the fork, handle down into the opening on the lid. Set out to serve, include dressing if not already dressed.


I’m so excited you are making one of my recipes and I would love to see how it turns out! Make sure to share the aloha on instagram and tag me@alohadreams so I can see your masterpiece!
Follow me on Instagram . Have fun cooking, and be happy!

I'm so glad you dropped by. I'm Betsy. Here you'll find my favorite fabulous, trusted recipes - everything from delicious, quick meals for your family to wonderful classics made easy.
I'm also here to help you with large group recipes from 20 to 200. So next opportunity you get to cook for a large group - Say 'Yes!' Then relax. I've got your back.
Ever wished you could build your dream home? How about building your dream home in a tropical paradise? Join me, room by room, as we design and build a fabulous dream home in Hawaii!
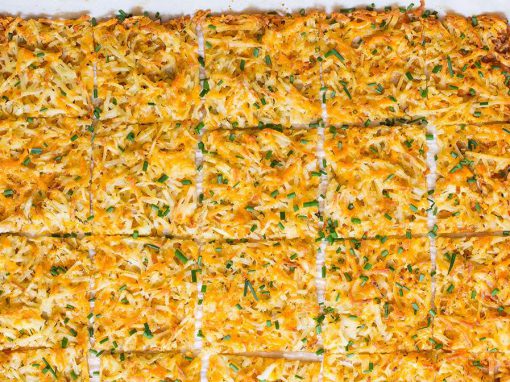
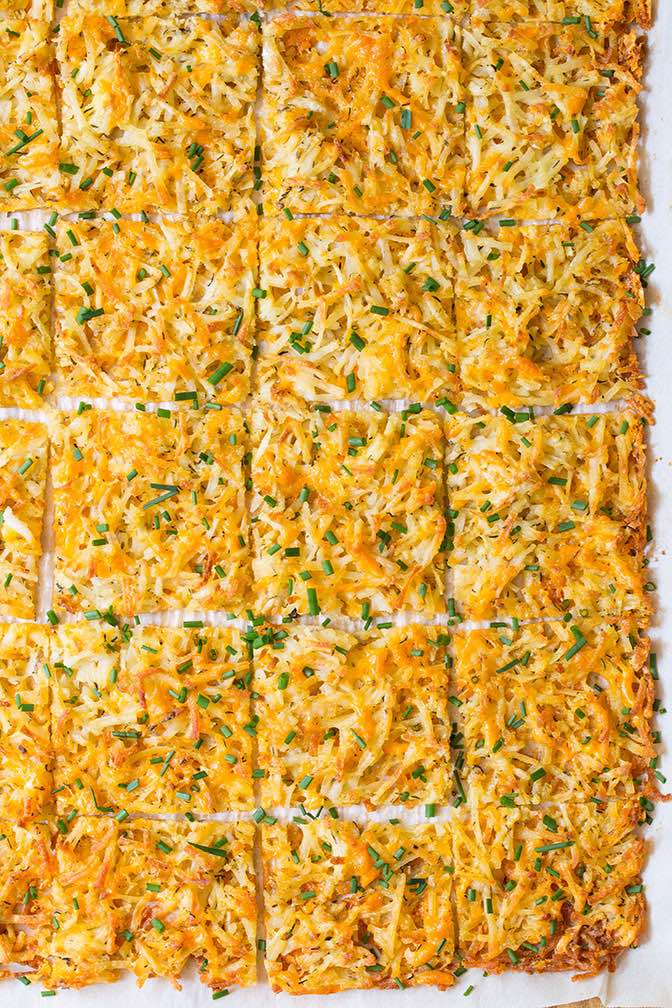
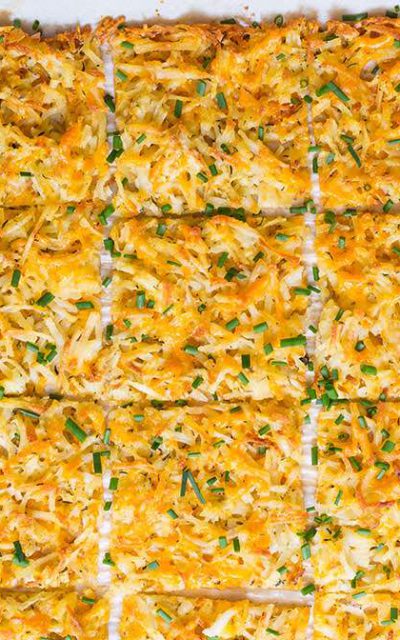
Forget your cast iron skillet (at least for hash browns!) You can easily make these in the oven, just like your bacon, and they will come out golden brown and crunchy! You can even bake them at the same time as your bacon. This will free you up for more fun tasks. (Like making a quick and delicious fruit salad.)
LWhen cooking potatoes, there’s one thing you need to consider. Potatoes need a lot of seasoning to taste their best. So, we’re going to season them with some garlic powder, some seasoned salt (nope, it doesn’t contain any MSG) and some butter (everything’s better with butter).
They’re extra easy. Give them a try today!
NOTE: These are thinner and crispy. If you like thicker hash browns, double the ingredients and bake for an additional 10 – 15 minutes.
These wonderful, crunchy, golden brown hash browns can be baking in the same oven as your bacon, saving you time and effort. Best of all - they taste great! Try them today for breakfast (or dinner!)
Add hash browns, onion, salt, garlic powder, seasoned salt and cheese to a large bowl.
Toss to combine.
Pour butter over mixture and toss to coat well.
NOTE: If you like thicker hash browns, double the ingredients and bake for an additional 10 - 15 minutes.
I'm so glad you dropped by. I'm Betsy. Here you'll find my favorite fabulous, trusted recipes - everything from delicious, quick meals for your family to wonderful classics made easy.
I'm also here to help you with large group recipes from 20 to 200. So next opportunity you get to cook for a large group - Say 'Yes!' Then relax. I've got your back.
Ever wished you could build your dream home? How about building your dream home in a tropical paradise? Join me, room by room, as we design and build a fabulous dream home in Hawaii!
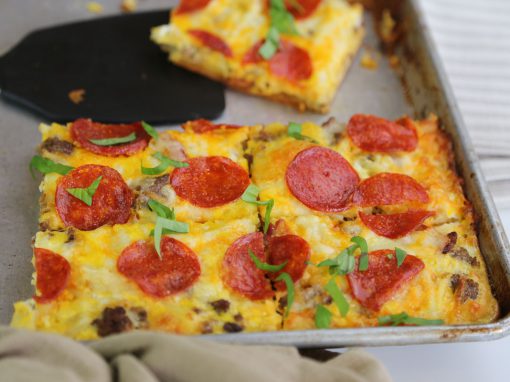

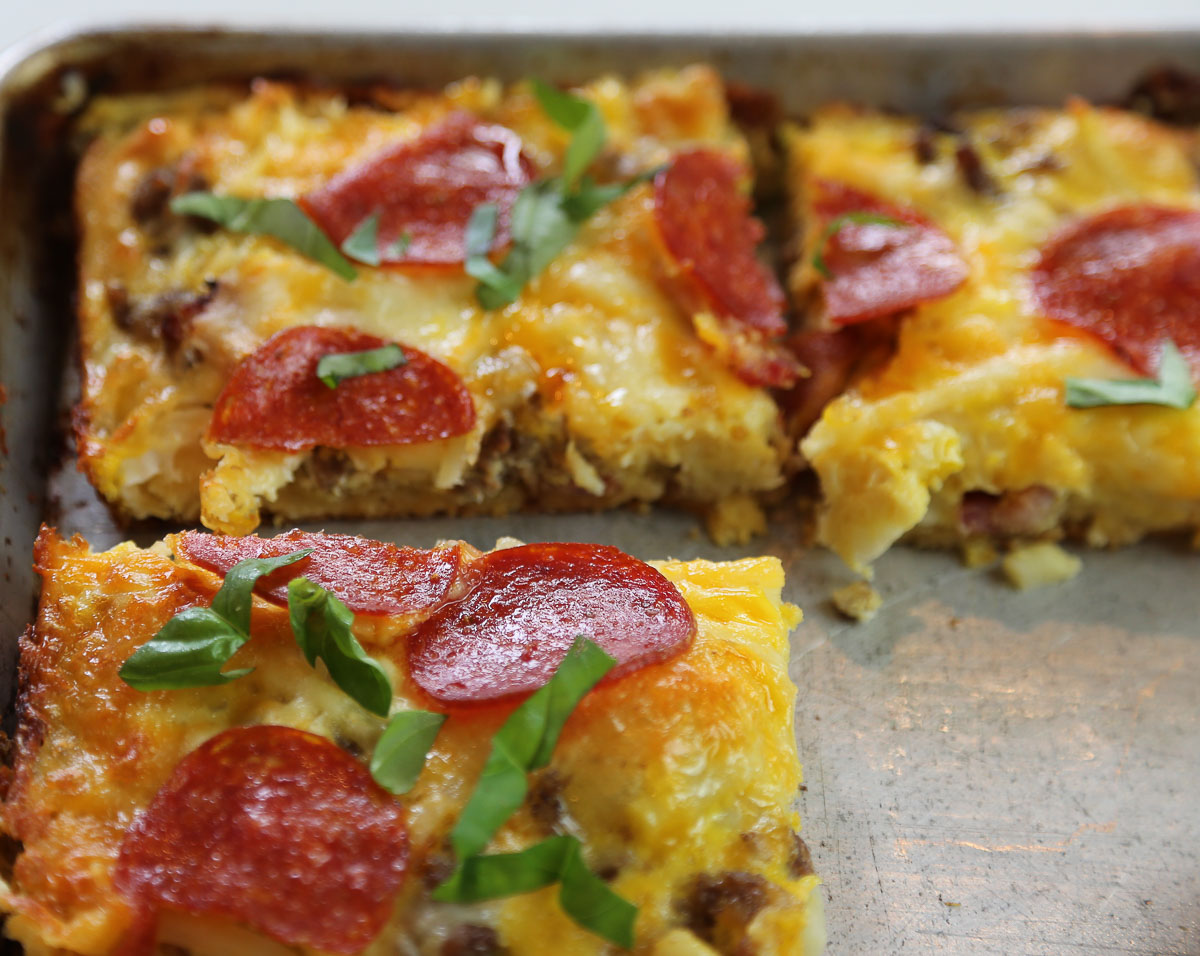
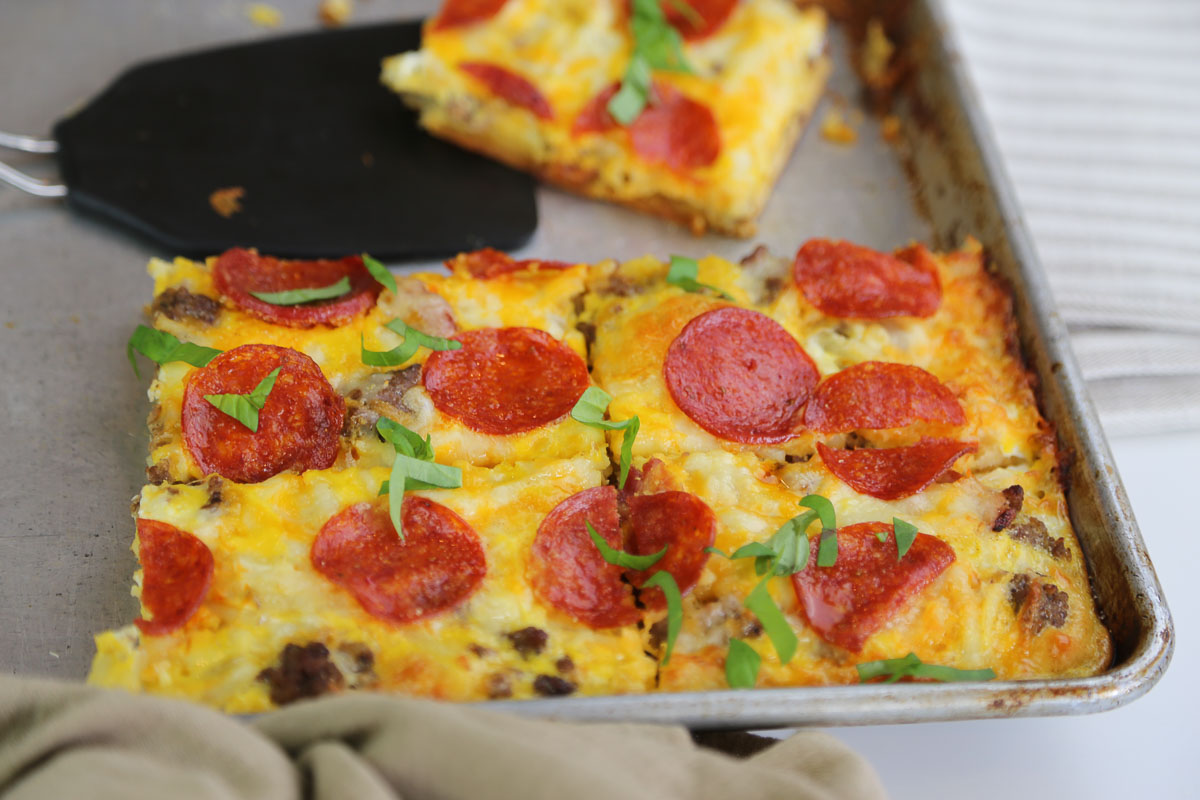
Who doesn’t love pizza for breakfast? And this delicious Meat Lovers Breakfast Pizza really delivers. It can be made several hours in advance and easily re-heated in a 200 degree oven, making a great morning for everyone!
This is a DELICIOUS breakfast treat. The crust is made from crescent roll dough and this pizza is loaded with all your favorite breakfast foods including bacon, sausage, hash browns and cheese. Add pepperoni and a sprinkling of fresh basil and you have a real winner! Even better, it’s EASY and can be made in advance in the same pan for cooking and serving!
This, along with Breakfast Tacos, is the hands-down winning teen answer to the question, ‘what would you like for breakfast?’ And no one will know how easy it was! (Fair warning: it will become one of YOUR favorites too.)
This recipe is sized for a half pan baking sheet (13” x 19”). This is the standard size large baking pan available in most church kitchens (ours has 18 of them!). If you cut the pizza into 3 inch x 3 inch squares, you will have 4 x 6 rows, creating 24 slices, like this.
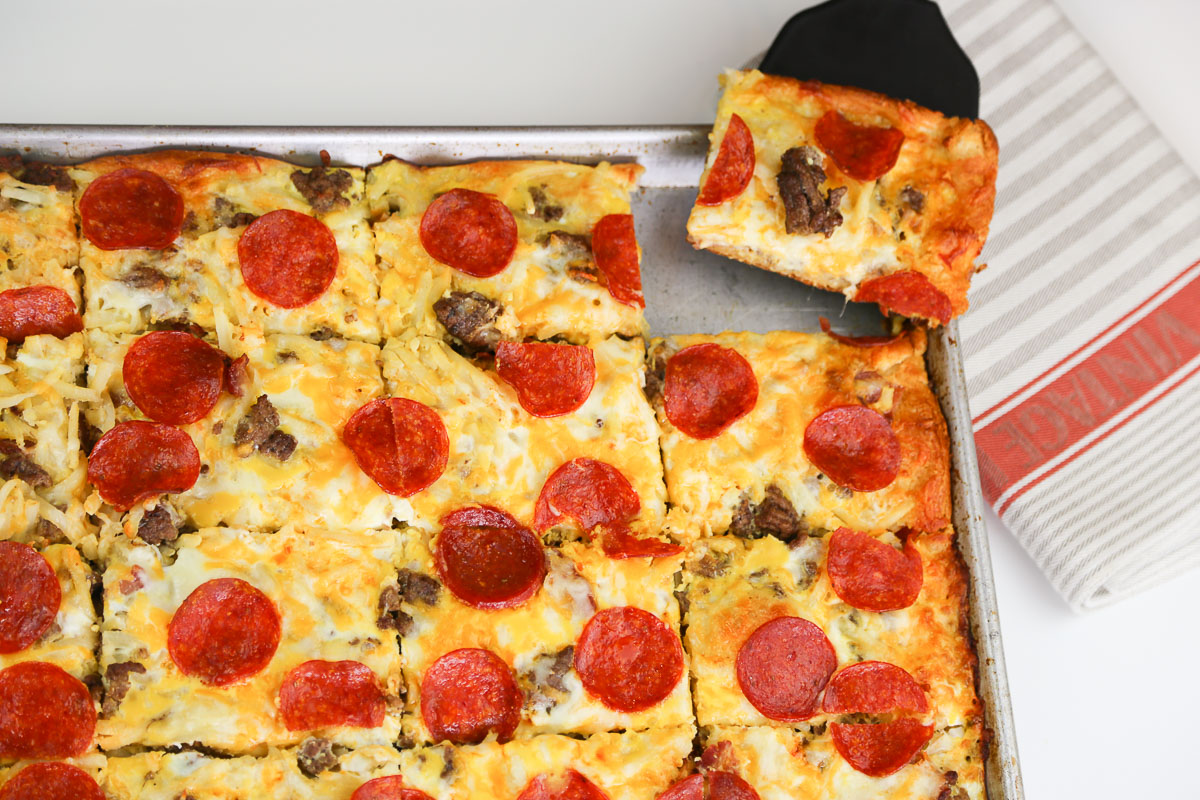
If you’re serving young women or women, most guests will only take 1 piece, so plan on this serving 24 gals. If you are serving young men or men, figure 2 per person, so plan on this serving 12 – 15. For a mixed crowd, I’d figure it serving 20 people as long as you have several other items, such as this wonderful fruit salad with an orange vanilla bean dressing (heavenly!) and possibly some monkey bread. You can control portions by placing the pizza pans at the end of the serving table with a server handing out the budgeted quantity. If you have multiple tables, then just slide them apart about 2 feet and put the servers in-between the tables length-wise. Like this.

You can make all of one kind or mix and match for a fabulous pizza buffet. Come visit often! I’ll be adding more soon. I promise.
I'm so glad you dropped by. I'm Betsy. Here you'll find my favorite fabulous, trusted recipes - everything from delicious, quick meals for your family to wonderful classics made easy.
I'm also here to help you with large group recipes from 20 to 200. So next opportunity you get to cook for a large group - Say 'Yes!' Then relax. I've got your back.
Ever wished you could build your dream home? How about building your dream home in a tropical paradise? Join me, room by room, as we design and build a fabulous dream home in Hawaii!

We made this the last Christmas when we had a house full of kids, teens and adults. This is a deilcious breakfast treat. The crust is made from crescent roll dough and is loaded with all your favorite breakfast foods including bacon, sausage, hash browns and cheese. Add pepperoni and sausage and you have a real winner! Even better, it’s EASY and can be made in advance in the same pan for cooking and serving!
In a large bowl, combine eggs, milk, seasoned salt together. Set aside.
In a large skillet, brown the bacon and sausage. Remove with a slotted spoon to a paper-towel lined plate.
Add the sausage and bacon, then stir in the eggs.
Evenly pour the mixture over the top of the dough. Like this.
Bake pizza at 375F for 25 - 30 minutes or until eggs are set in the middle.
Optional, sprinkle with fresh basil immediately prior to serving


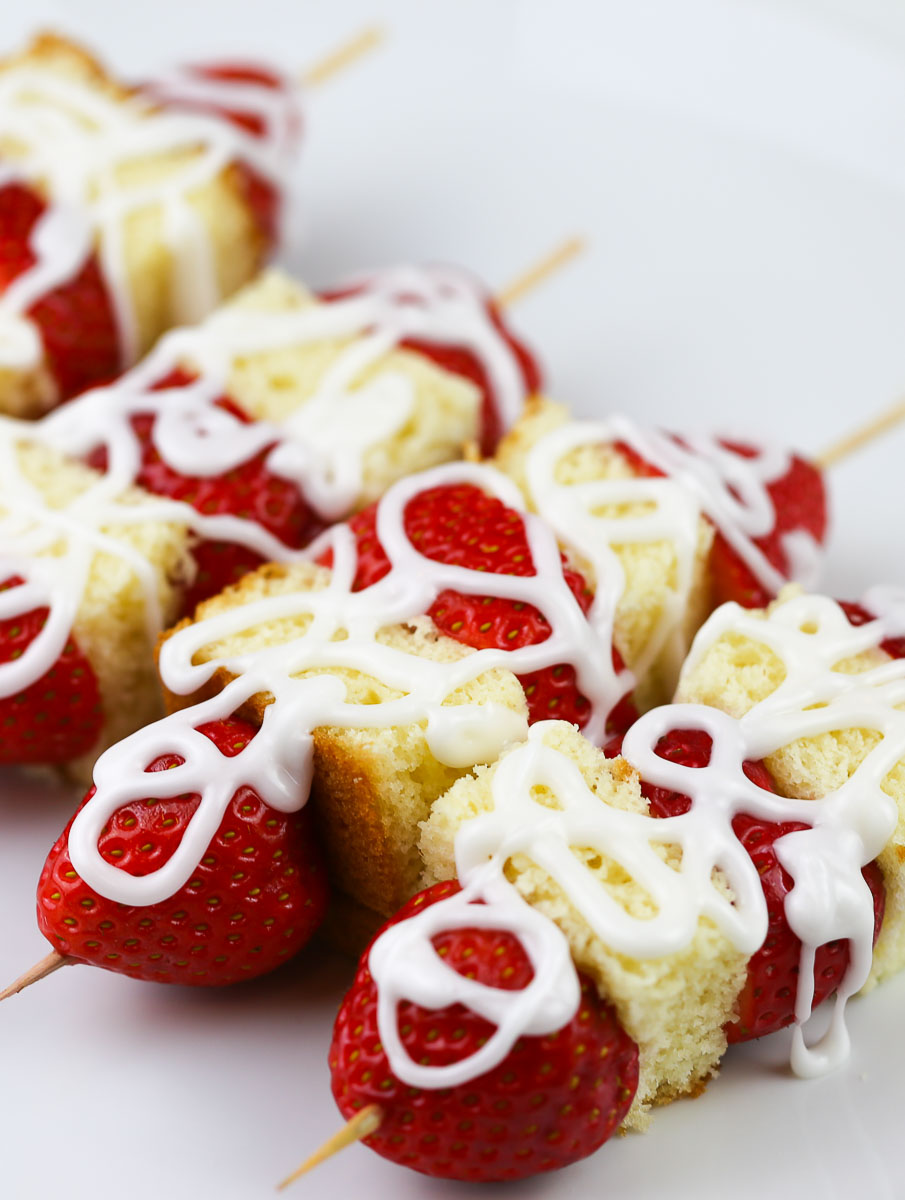
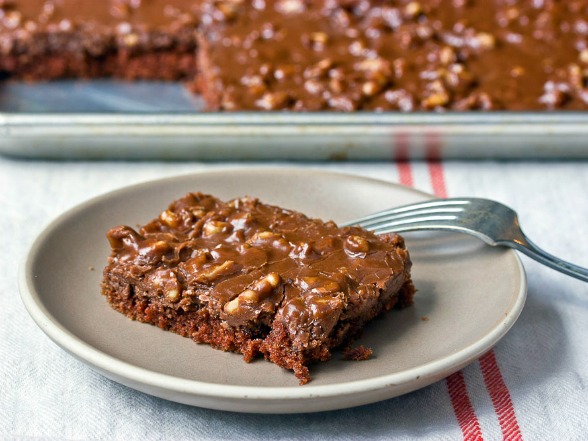
Not only is this a fun, easy family dessert, it’s also perfect for a party or pot luck dinner. It’s amazingly easy, looks great and everyone loves it. It’s easily portable or you can make it at the event. It comes together very quickly.
You can use any firm luscious fruit in season. These strawberries caught my eye.
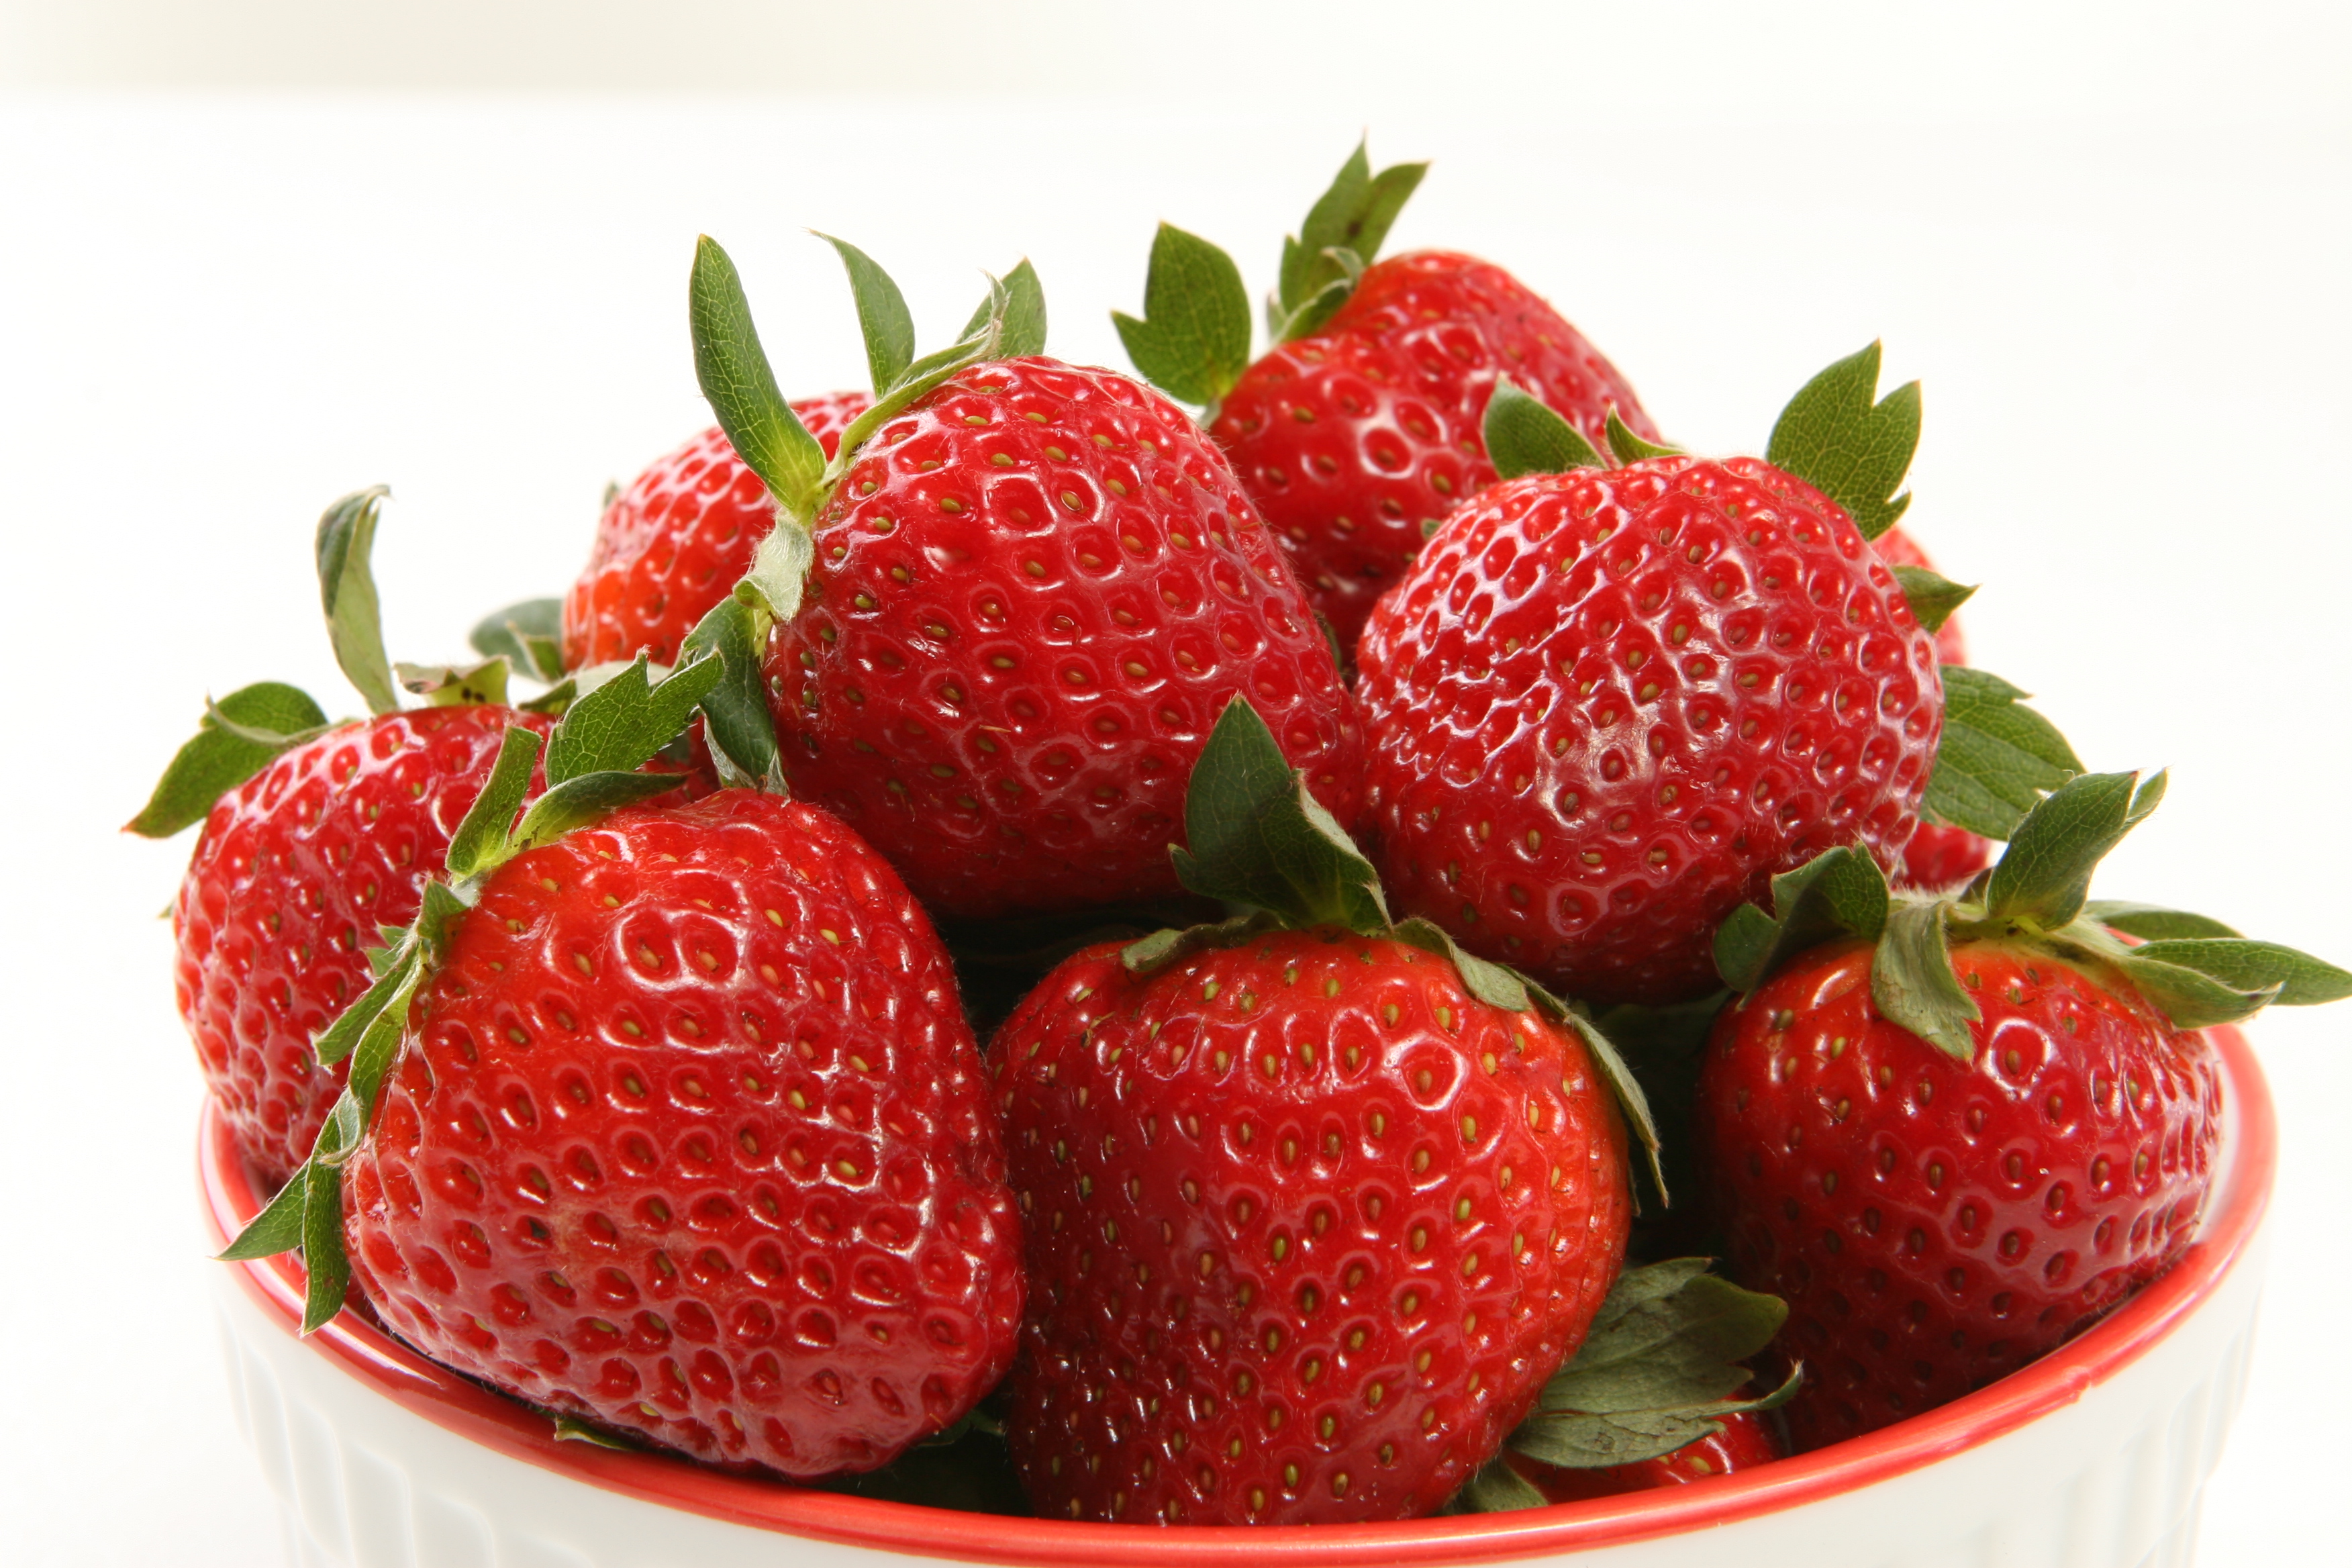
Nice, huh?
You can use pound cake, like I’m doing here, or angel food cake or even brownies if you like chocolate. I strongly prefer pound cake over angel food cake because it holds together better when cut into cubes. Have fun with the drizzle – use white chocolate (my favorite) or try milk or dark chocolate. (Sprinkles could even make an appearance!) This is a great recipe to recruit kids or teens to make. They have a ball with it!
It doesn’t get any easier.
This recipe is perfect for feeding a crowd. You can assemble it in the morning, and refrigerate until ready to eat. If you want a small amount, use 1 pound cake and 1 pound of strawberries for 18 kebabs.


This lovely light dessert is quick and easy - and delicious! It can be made 8 hours in advance
Cut pound cake in half the long way. Slice into thirds also running the long way. Cut each section into 6 cubes. This will produce 36 cubes.
Run a skewer through the center of the strawberry/cake cube line-up.
Once fully melted, spoon it into a large plastic bag and cut off a small tip of the corner.
This lovely light dessert is quick and easy - and delicious! It can be made ahead too!
Run a skewer through the center of the strawberry/cake cube line-up.
Once fully melted, spoon it into a large plastic bag and cut off a small tip of the corner.
NOTE: Basically you need 1 pound of strawberries for each pound cake. 1 pound cake cuts into 36 pieces of cake (18 kabobs). There are typically 18 strawberries per pound, cut into thirds for 54 pieces. 3 strawberry slices and 2 cake cubes per kabob. You can also use Angel Food Cake.
I'm so glad you dropped by. I'm Betsy. Here you'll find my favorite fabulous, trusted recipes - everything from delicious, quick meals for your family to wonderful classics made easy.
I'm also here to help you with large group recipes from 20 to 200. So next opportunity you get to cook for a large group - Say 'Yes!' Then relax. I've got your back.
Ever wished you could build your dream home? How about building your dream home in a tropical paradise? Join me, room by room, as we design and build a fabulous dream home in Hawaii!

Would you like to throw a Luau, but not sure where to start? Want to know how to build a tiki bar and roast a pig? Here's everything you need to have a luau. How about a Christmas Feast or even a fabulous dinner for your neighborhood supper club? You've come to the right place. Let's party!

Ever wished you could build your dream home? Like amazing house design and home building ideas? Me too! Join me as I design and build a home on the Big Island of Hawaii. Follow along while I design each room. Enjoy a front row seat for the entire amazing construction process. Let's play!

If you're planning a vacation to Hawaii, I've got you covered on the very best places to go! From many amazing restaurants to incredible adventures in the surf and on land, this is your go-to source for unique and exciting things to do on the Big Island of Hawaii. Or just take a Virtual Vacation!! Let's go!

If you've been asked to cook for a large group activity, be it a Girl's Camp or a Graduation Party, say Yes! I'm here to help. From Menus to Game Plans to Recipes, I'll help you keep on schedule and turn out amazingly delicious food if you're cooking for a crowd! My recipes are tested and trusted. Let's cook!

 Aloha Dreams
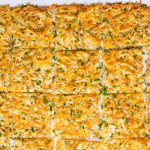
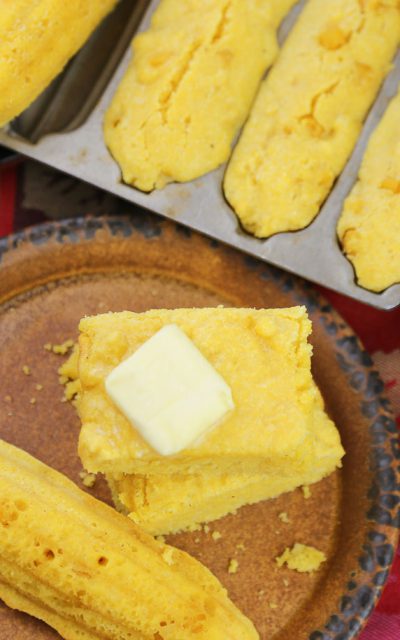
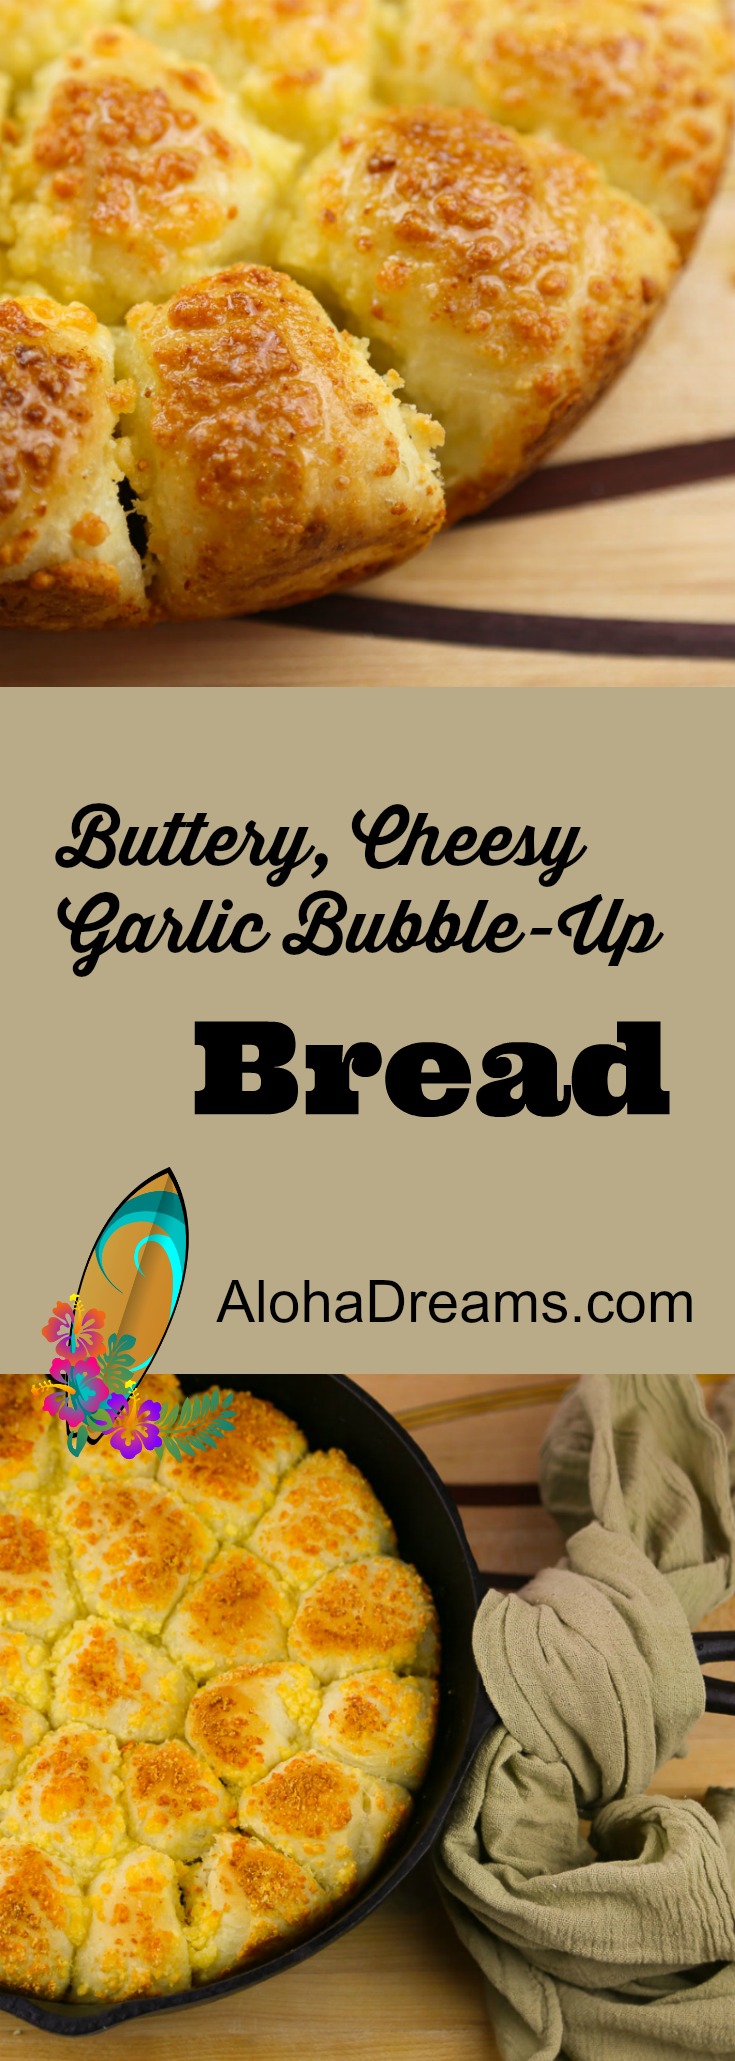
This buttery, crunchy Cheesy Garlic Bubble-Up bread is not only delicious, it’s easy! Just put frozen dinner rolls in your refrigerator to thaw overnight and you’ll be enjoying it in no time. The Parmesan cheese forms a wonderful crunchy crust and the top is basted with garlic butter. What’s not to love? This quick, easy and delicious cheesy bubble-up bread has only 4 ingredients, 15 active minutes prep time and is irresistible! See how good it looks in the pictures? It tastes even better.
Have you ever noticed how the smell of yeasty, delicious baking bread locks in to some primitive settings in your brain to produce feelings of safety and comfort and home? I was in getting my annual mammogram this morning (if you’re a gal, have you gotten yours lately? If not, please stop right now and call to make an appointment. It’s important to squeeze in a little time.) and the imaging center is located adjacent to the hospital in one of the campus buildings – where, apparently, they bake the bread for the hospital cafeteria. I don’t particularly enjoy getting mammograms (who does?), but that smell fills me with a sense of peace and comfort every year I go in there. I find I don’t mind it nearly so much…
That wonderful smell inspired me to create this delightful Cheesy Garlic Bread Bubble-Up recipe. I’ve been wanting to update my bread recipe on the Large Group Lunch menu section of AlohaDreams for some time. And man, was it worth the wait. I served a similar bread and salad combo to a local ladies networking lunch and it was gone in seconds. This one’s even better.
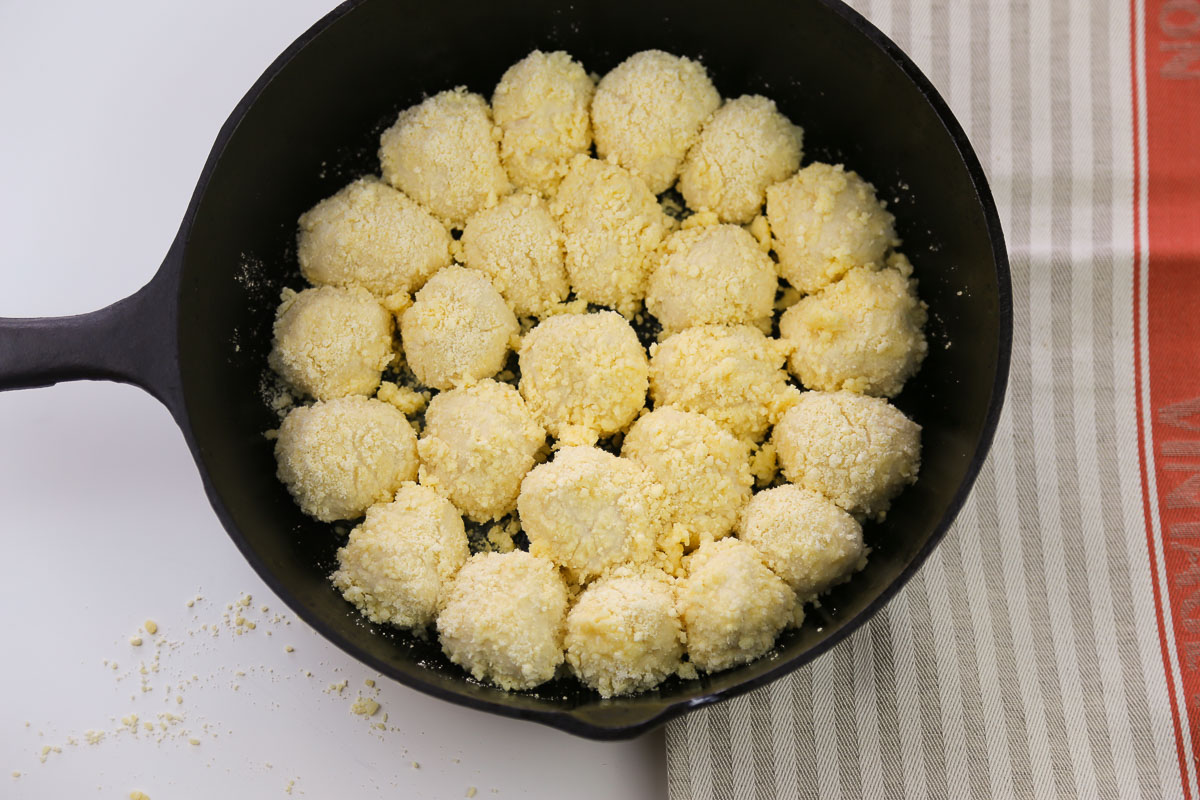
It’s easy too, using frozen roll dough. Just let the rolls thaw overnight in the refrigerator, give them a quick bath in some butter and garlic salt, followed by a quick spin in the Parmesan, then set them aside in a skillet to rise. Your bread will look like this before it rises.
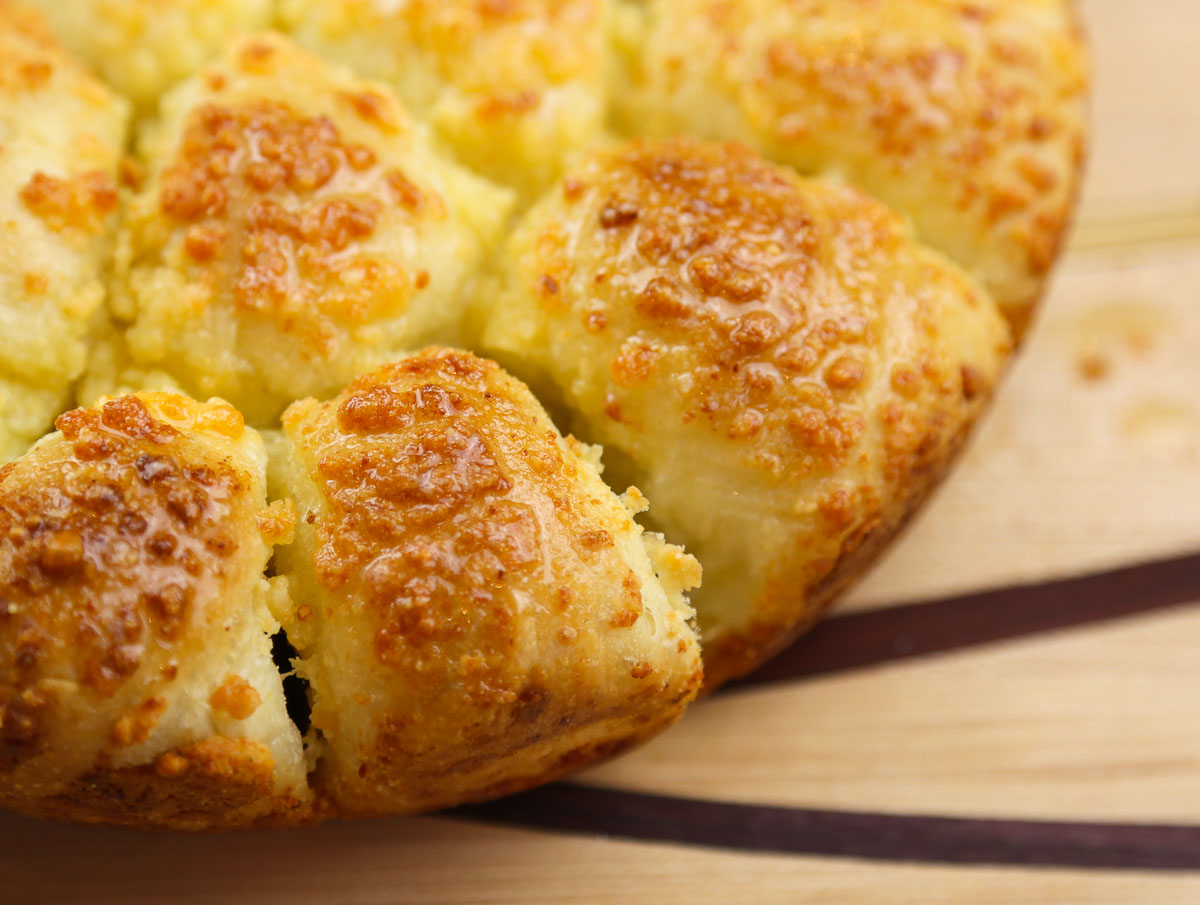
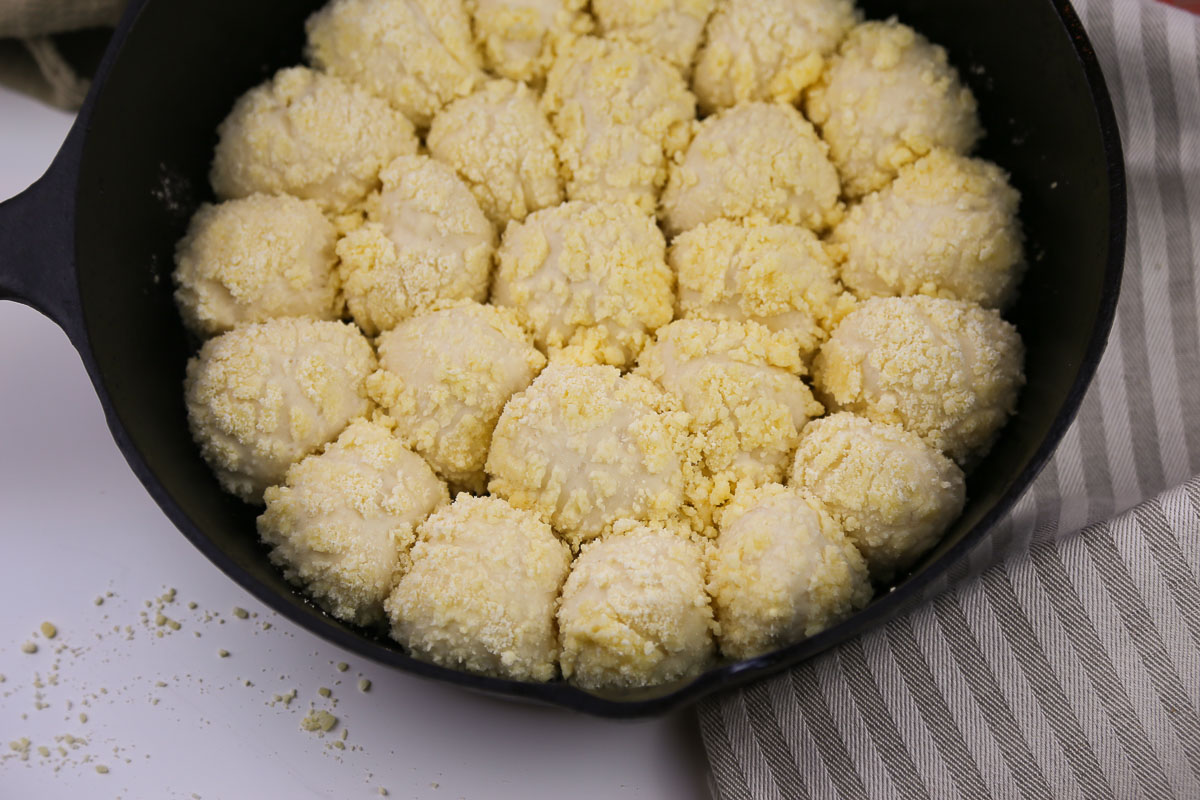
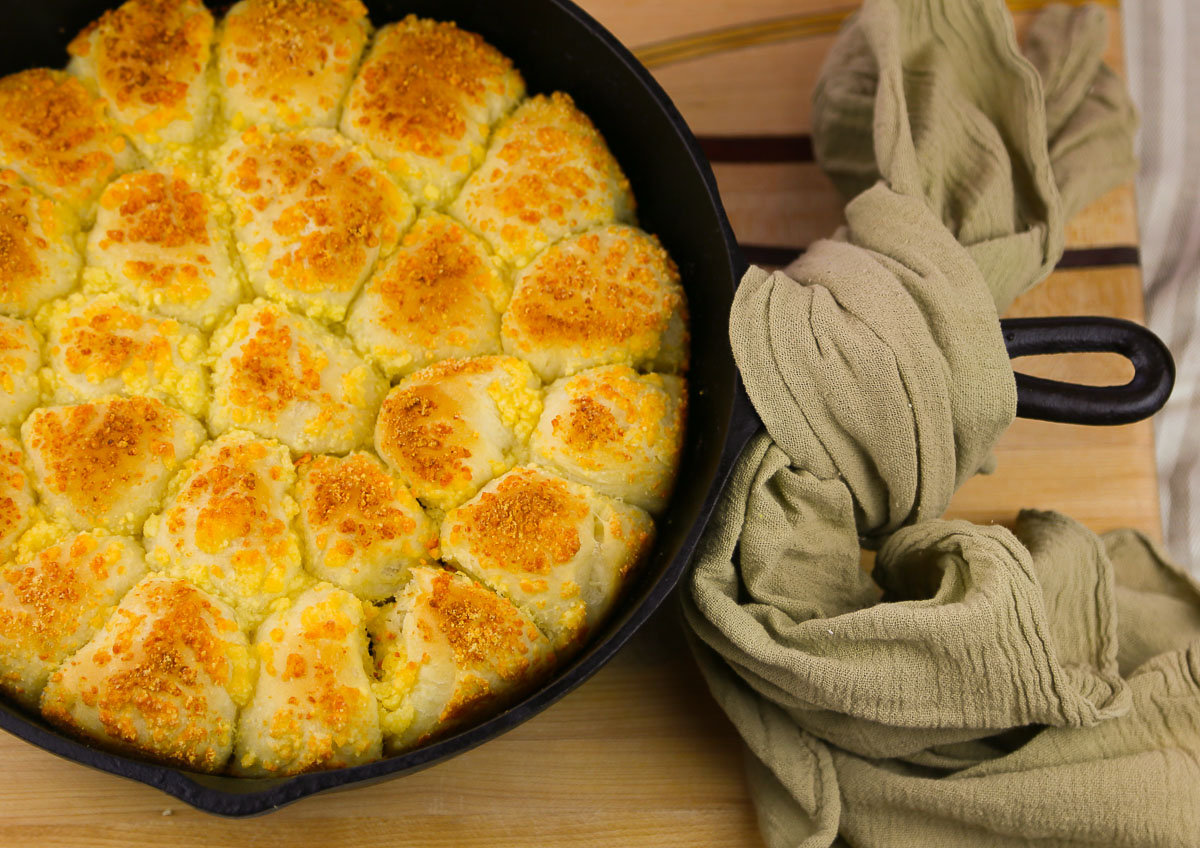
When it’s ready to go in the oven It should look like this. See all that wonderful Parmesan cheese goodness on those rolls? Well, when it’s done baking that Parmesan cheesy goodness gets wonderfully crunchy and delicious around the bottom and edges.
Like this.
Combined with a nice salad, it’s a terrific large group lunch recipe for girls camp or for a ladies event. It will produce 24 rolls, although I guarantee you that many people will want seconds, so I’d plan on it serving 20. You can assign it out to volunteers to make in advance and re-heat it, wrapped in aluminum foil, for 10-15 minutes in a 200 degree oven at the event and it’s just as good. The handy recipe’s at the end of the post.
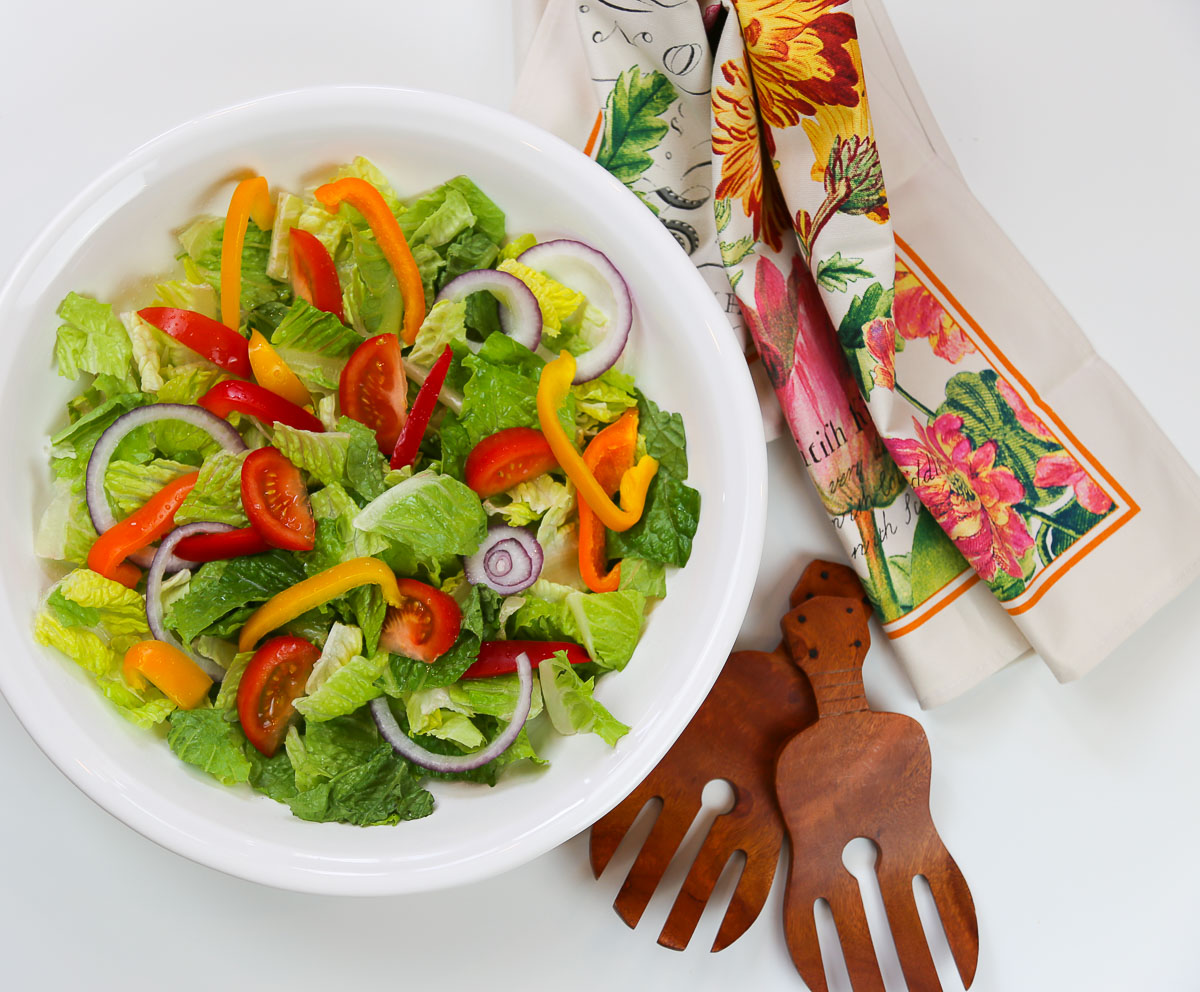
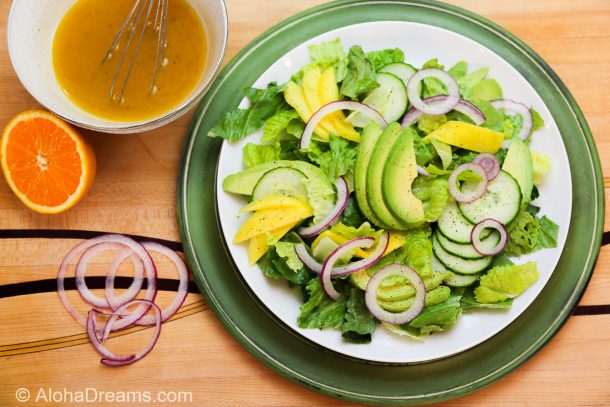
And speaking of salads, here’s everything you need to know to pull together a great mixed salad for a large group!
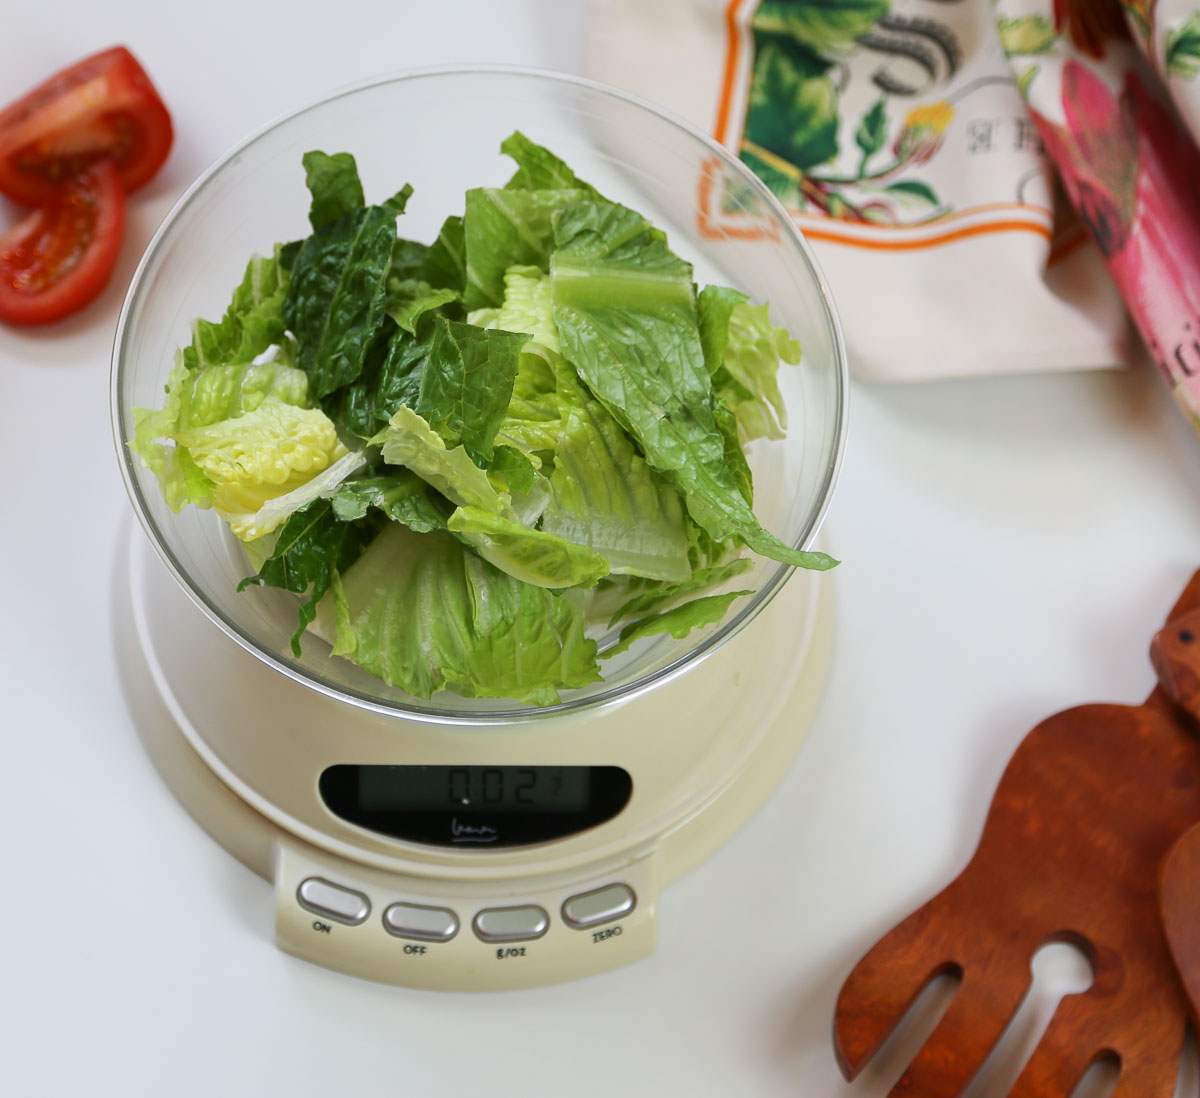
Lettuce seems like such an easy ingredient. But when you’re cooking for a crowd, the question is more one of ‘how much’ than ‘how to’. (In the midst of planning a meal for a large group, that question has kept me awake at night.) (Yeah, I know, I need a vacation!) But seriously, it helps to know. So here you go. When serving salad as one of your main dishes, plan on 2.5 – 3 ounces of lettuce per person if you’re going to also have add-ins, such as tomatoes, cucumbers, peppers, etc. (which you totally should!). Here is 2.5 ounces of lettuce.
Just pick yourself up some mixed lettuce. Sam’s Club offers either Tossed Salad or Chopped Romaine, both in 2 pound bags.
1 (2 lb. bag) Tossed Salad/Chopped Romaine serves 16 (young women) to 25 (combo of adults & children as part of a buffet).
A standard serving of salad dressing is 2 tablespoons, which equals 1 ounce.
1 (2 pack – 40 ounce each (80 ounces total)) Hidden Valley Ranch Dressing SERVES 85 – 100. (I have actually SERVED 120 with 80 ounces since, on average, the guests (an even mix of men, women, teens and children) really only took approximately .75 ounce per person.) For faster serving, mix dressing with milk,until it’s reached a thinner consistency of your liking, then pour thinned dressing into 2-4 squeeze bottles or pour it back into the original dressing bottles.
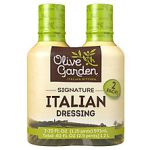
1 (2 pack – 20 ounce each (40 ounces total) Olive Garden Italian Dressing = 40 – 50 (2 tablespoon) SERVINGS.
| SERVING SIZE | 12 SERVINGS | 24 SERVINGS | 48 SERVINGS |
|---|---|---|---|
| 2 Tbsp | 1 1/2 cups | 3 cups | 1 1/2 qt |
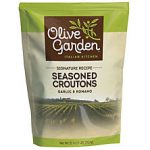
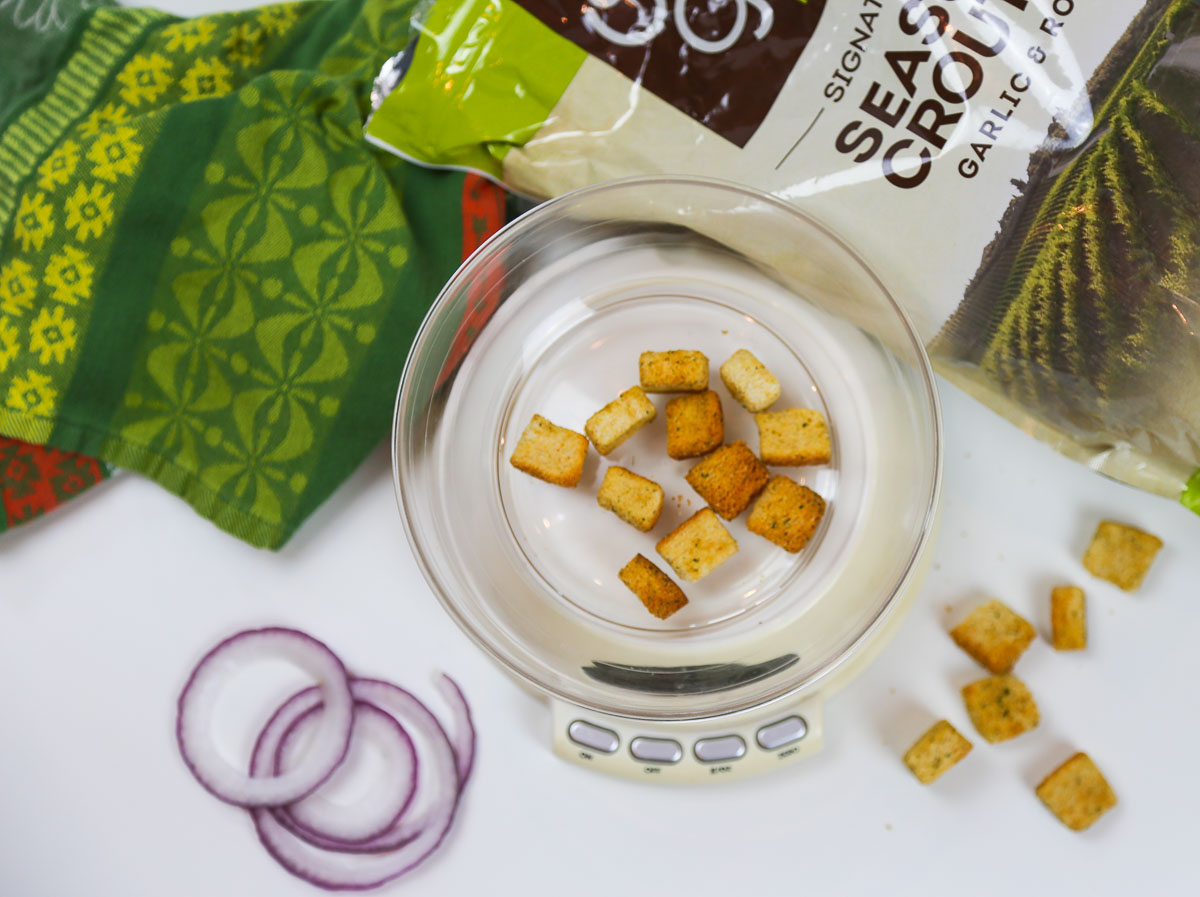
1 (32 ounce) bag Olive Garden Seasoned Croutons will serve about 35 people. Not every one will take some, an average serving is about (1 ounce) . That’s this much.
NOTE: You can probably find folks who have an abundance of vegetables and would be happy to provide them at no cost (trust me, toward mid-summer they are looking for someone to take their extras).
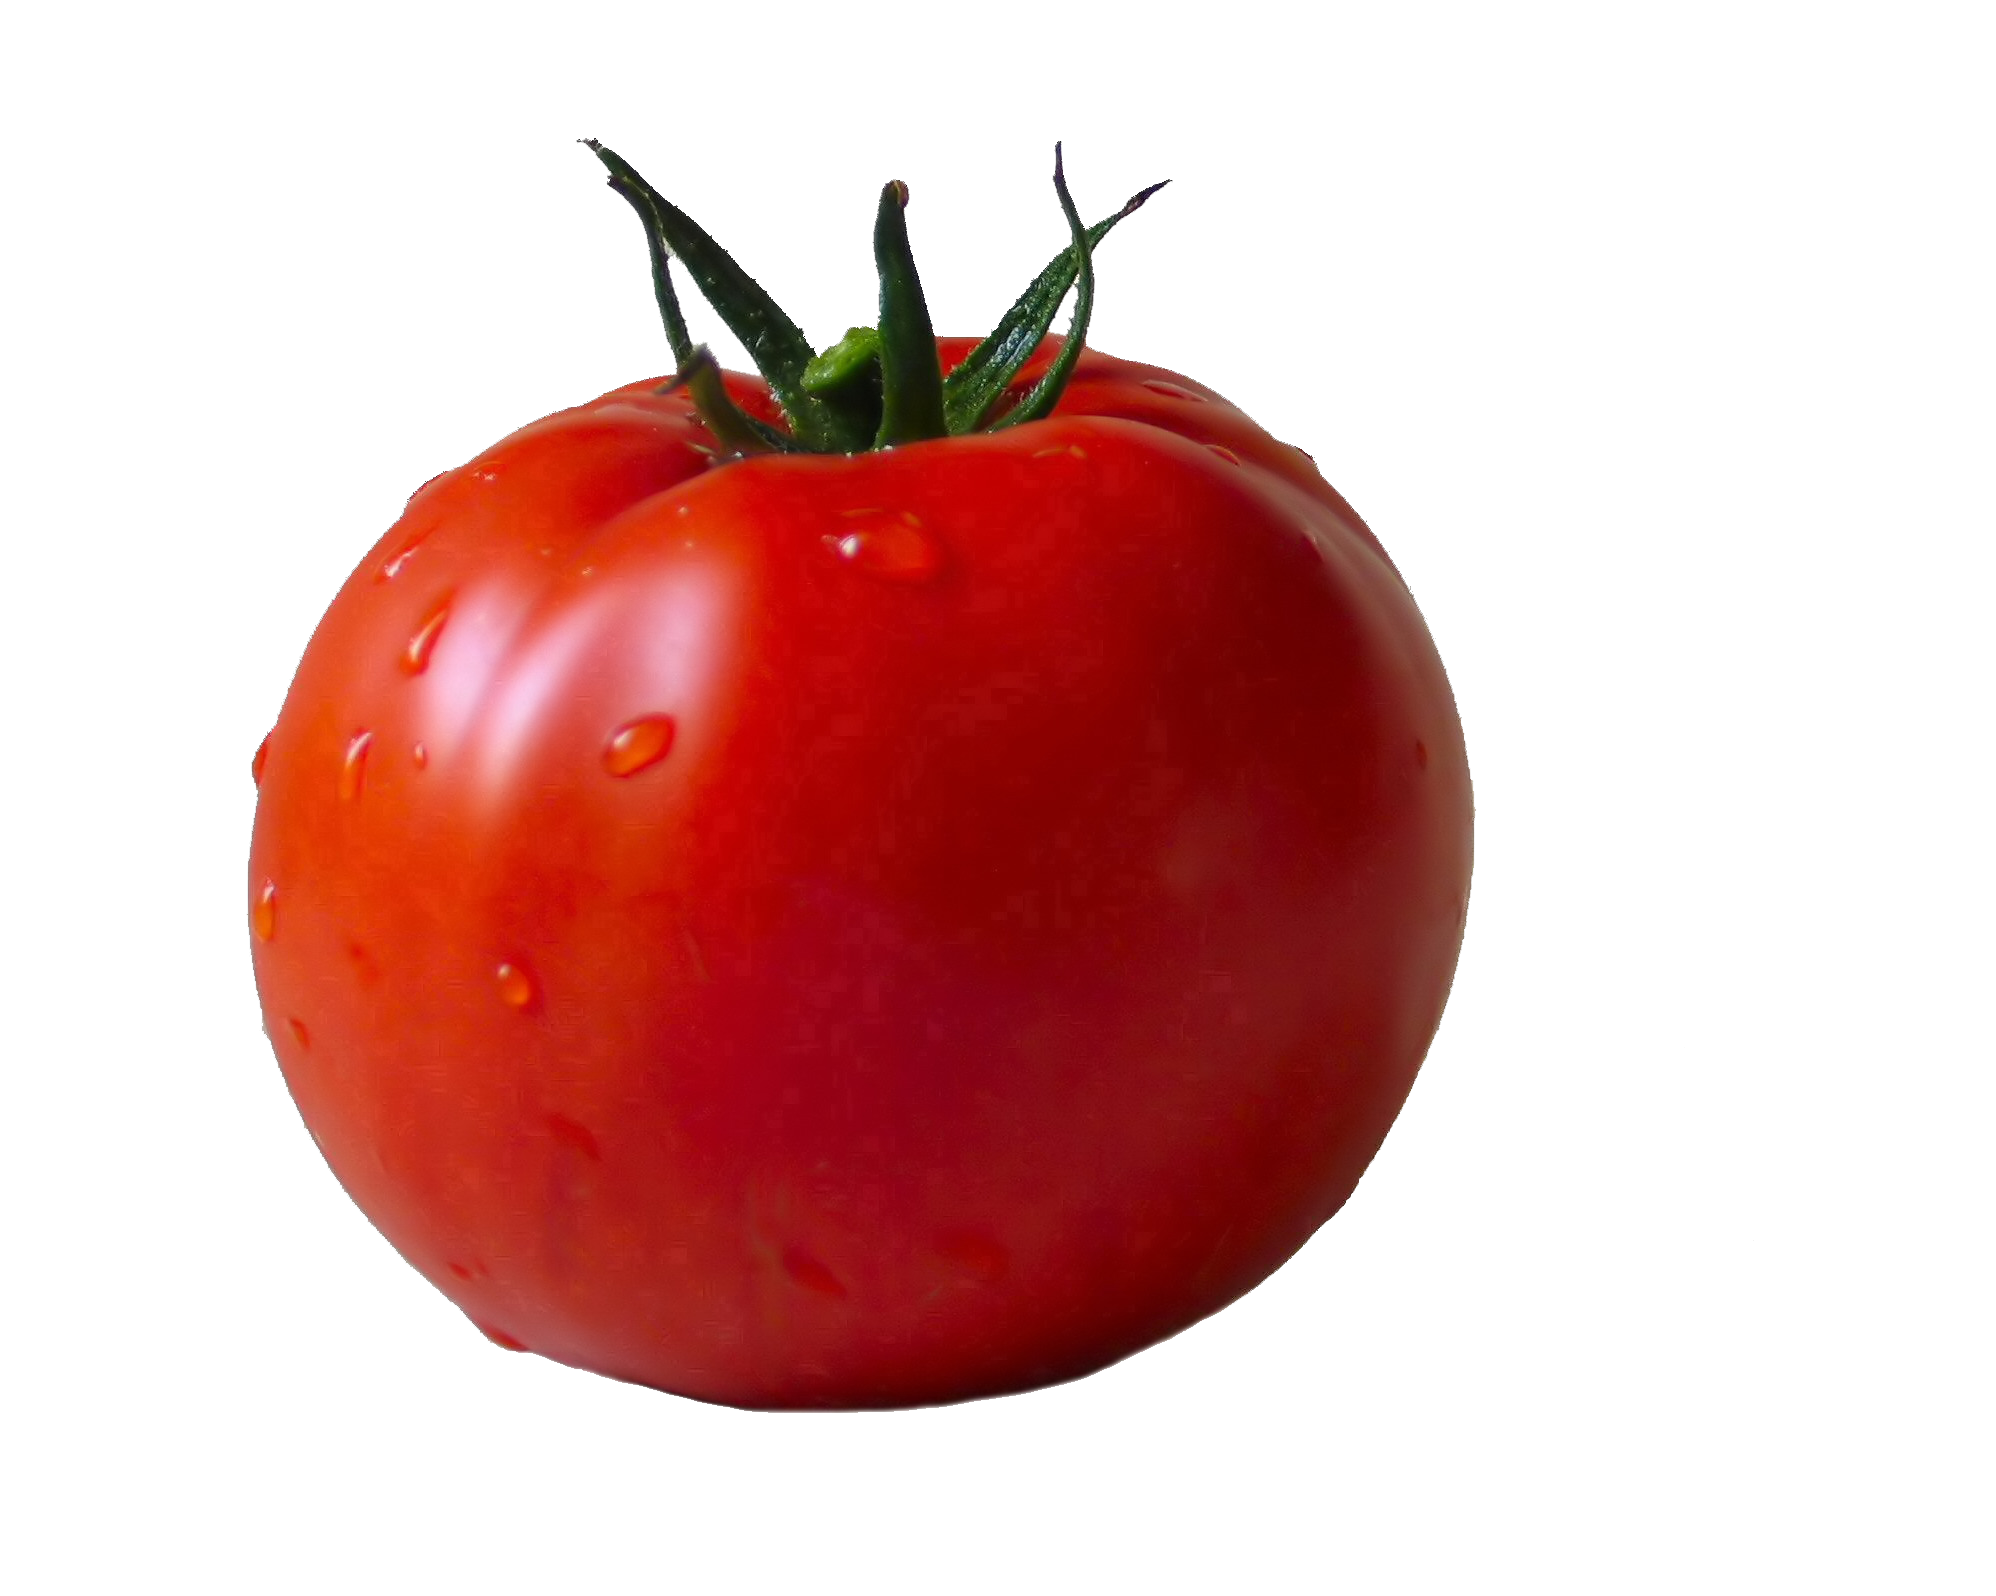
15 (medium tomatoes), sliced or chopped, mixed in with the tossed lettuce = approximately 150 servings.
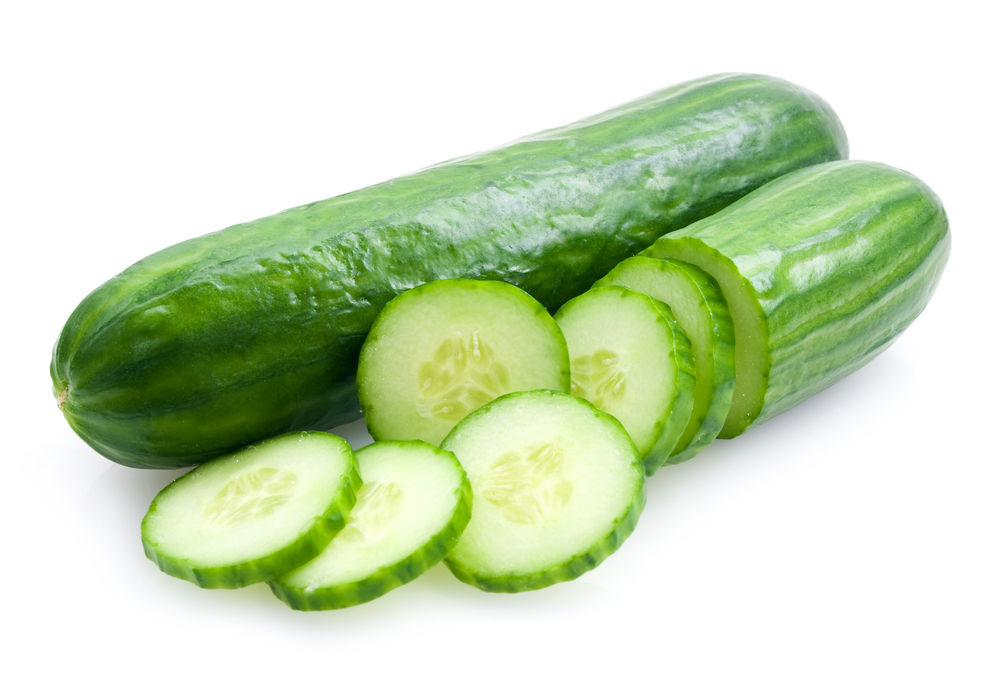
6 (sliced cucumbers) mixed in with the tossed lettuce = approximately 150 servings
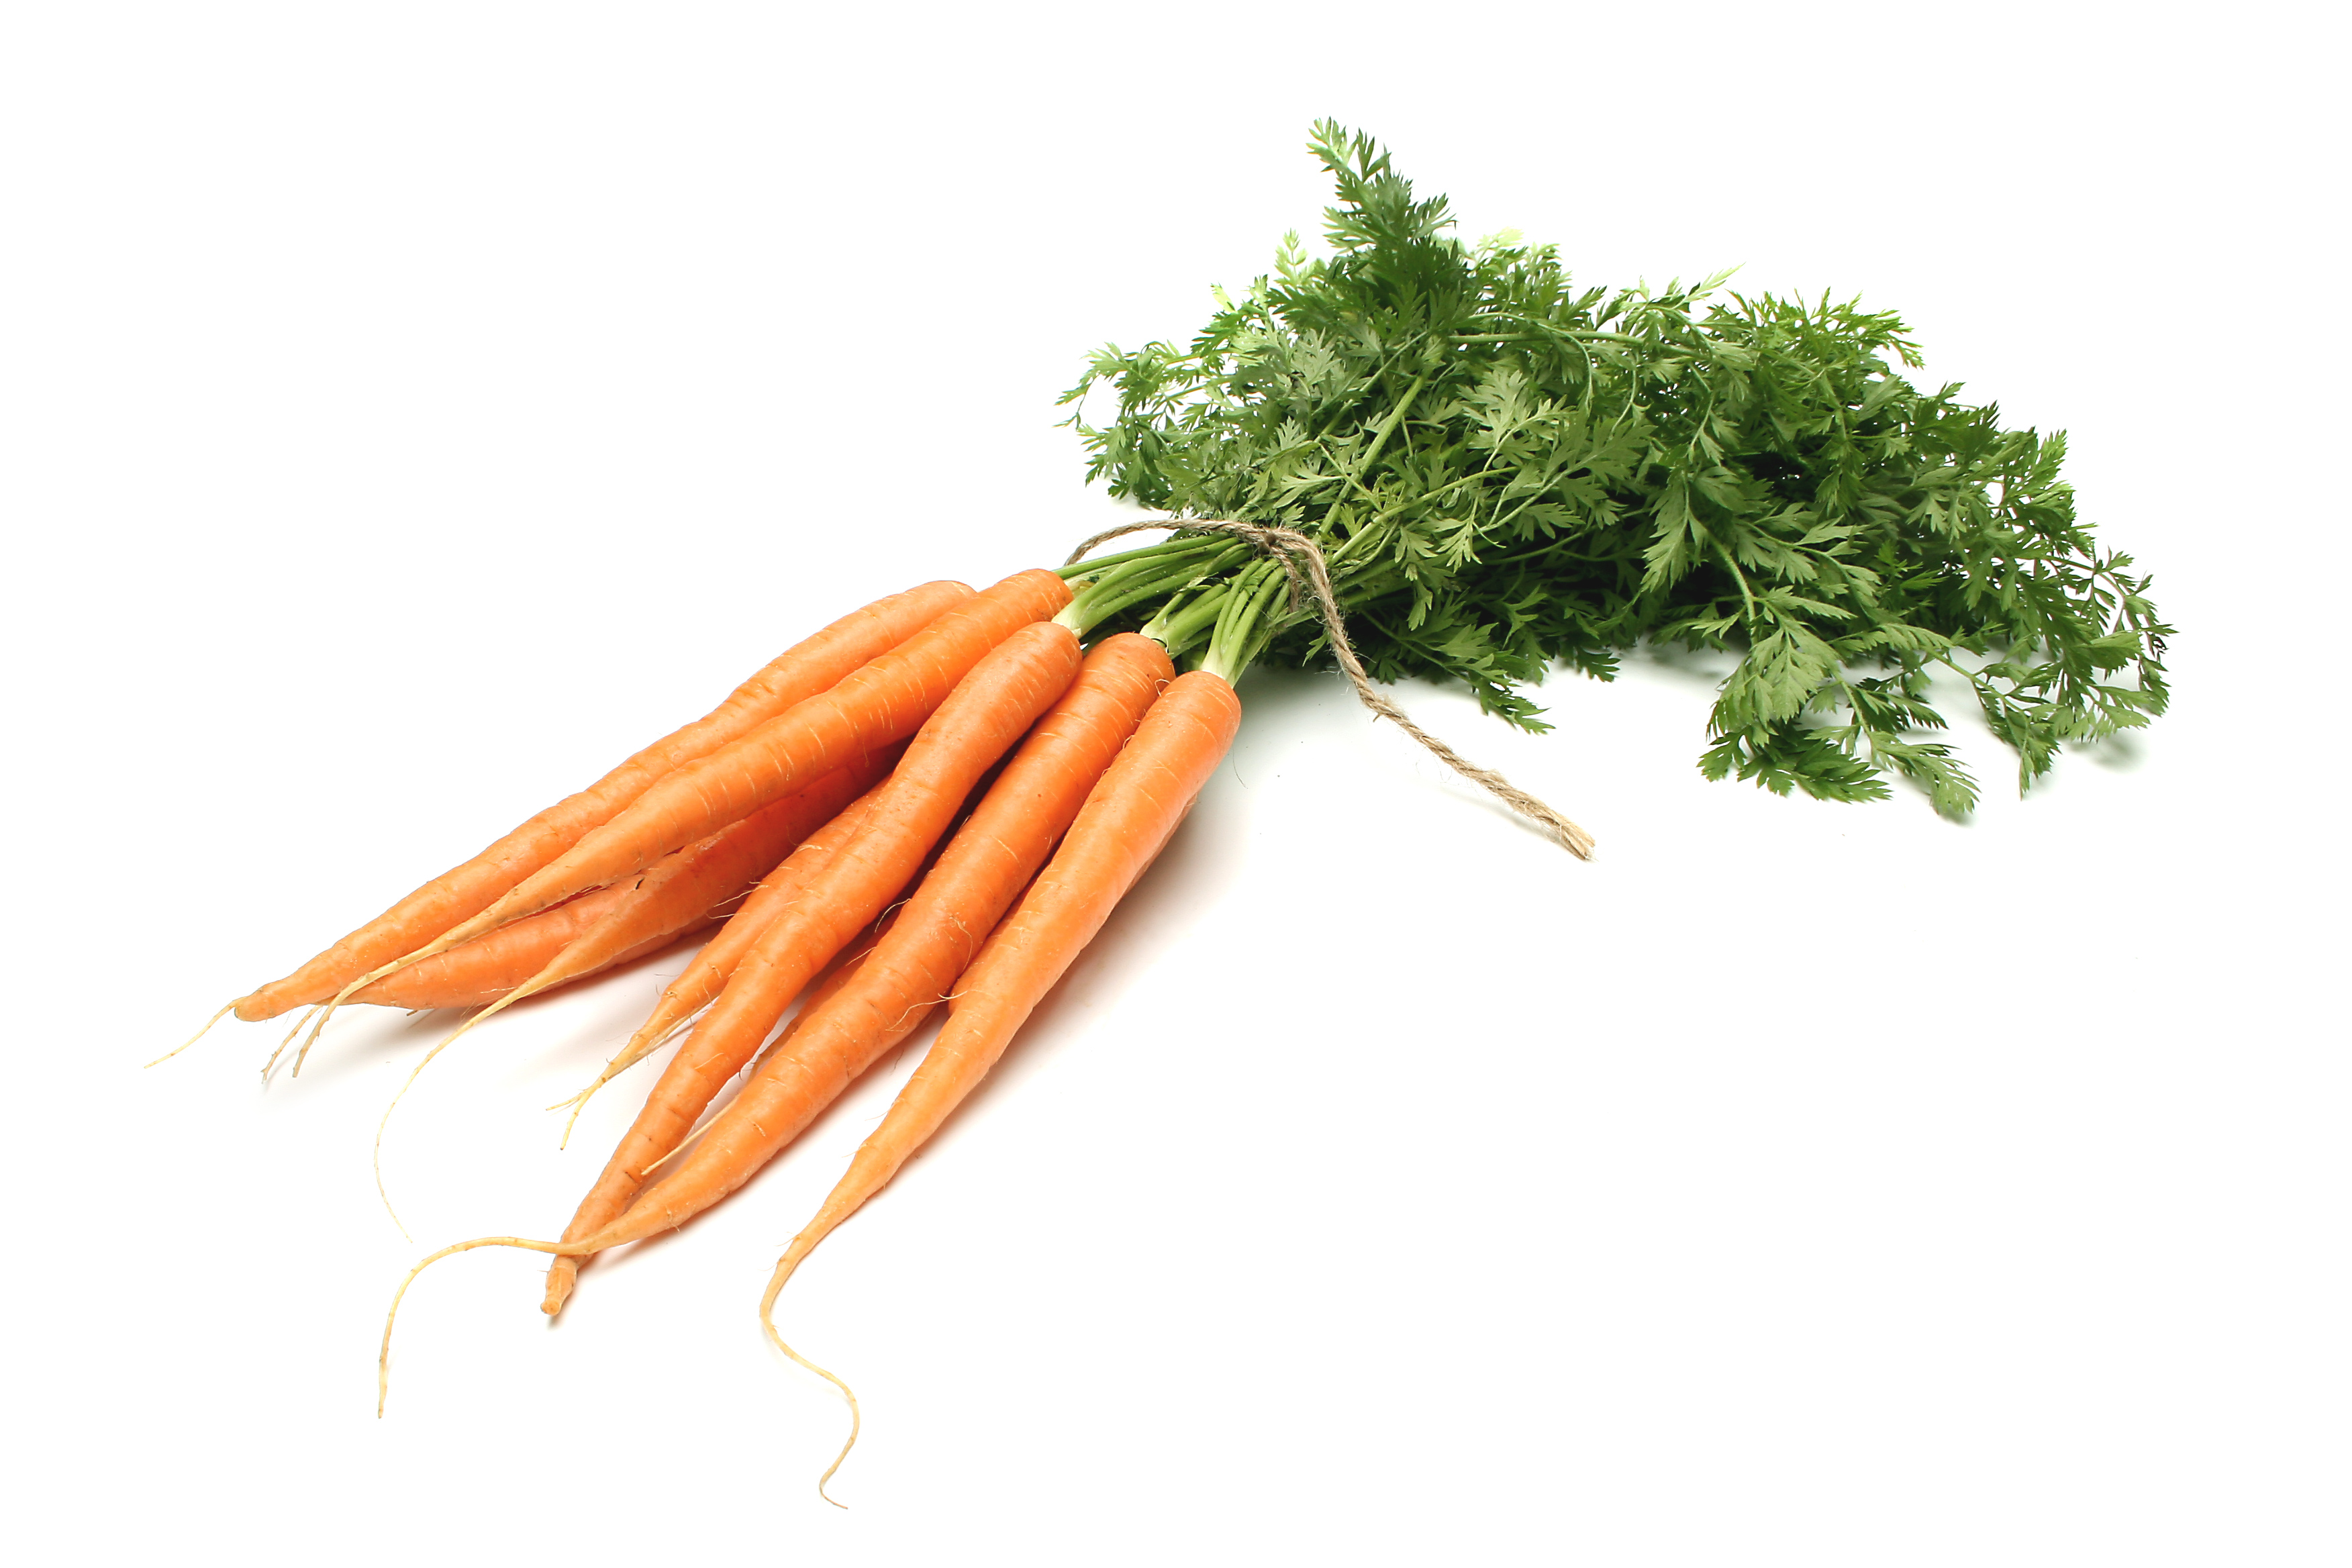
10 (carrots, sliced) mixed in with the tossed lettuce = 150 servings
20 (bell peppers, sliced) mixed in with the tossed lettuce = 150 servings
Allow the dough to rise for about 30 - 45 minutes (it takes less time in a warm kitchen than in the dead of a cold winter.
Let the bread cool for a couple minutes. While cooling, microwave the butter and garlic salt for 30 seconds.
Slide rolls out of pan, brush with the melted butter mixture and enjoy warm.
NOTE on Rhodes Rolls: Before you buy your rolls, make sure:
I'm so glad you dropped by. I'm Betsy. Here you'll find my favorite fabulous, trusted recipes - everything from delicious, quick meals for your family to wonderful classics made easy.
I'm also here to help you with large group recipes from 20 to 200. So next opportunity you get to cook for a large group - Say 'Yes!' Then relax. I've got your back.
Ever wished you could build your dream home? How about building your dream home in a tropical paradise? Join me, room by room, as we design and build a fabulous dream home in Hawaii!


These eggs are a fluffy, moist cheesy addition to your breakfast line-up. You know those dry, rubbery, tasteless eggs typical of most buffet lines? Well, these eggs are most definitely not THOSE eggs. These eggs are a real winner. They can be made in advance and hold very well without losing their wonderful moist texture. And they taste fantastic. Jeff requests them on a regular basis, so I make a small batch just for him.
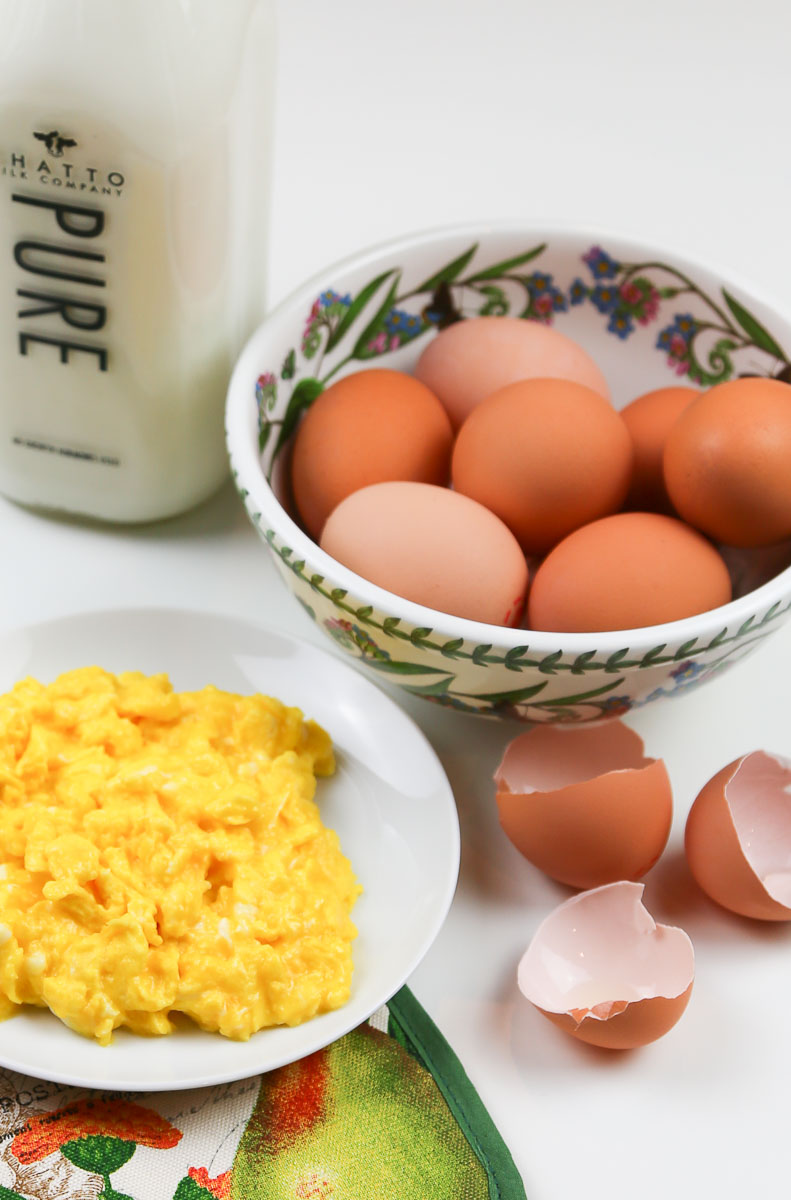
#1 First, I use condensed milk. It’s what helps keep these eggs moist.
#2 Second, you’ll want to add some seasoned salt. I know it’s kinda retro, but it works for this recipe very well.
#3 Third, I use lots of cheese, which adds more moisture and even more flavor. You’ll appreciate that additional moisture if you’re holding these up to 20 – 30 minutes prior to serving in a slow cooker or oven on the lowest temp. They’ll be every bit as good as when they finished cooking.
#4 Finally, I fluff them right before serving. This breaks up the curds and makes them easier to serve.
While this recipe does require occasional stirring during the baking process, you can be doing other things while the eggs are baking rather than standing at the range top the entire time. Every time I fix these eggs, people constantly comment on how great they are. You’ll be very pleasantly surprised at how good baked scrambled eggs for a crowd can be. Whether you’re cooking for 24 or 224 (or just your hungry spouse), this recipe will deliver consistent, delicious scrambled eggs every time. It gets such good results, this is also now the recipe I use whenever I’m cooking small batches of scrambled eggs.

I'm so glad you dropped by. I'm Betsy. Here you'll find my favorite fabulous, trusted recipes - everything from delicious, quick meals for your family to wonderful classics made easy.
I'm also here to help you with large group recipes from 20 to 200. So next opportunity you get to cook for a large group - Say 'Yes!' Then relax. I've got your back.
Ever wished you could build your dream home? How about building your dream home in a tropical paradise? Join me, room by room, as we design and build a fabulous dream home in Hawaii!

These eggs are outrageously good. And, even better, they're very easy.
NOTE: Don’t cook more than 24 eggs in each pan or the cooking time will be significantly impacted (ask me how I found out the very hard way.) Cooking 3 – 4 dozen eggs in a larger roasting pan is an entirely different recipe.
In a large bowl, whisk eggs and mix in milk, cheese and seasoned salt. Pour into the greased baking dish.
Continue to bake until eggs are set, stirring every 2 minutes (it will probably take an 5 - 6 additional minutes. Plan on 30 - 35 minutes total.) NOTE: If you are baking more than two 9 x 13 dishes of eggs in the same oven at one time, plan on an additional 5 – 15 minutes depending on your oven and the number of batches. I would not do more than 4 batches in 1 oven.
NOTE: If holding for longer than about 15 - 30 minutes, add 1/4 tsp. of lemon juice (per dozen) to the eggs before cooking. The iron in the egg yolks and the sulfur in the egg whites oxidize with heat and time. The acid in the lemon juice prevents the iron and the sulfur oxidizing, leaving your eggs nice and yellow. By the way, this is the same thing that occurs when you over-cook hard boiled eggs, evident in the grey-green film on the yolk. Contrary to popular myth, it has nothing to do with the pan.
Prior to serving, fluff eggs with a rubber spatula or large spoon by breaking up the larger curd masses into several smaller pieces.
This recipe was given to me by a top-rated hotel chef. This is the method he uses, except he talked about the quantity of eggs in terms of gallons. This method is more labor intensive than the above recipe, but I believe produces a better texture in the finished eggs. I use the above recipe if I’ve got a lot going on and don’t have time or man-power to baby sit the egg cooking (except for the occasional stirring.) If I have more time and man-power, I like this recipe. This works fine with most any quantity you might use and is limited by the size of your cooking pot. Use the recipe ingredients above and the method below.
MAKE AHEAD NOTE:

This is my same great group recipe, scaled down to serve 2-3 people.
In a medium bowl, whisk eggs and mix in milk, cheese and seasoned salt. Set aside
In a medium skillet over medium-high heat, melt 1 tablespoon of butter, swirling to disburse evenly.
When butter is melted, add egg mixture. As eggs start to cook, begin scraping bottom of the skillet (like a snow plow). As eggs start to puff up, reduce heat to medium and continue scrambling until they reach your desired degree of doneness. Serve hot.
The page you requested could not be found. Try refining your search, or use the navigation above to locate the post.
Never miss a single Fabulous Recipe!
Sign UP today and ENJOY free Recipes & Party Ideas in your inbox.
(No spam - I promise!)