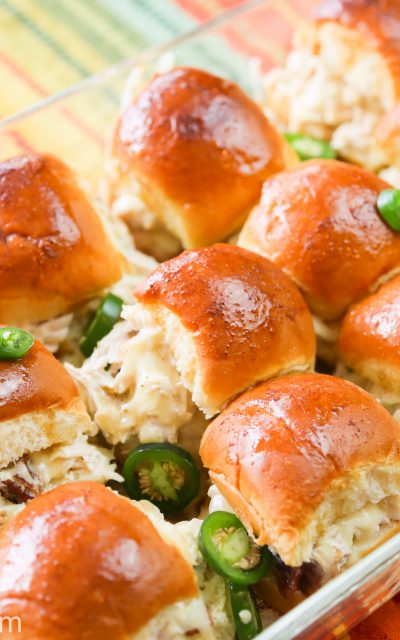
Cheesy Chicken Melts


Cheesy Chicken Melts
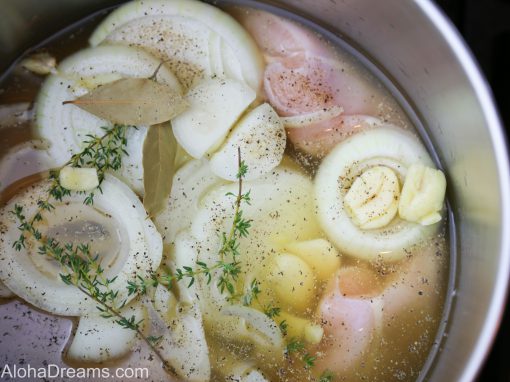
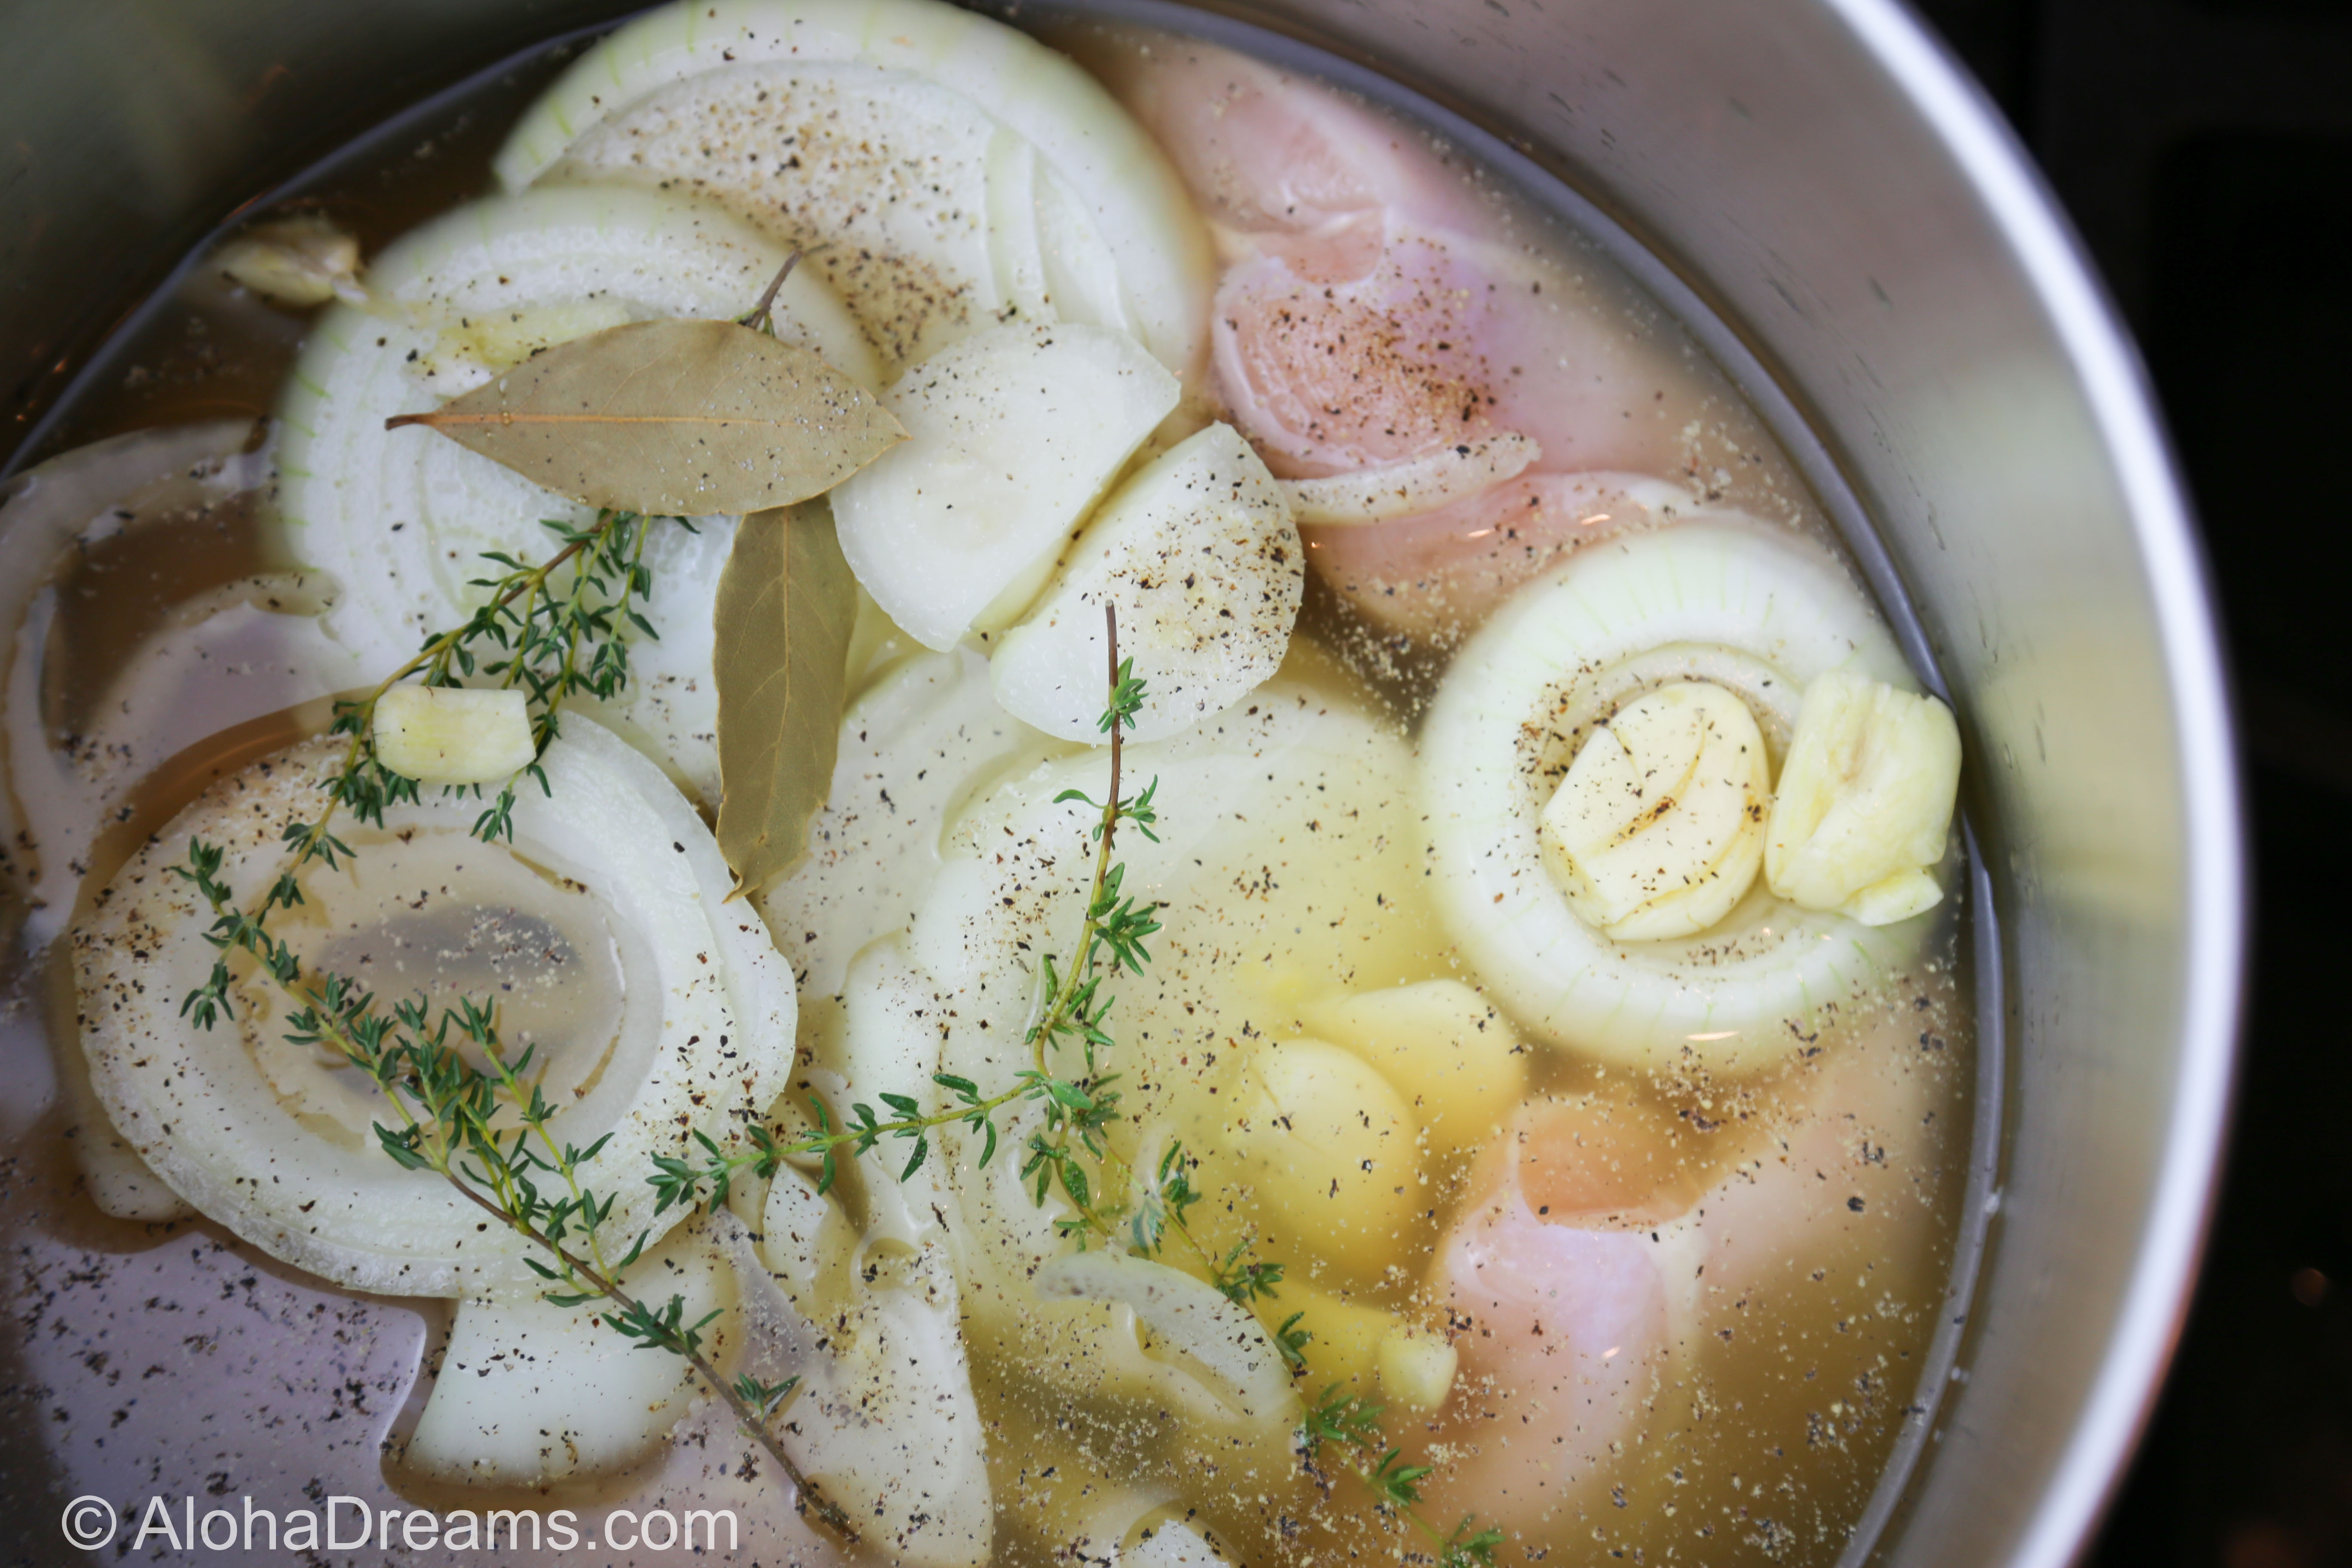
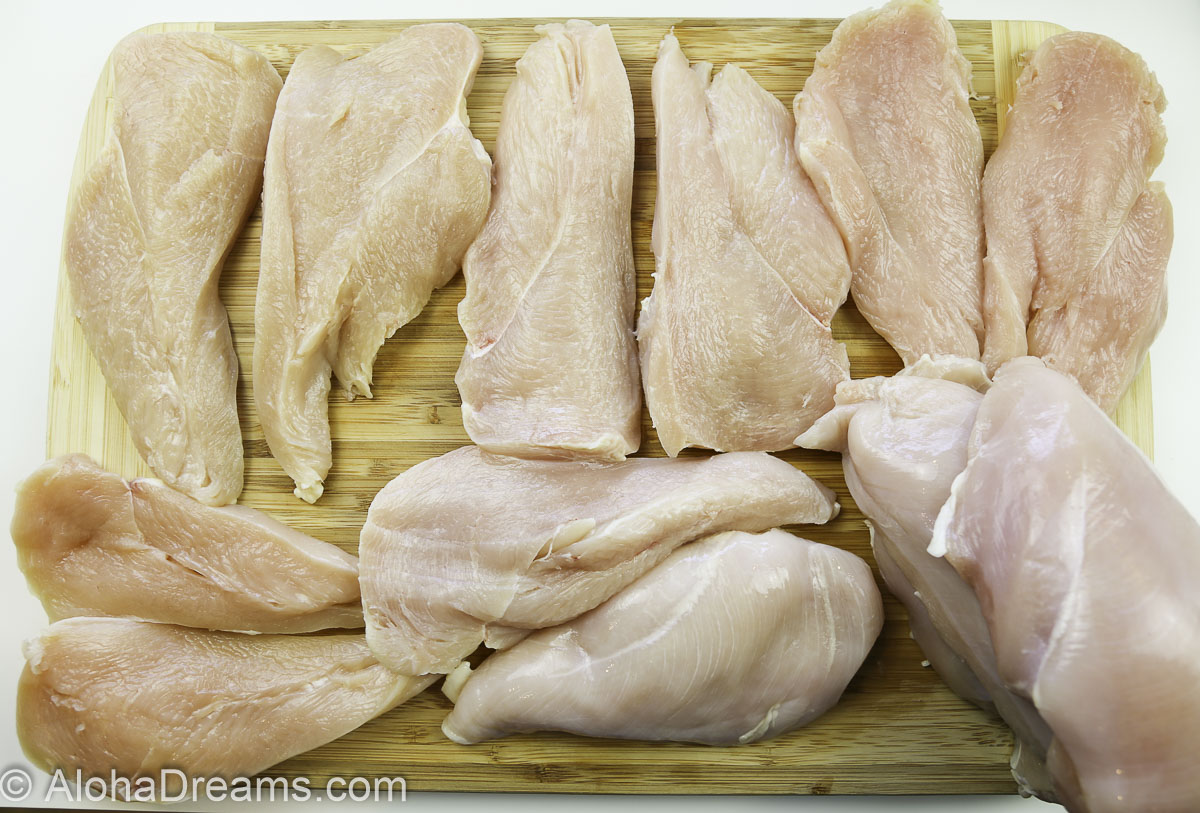
Welcome to the first of a series of recipes which take advantage of our Poached Shredded Chicken Master recipe. It’s designed to create maximum results with minimal efforts.
This one’s for all the hard working moms (and dads) who spend 8 hours working (at the office or at home) only to drag themselves into the kitchen at the end of a long, tough day to pull together a delicious meal for their family because they know family dinner is key to family unity and strength. This one’s designed to make your life easier and your table livelier.
Emily and Serena – this one’s for you !
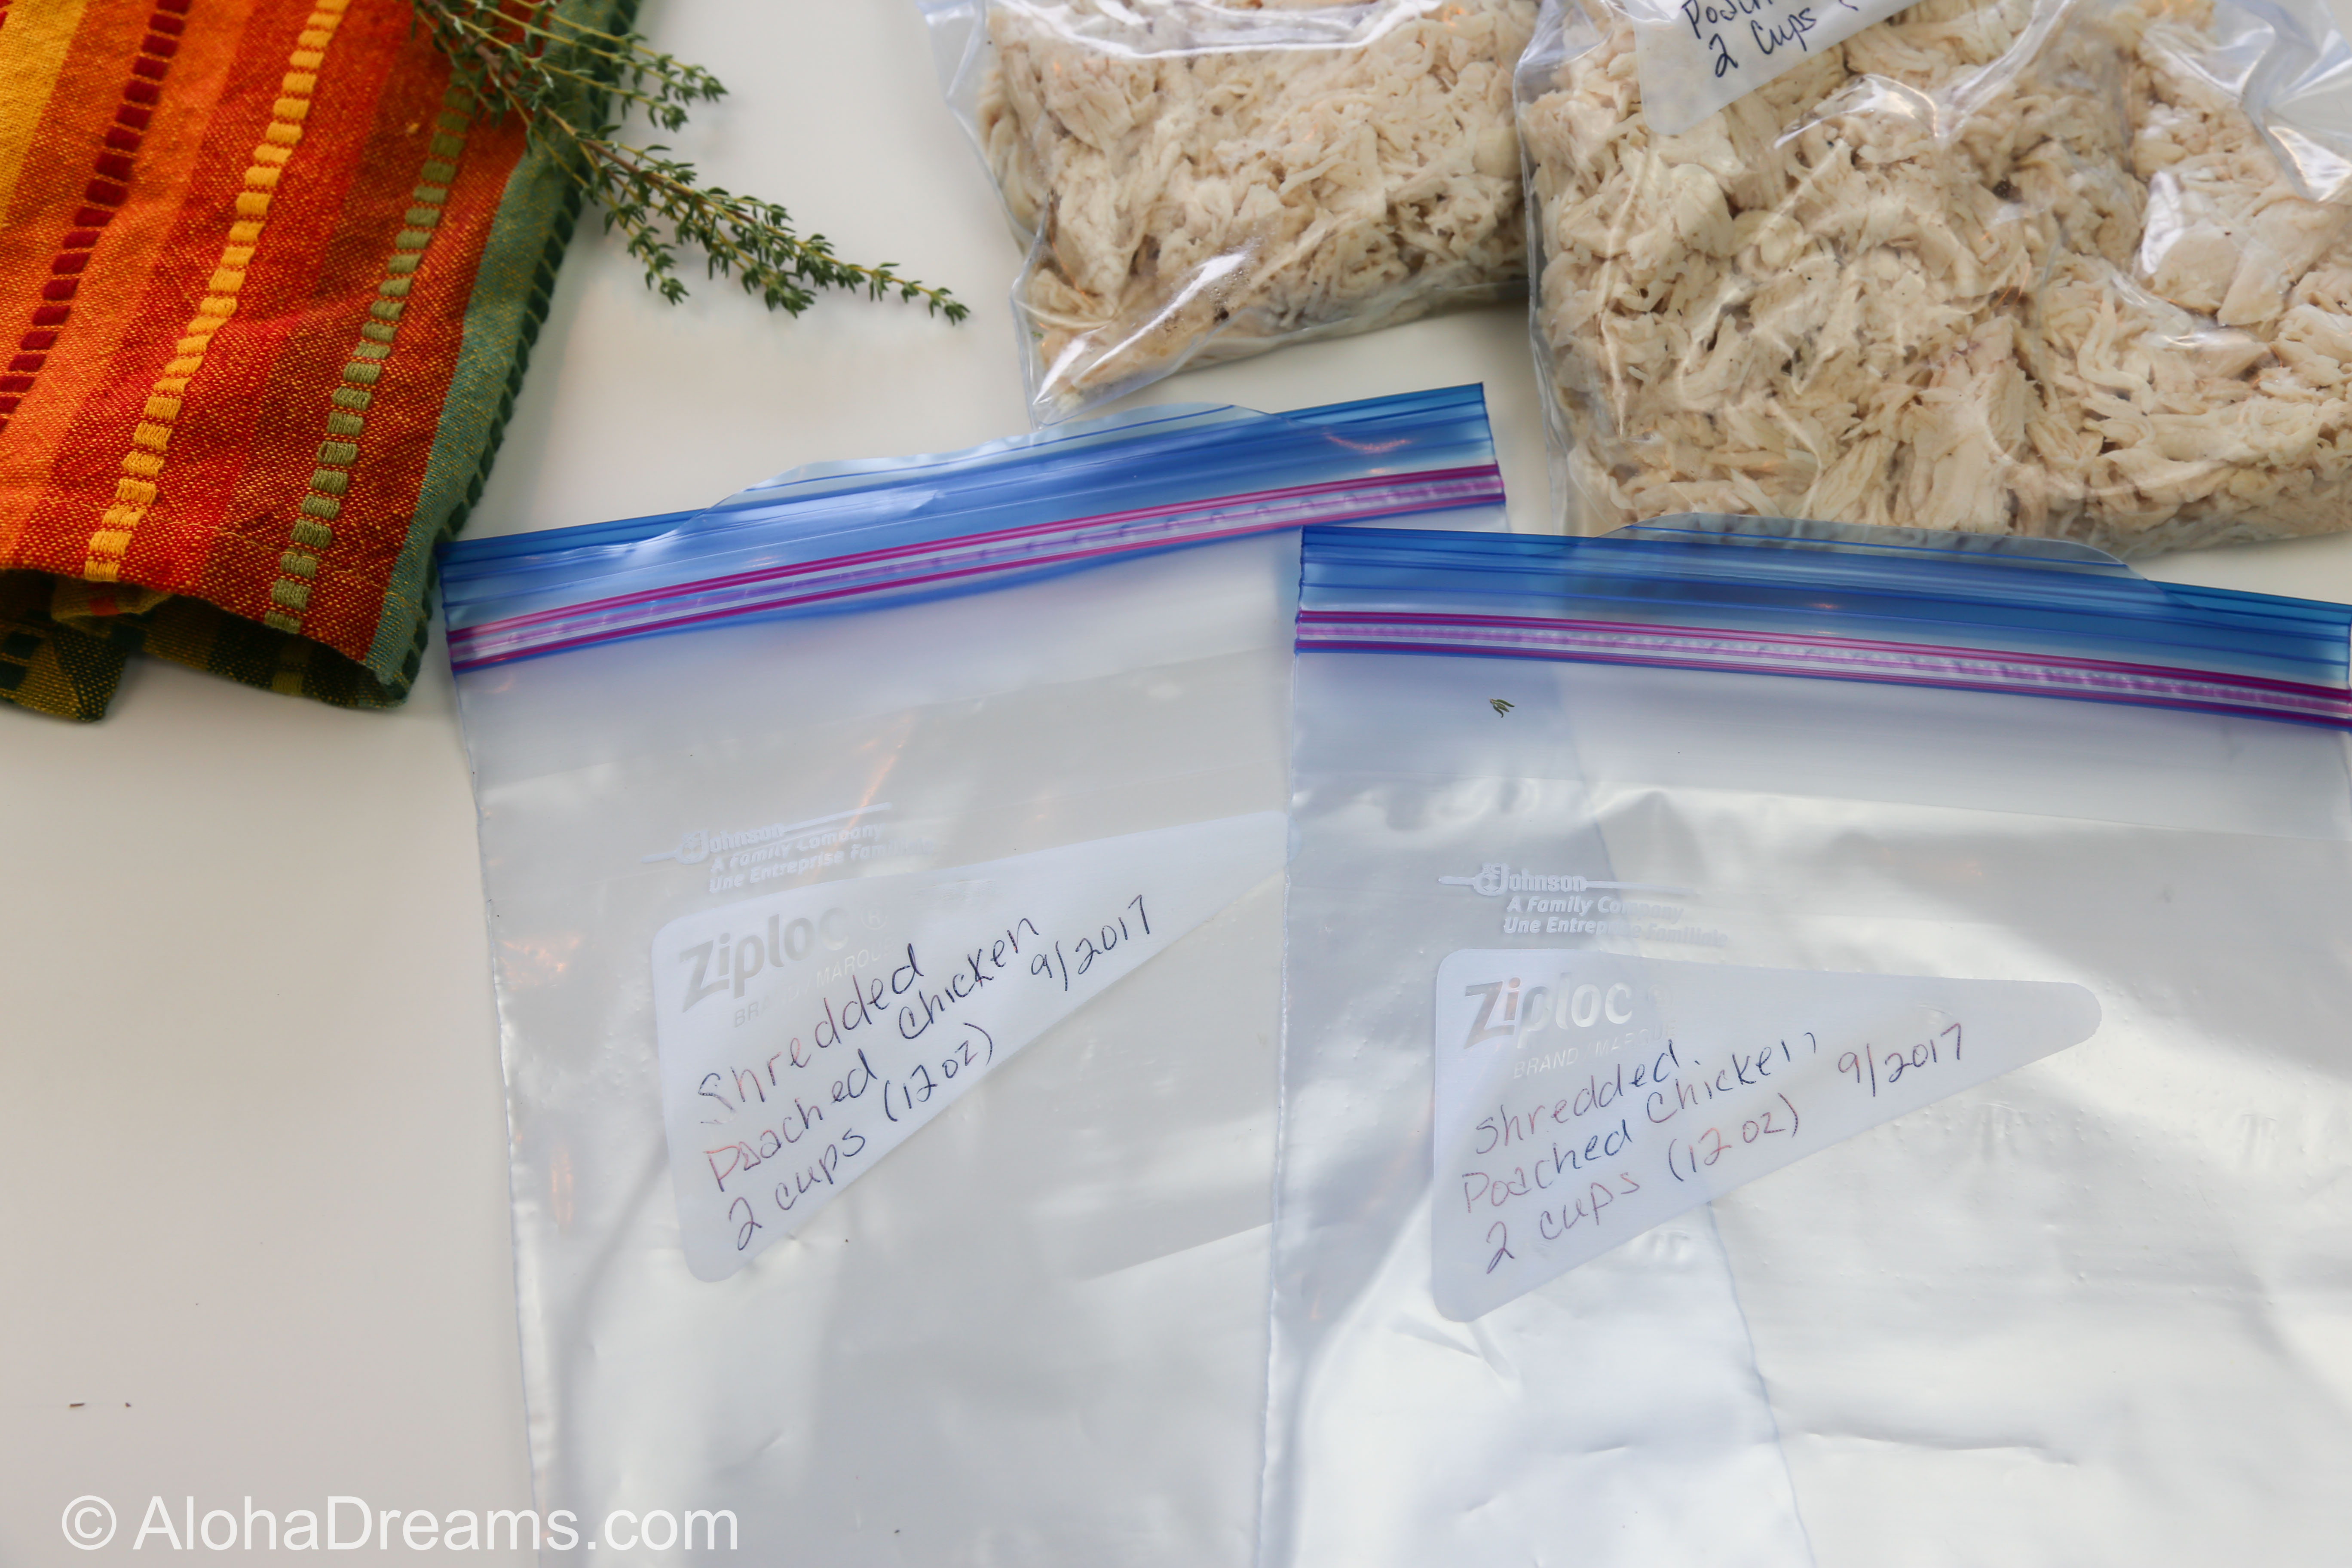
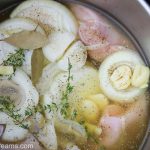
Even better – use my Make Ahead Shredded Chicken and you’ll have dinner on the table within 30 minutes. They freeze great too!
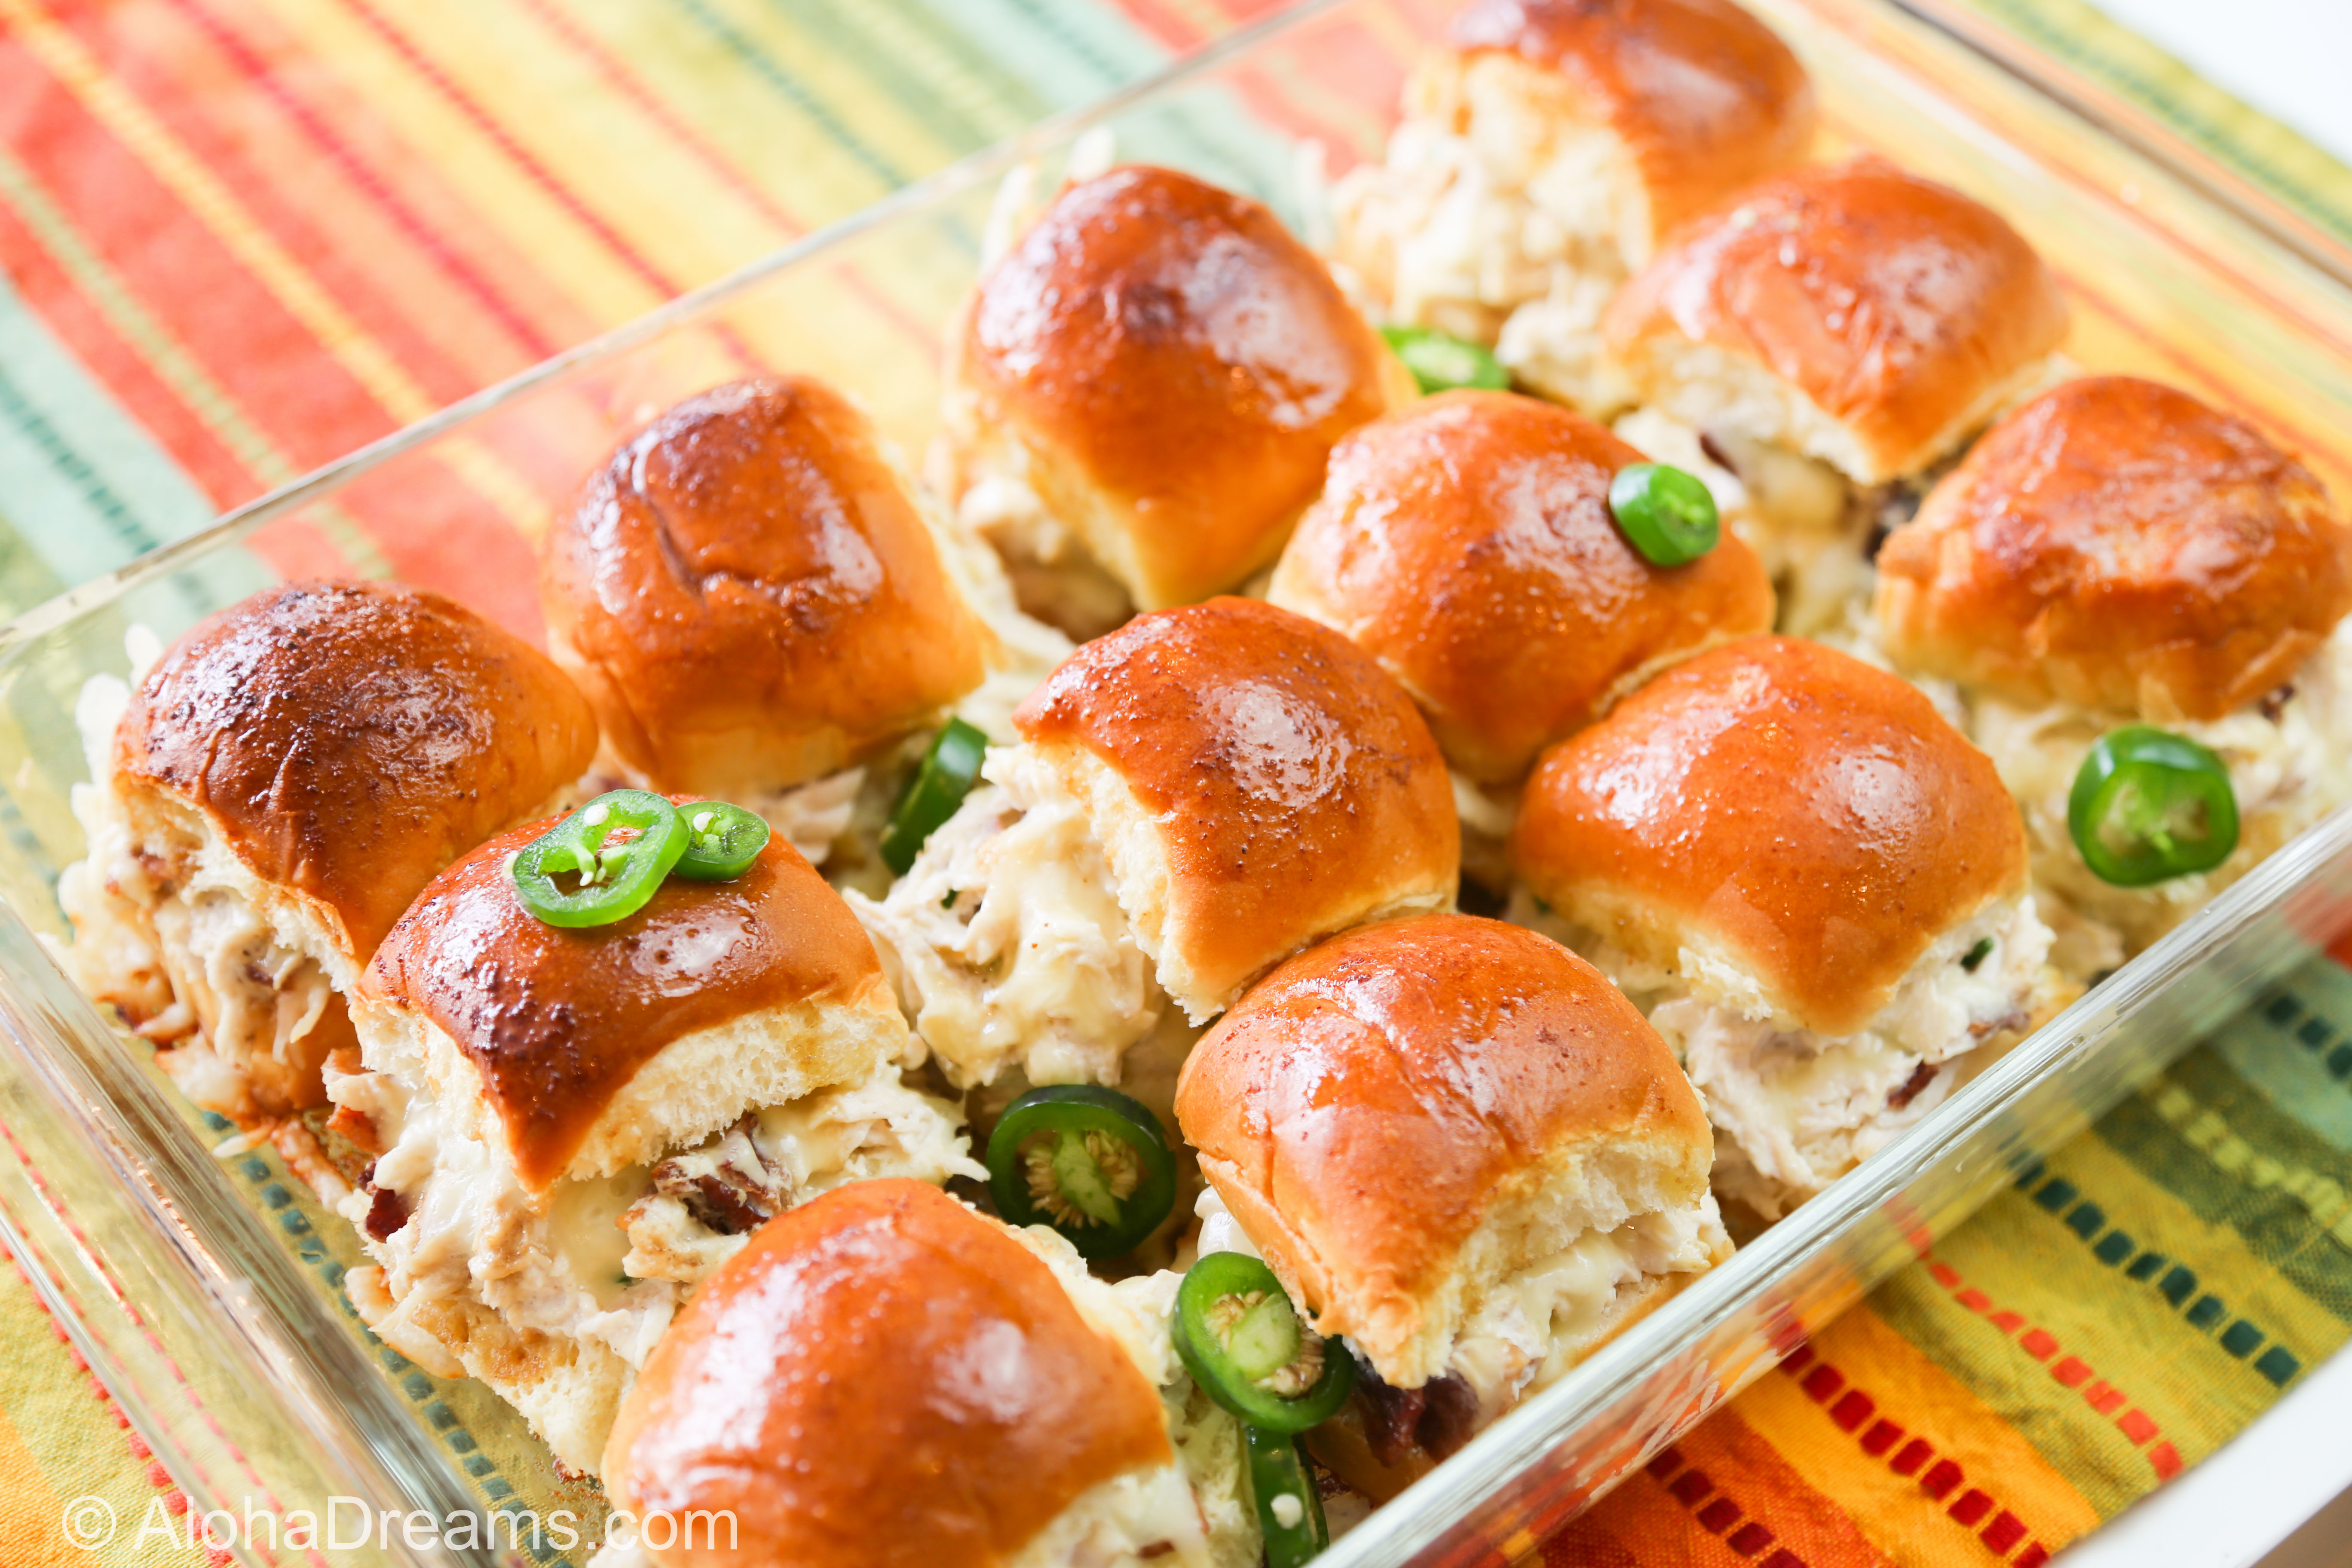
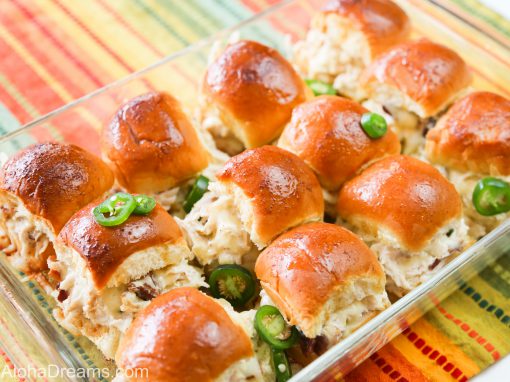
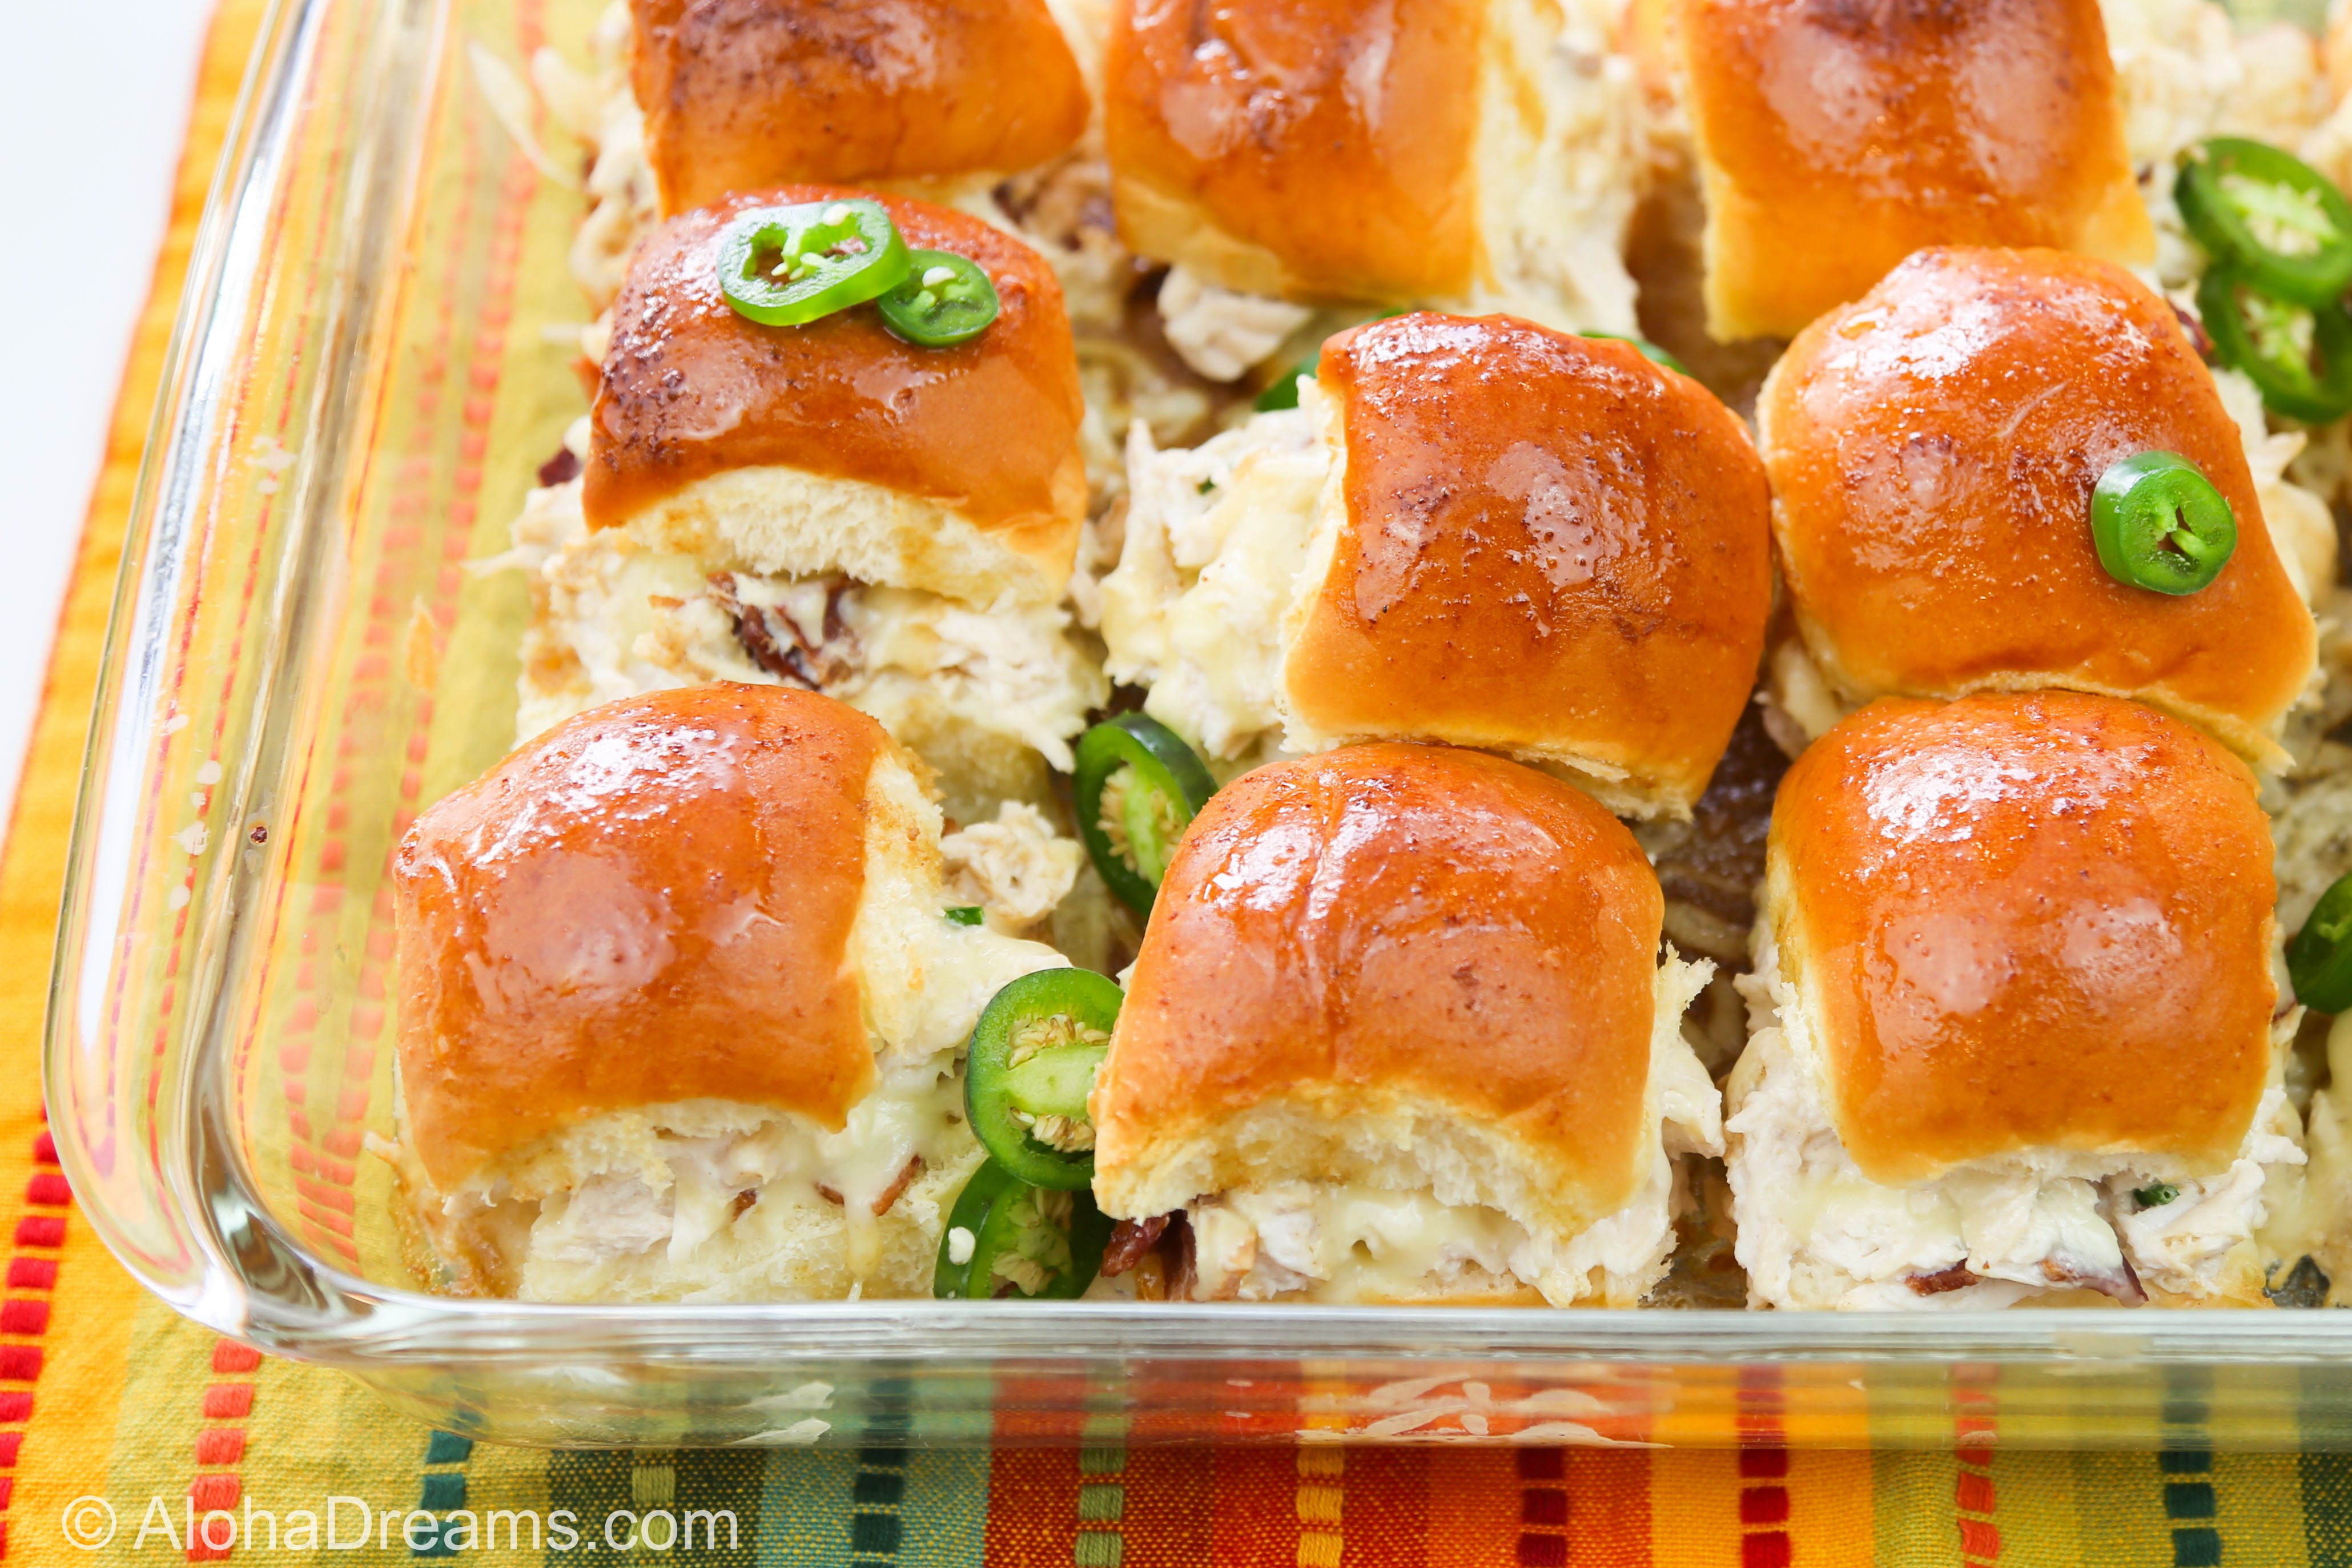
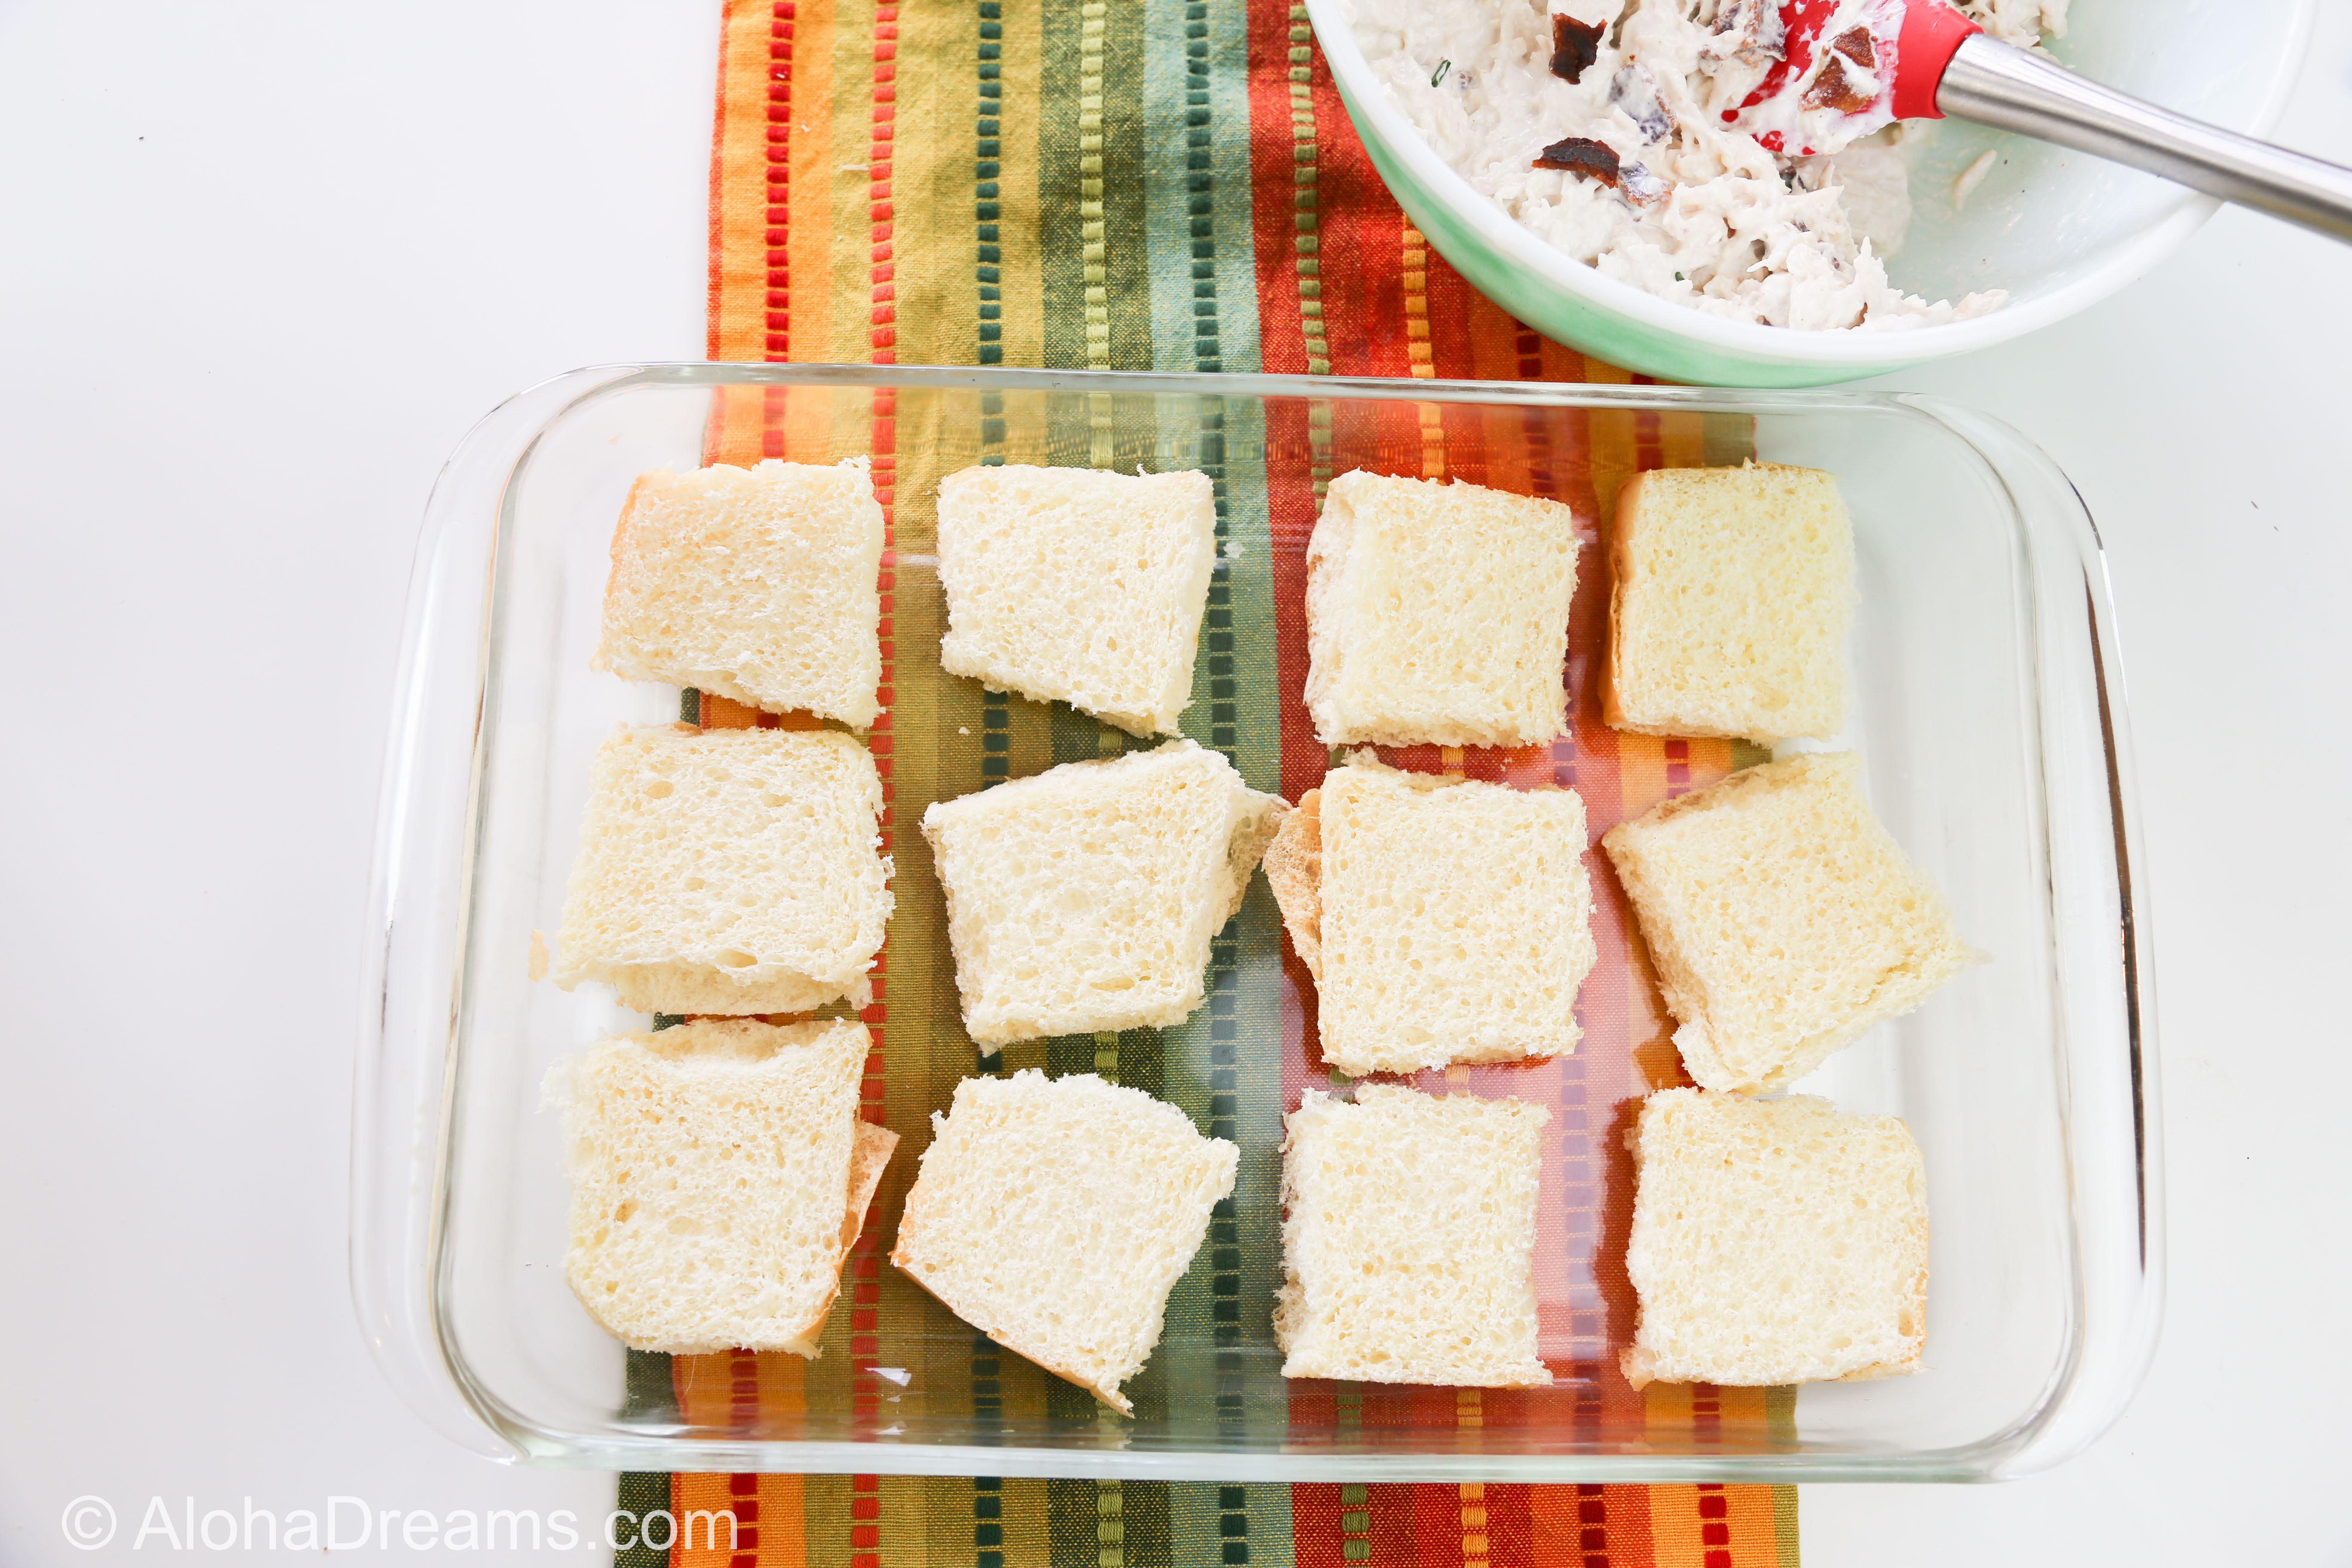
Here’s how: Just split the buns in half and place them in a baking dish like this.
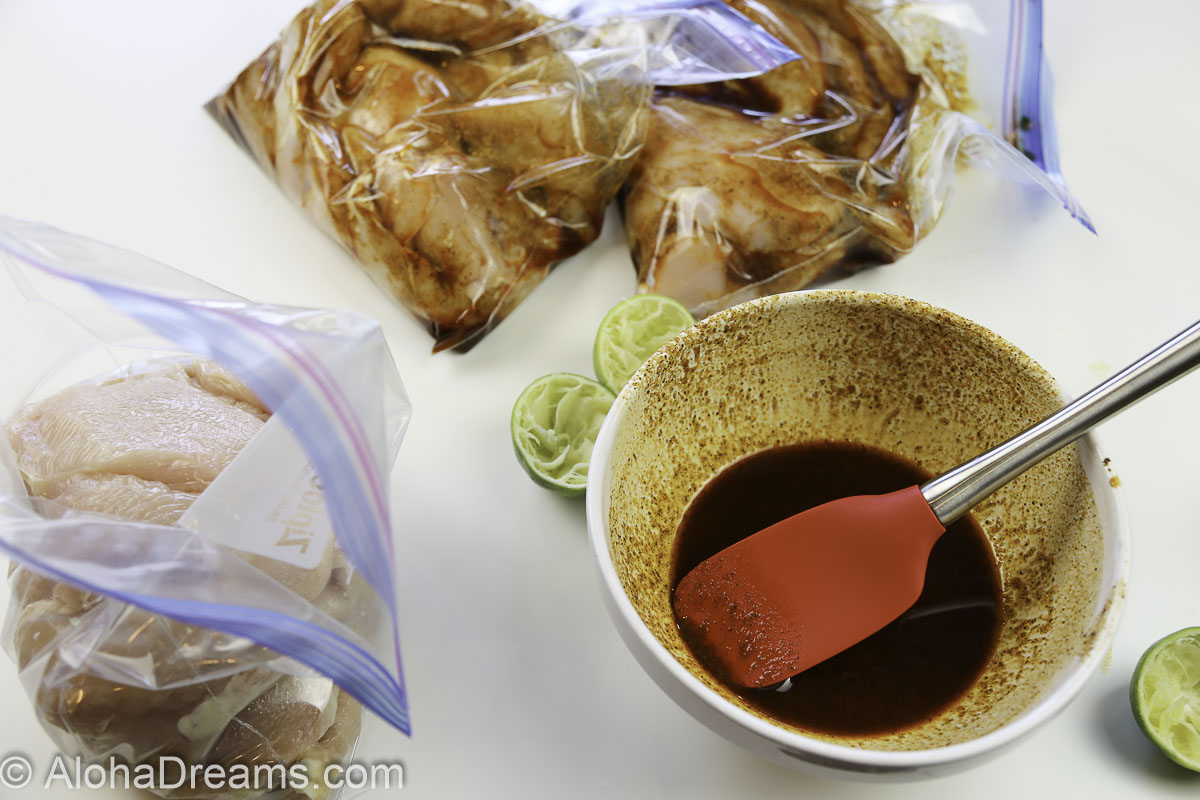
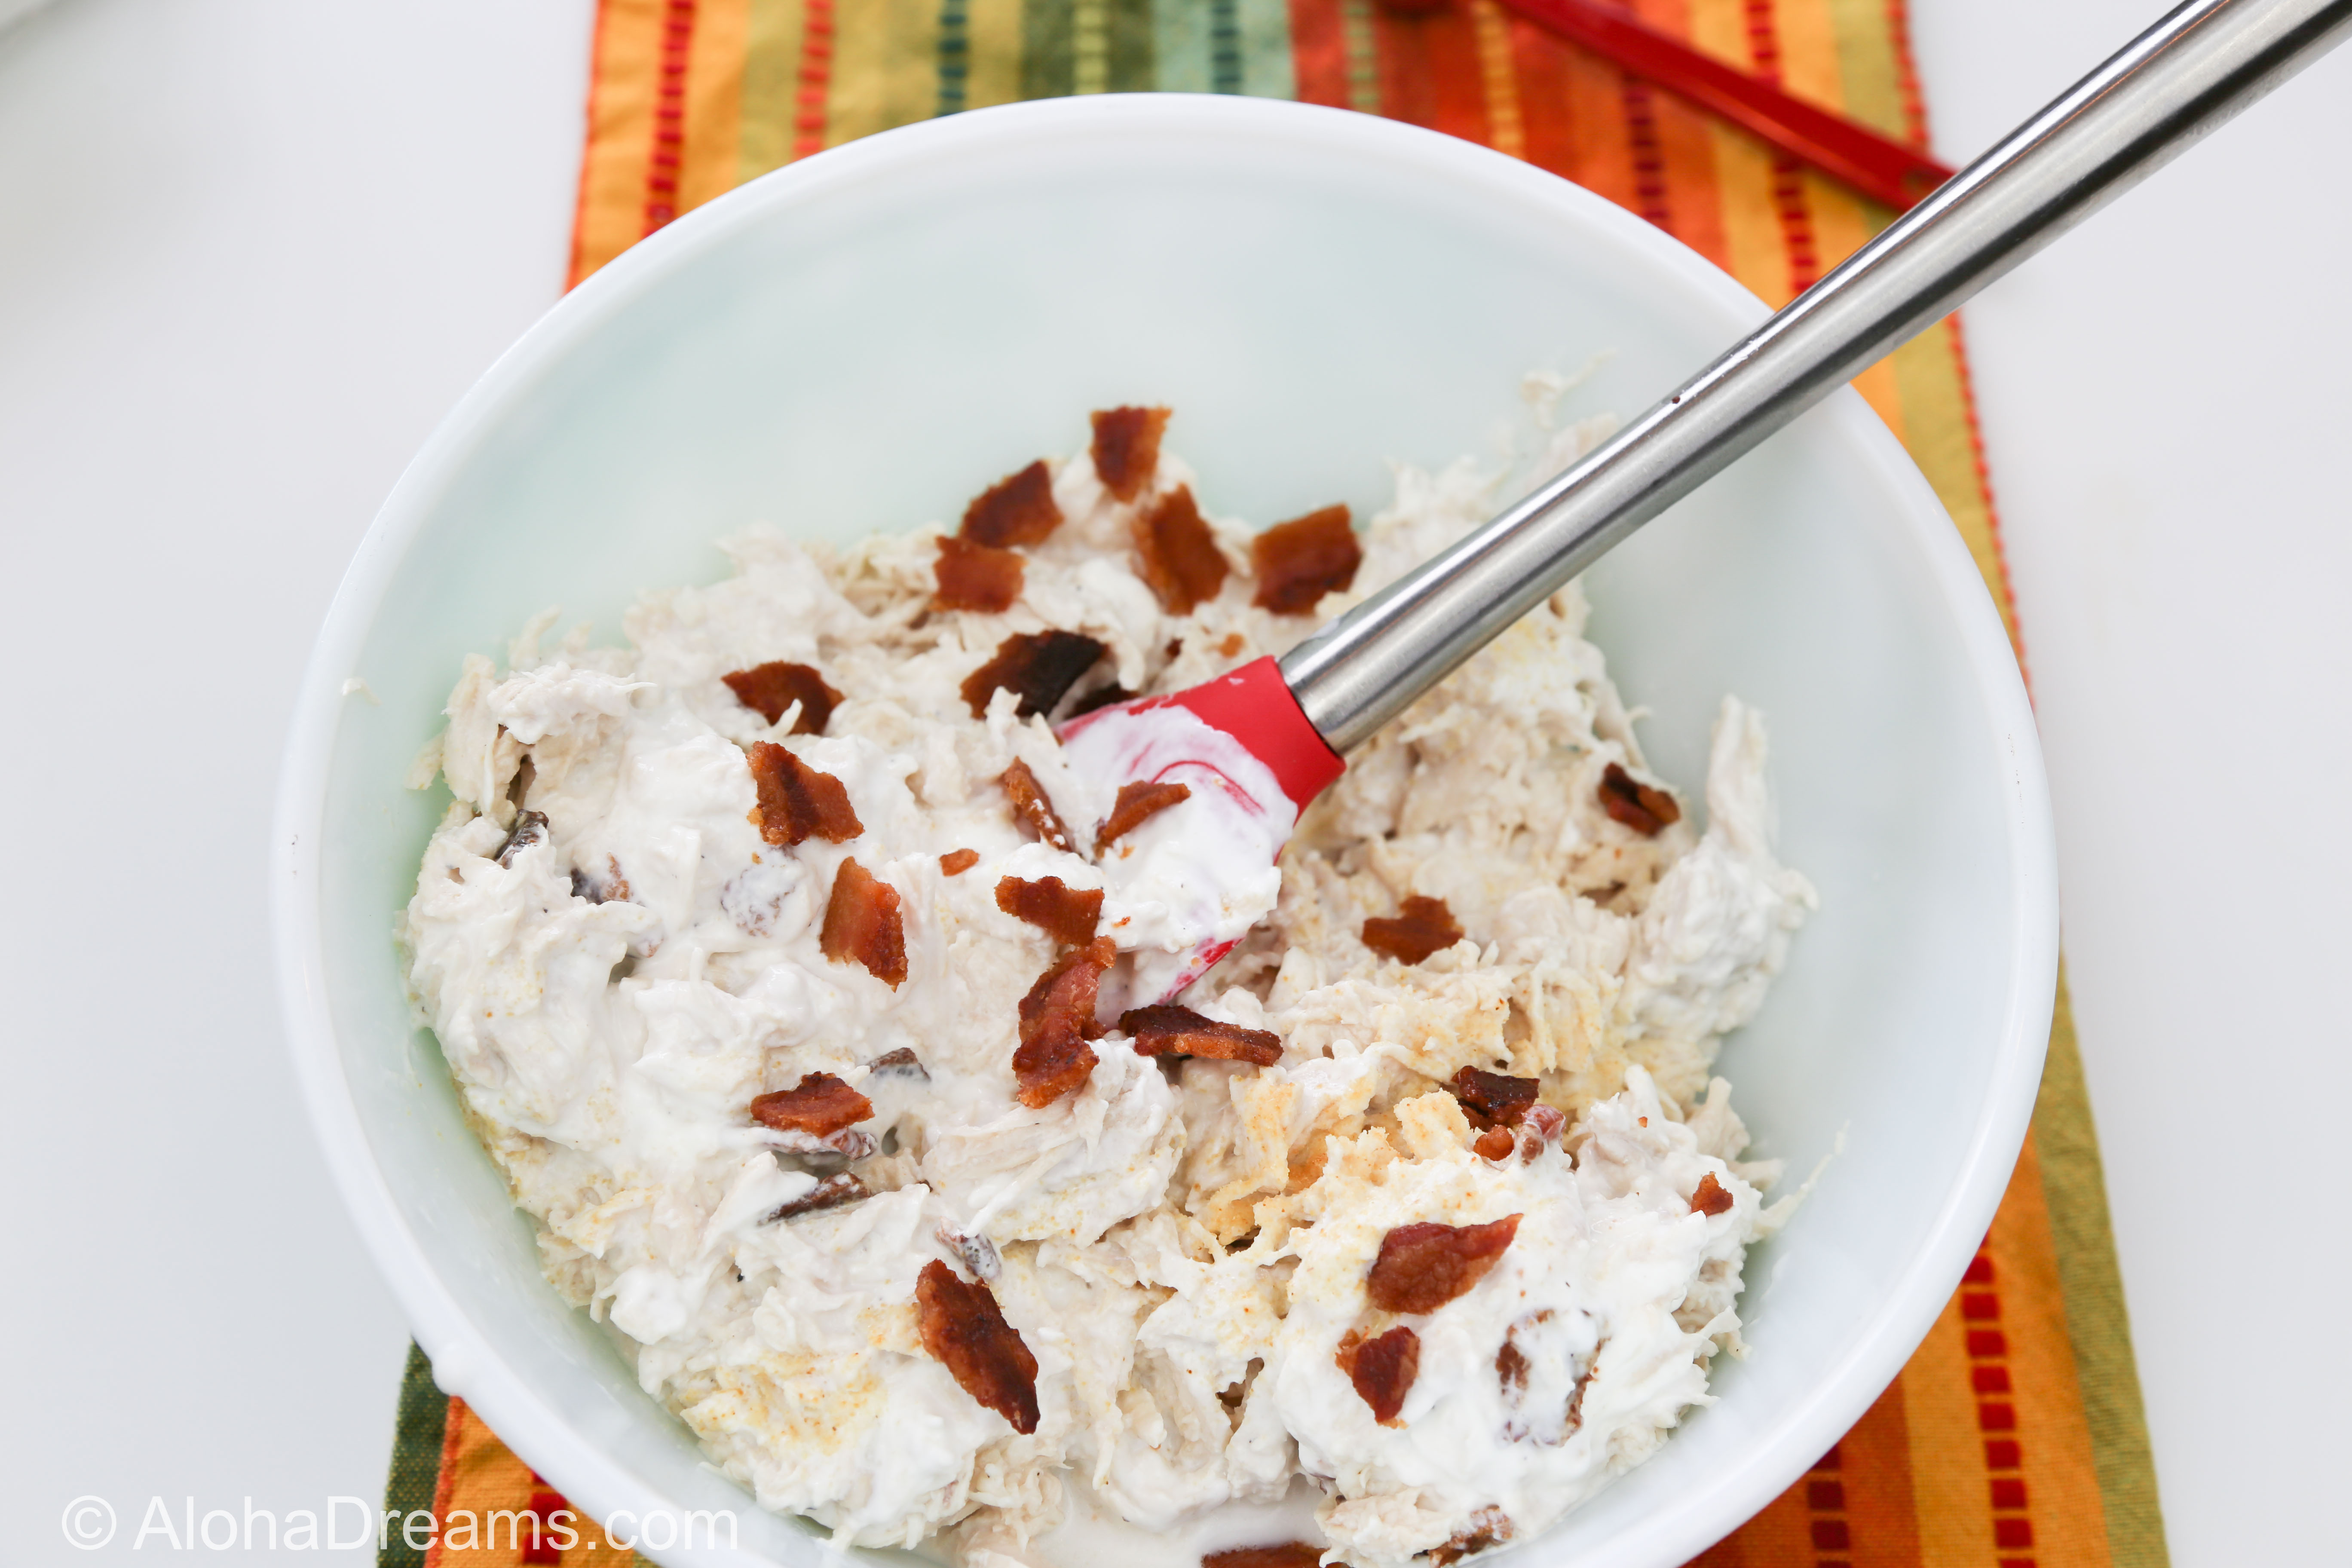
Then combine 3 cups chicken, 3/4 cup sour cream, 1/4 teaspoon garlic powder, 1/2 teaspoon salt, ¼ cup chopped picked jalapeno pepper slices and crumbled bacon.
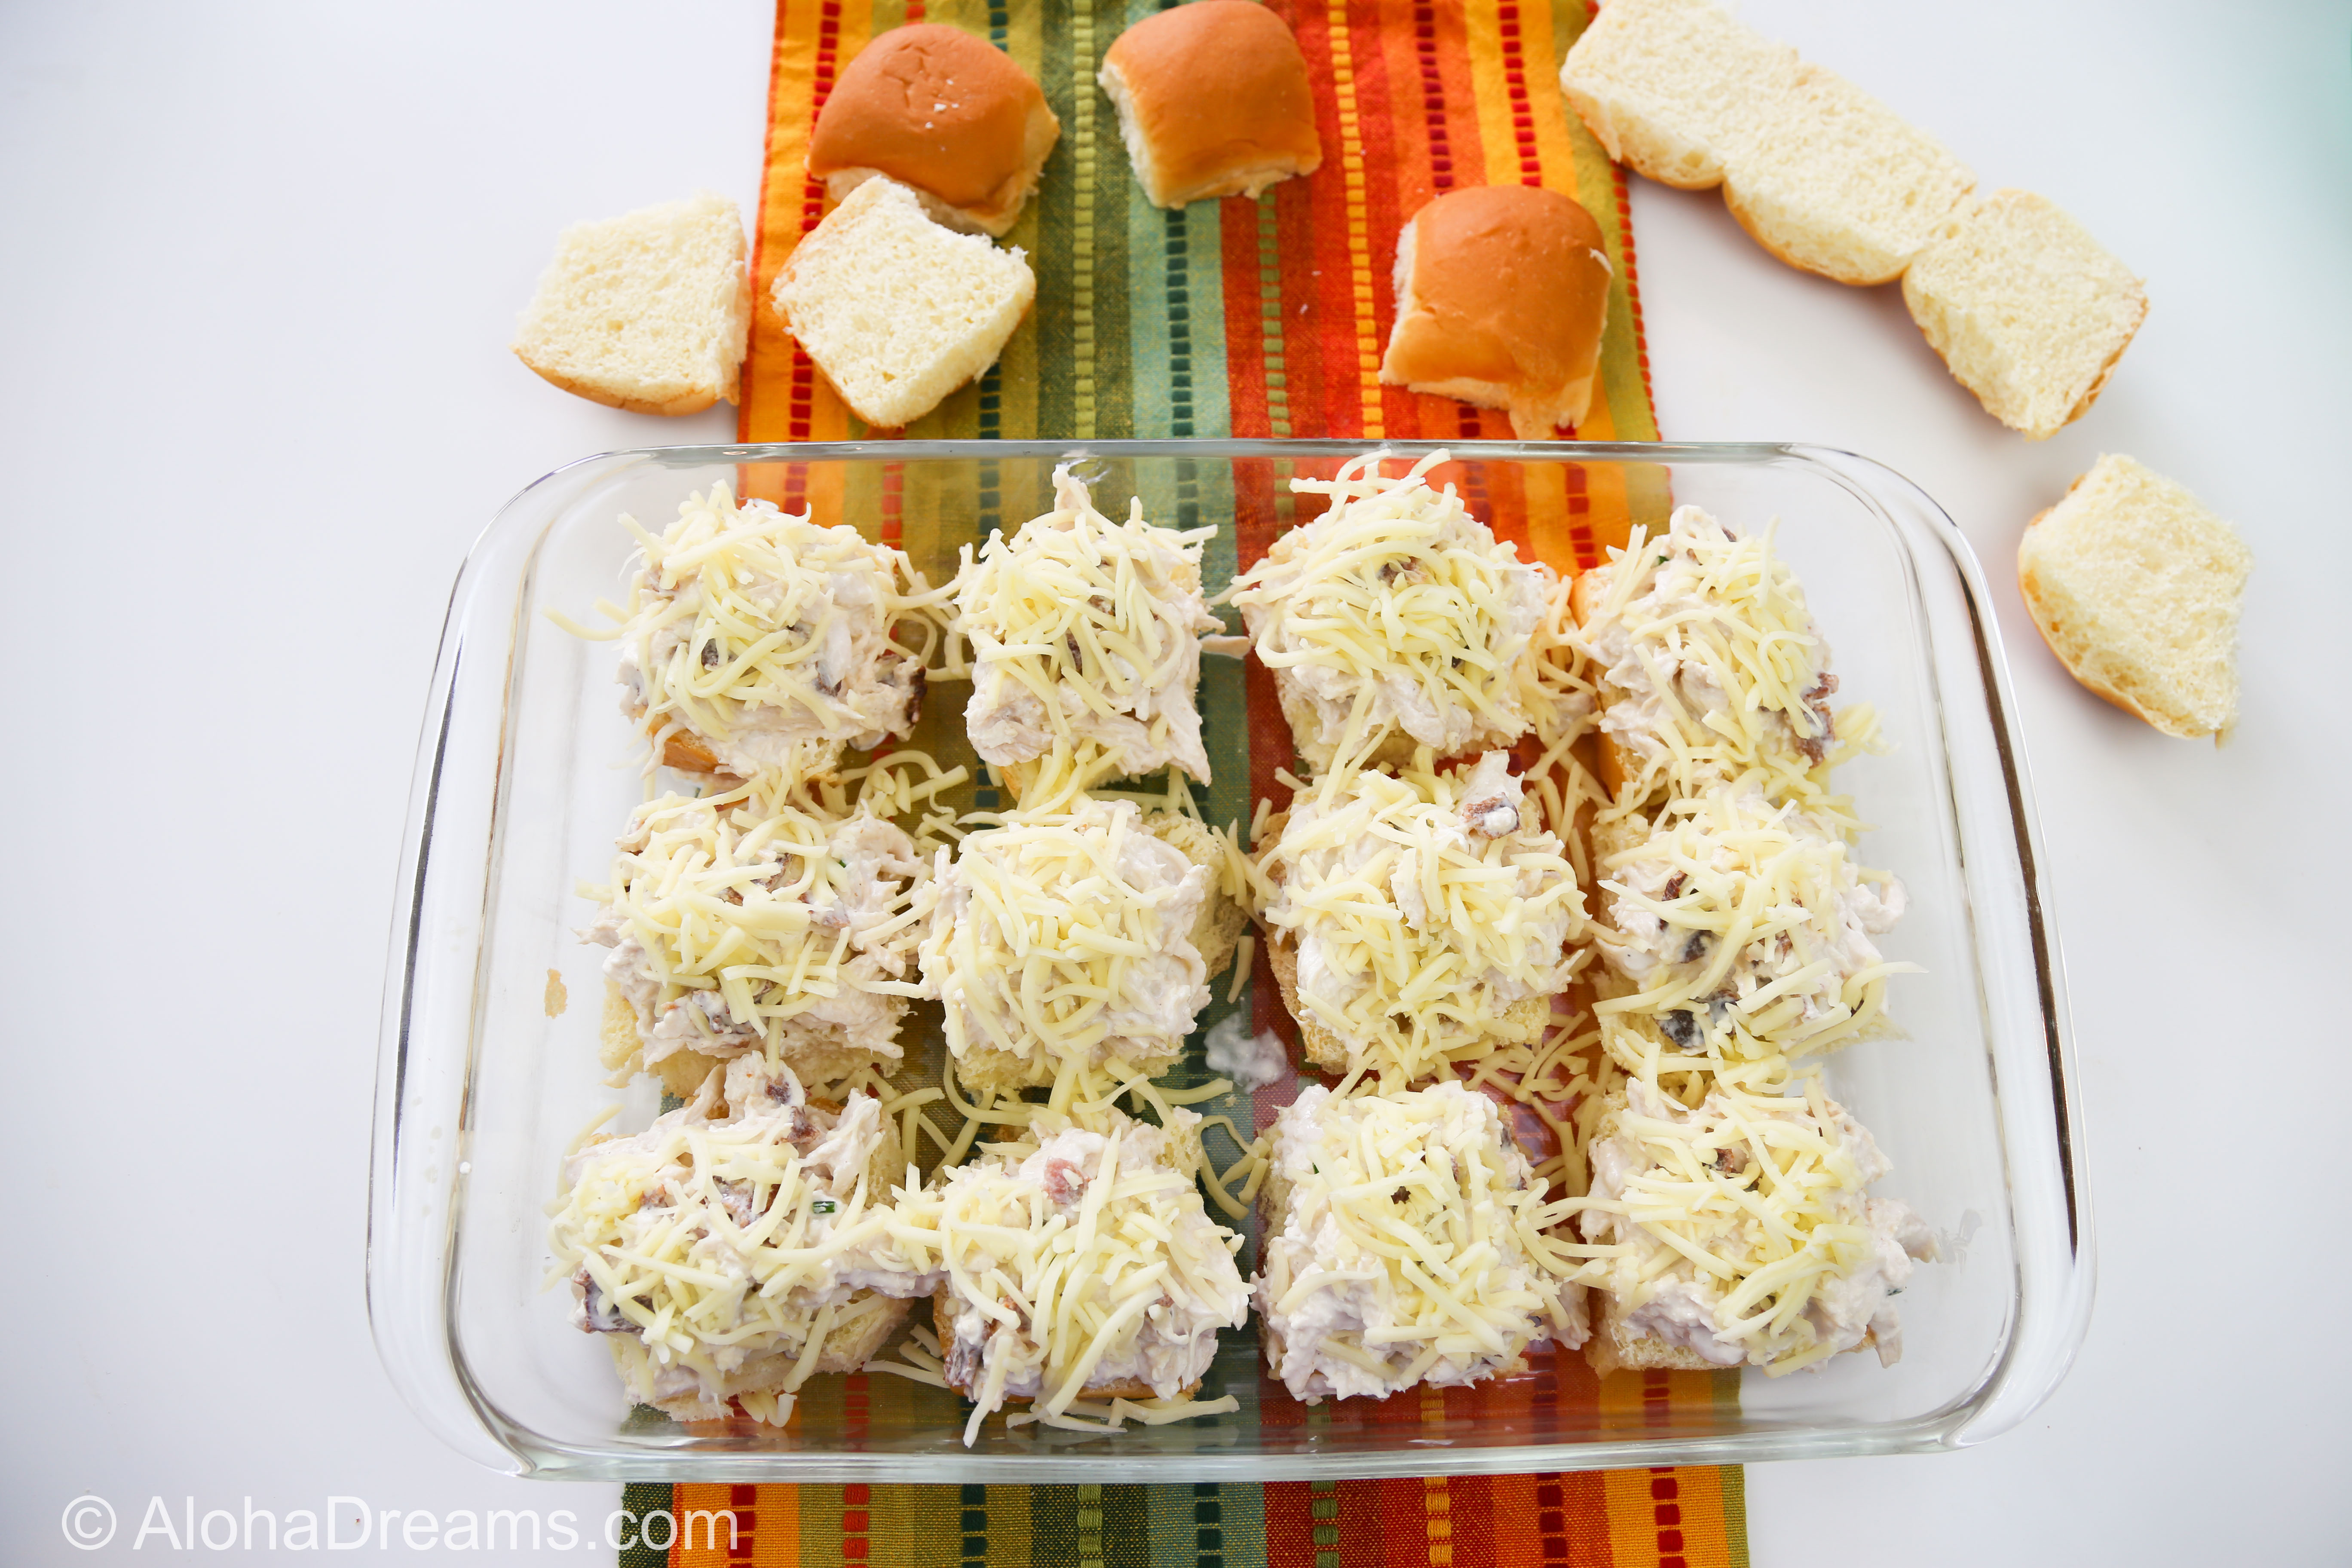
Divide the chicken mixture between the buns, then top with the cheese.
In a small bowl, combine 8 tablespoons melted butter, 1 tablespoon Worcestershire sauce, and 1/2 teaspoon garlic powder. Spoon half the butter mixture over the cheese and place roll tops on the rolls.
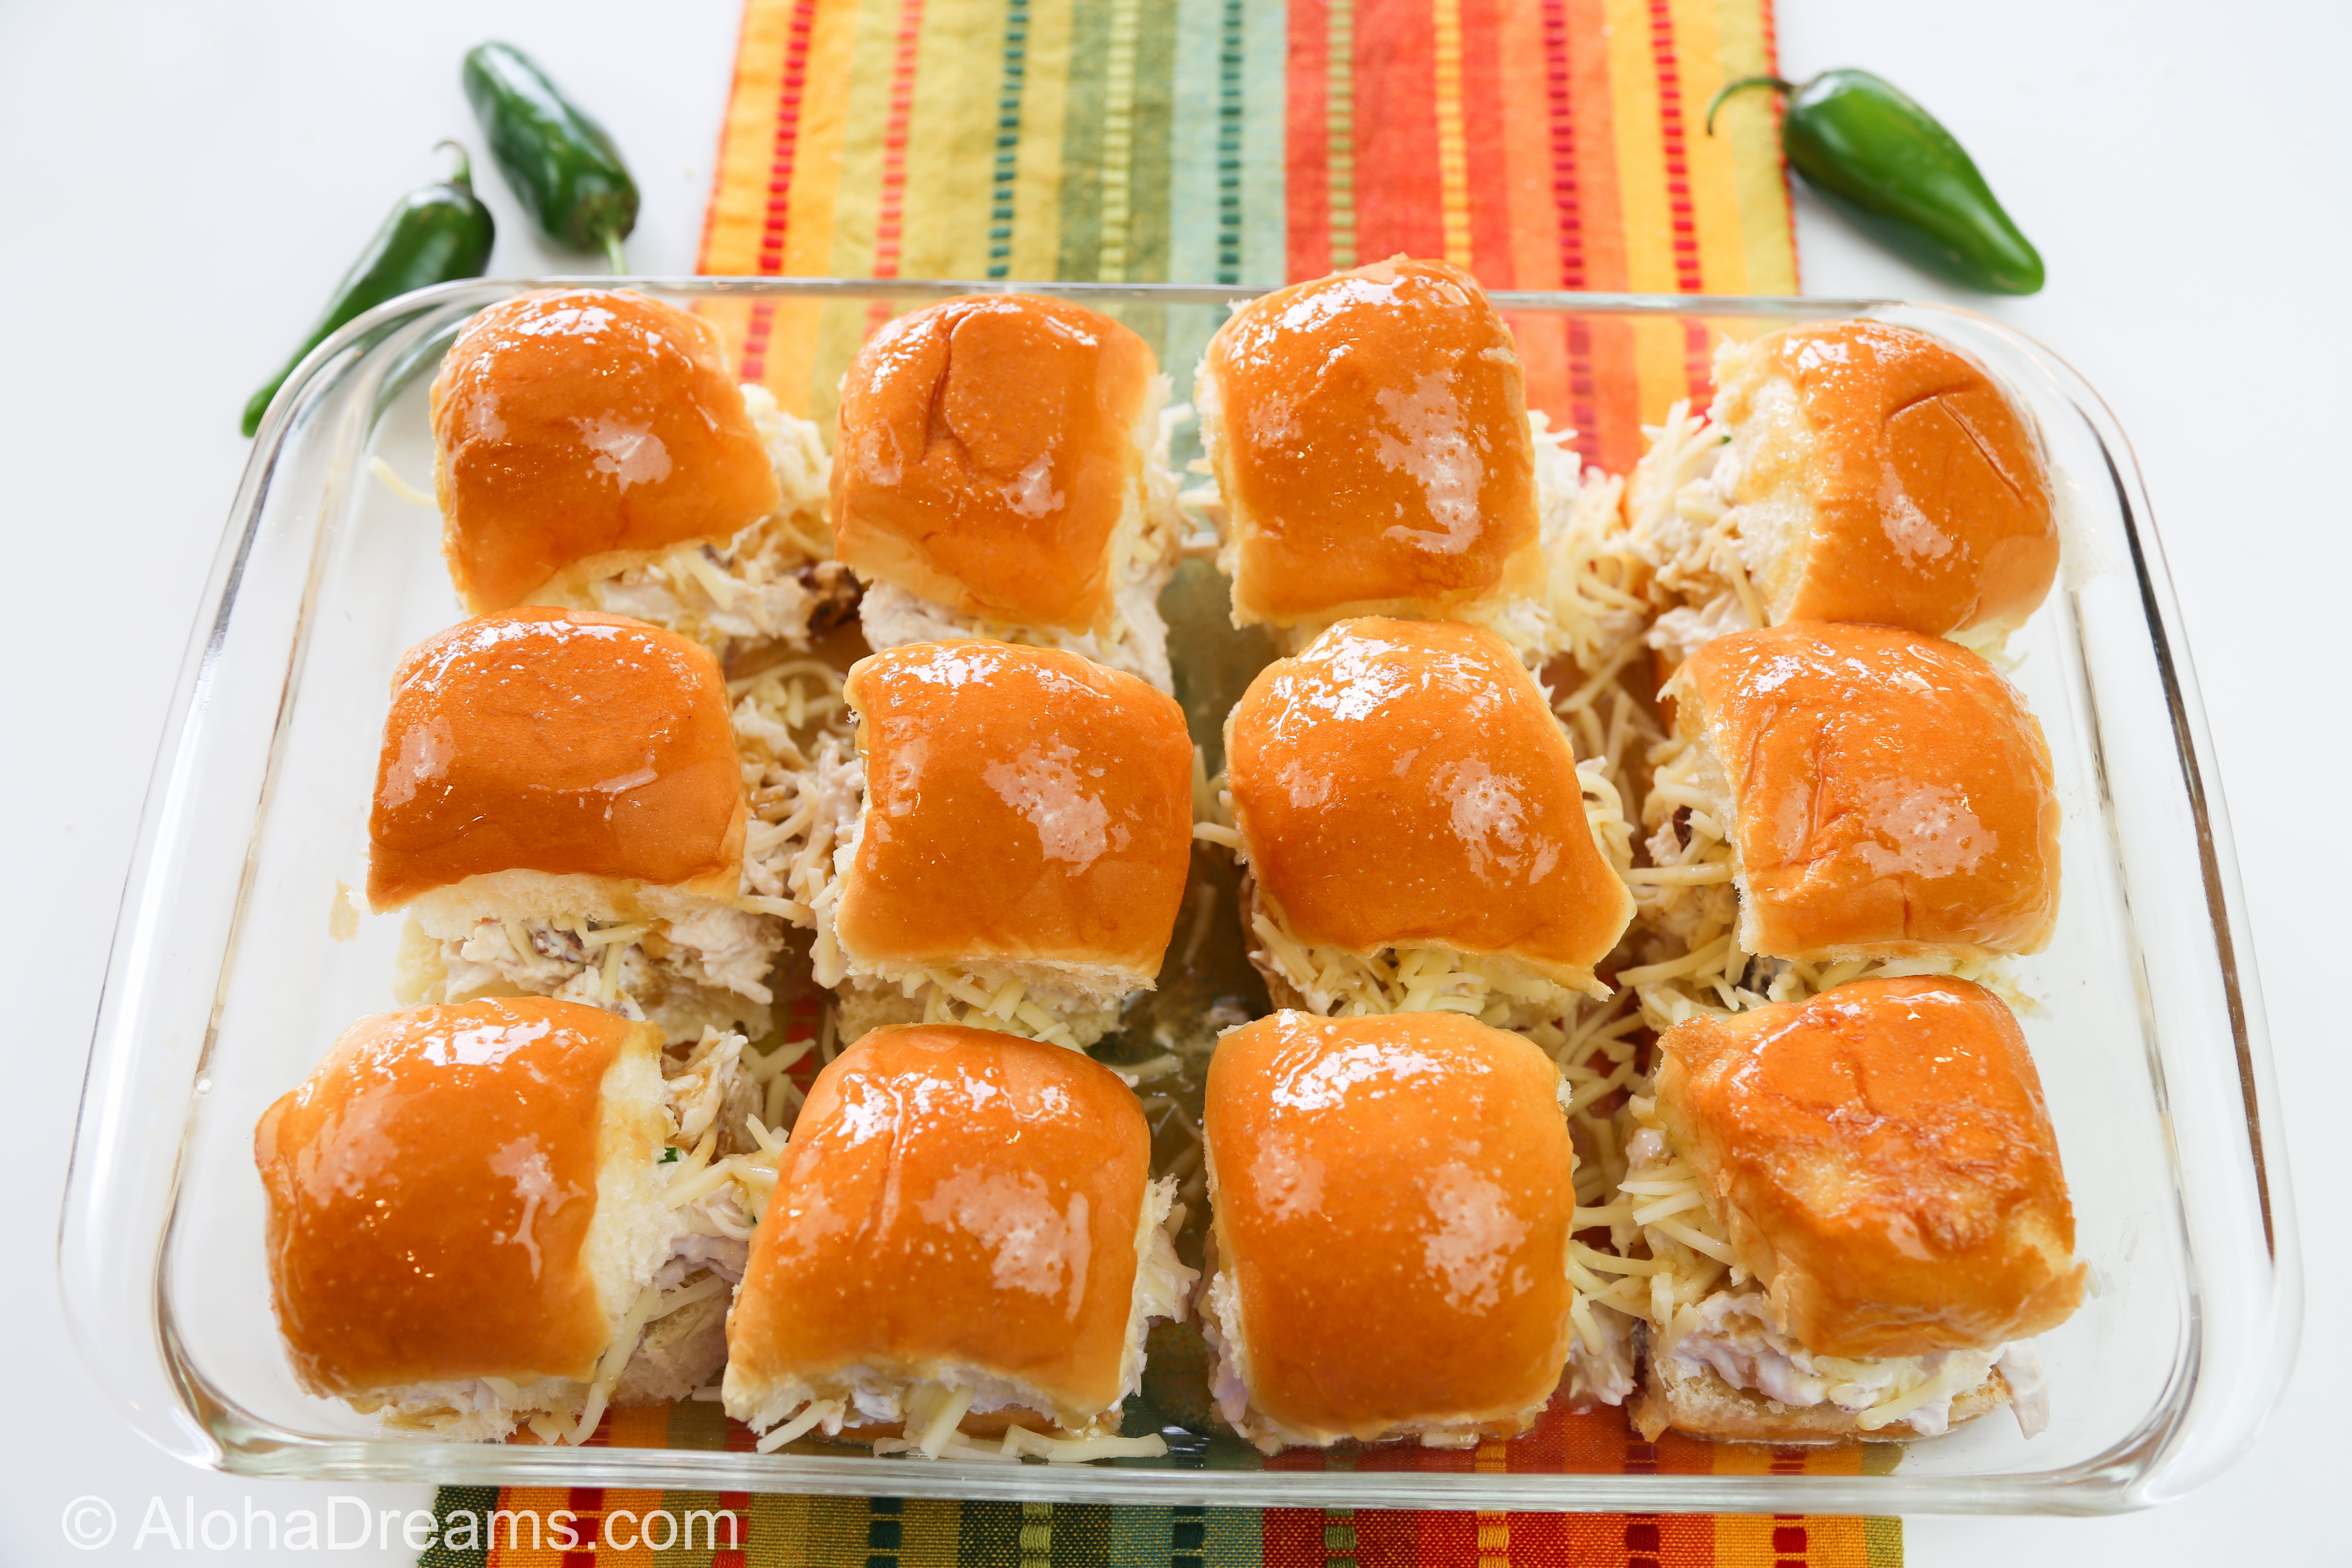
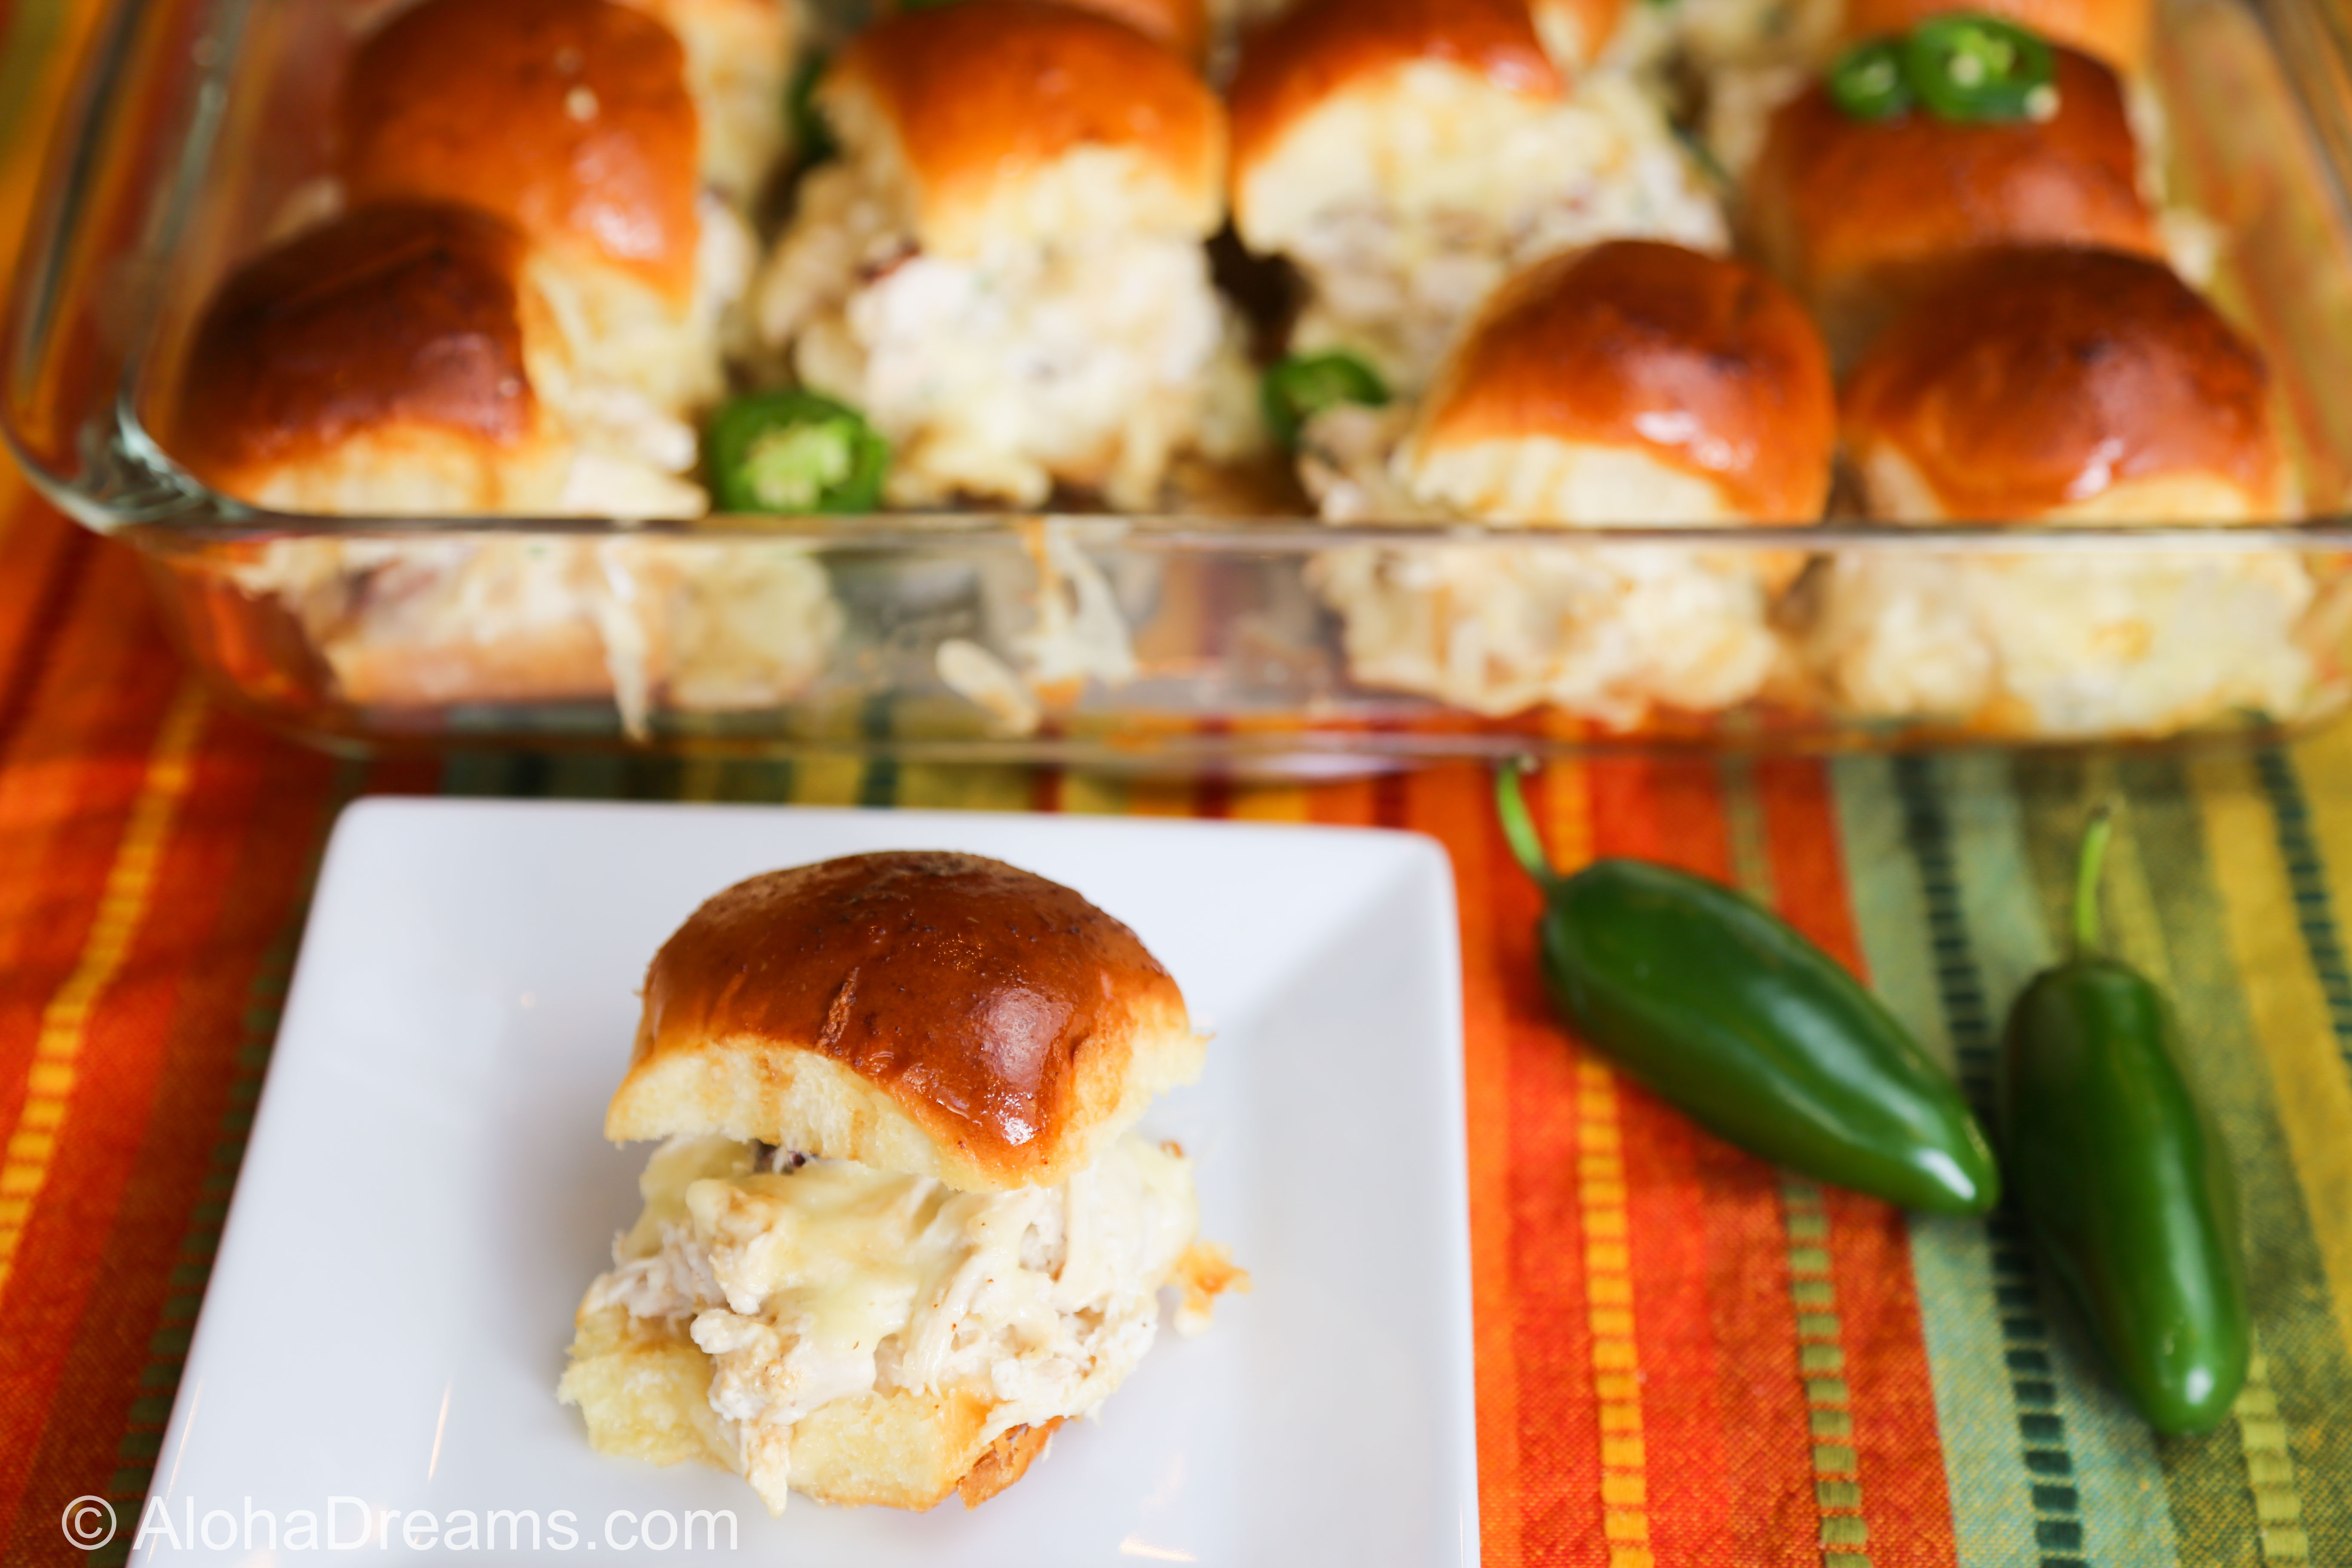
Pour remaining butter mixture over roll tops and bake, covered with foil, at 350 degrees for 15 minutes. Remove foil and bake 5 – 10 minutes more or until cheese is melted and top of rolls are light brown. Serve.
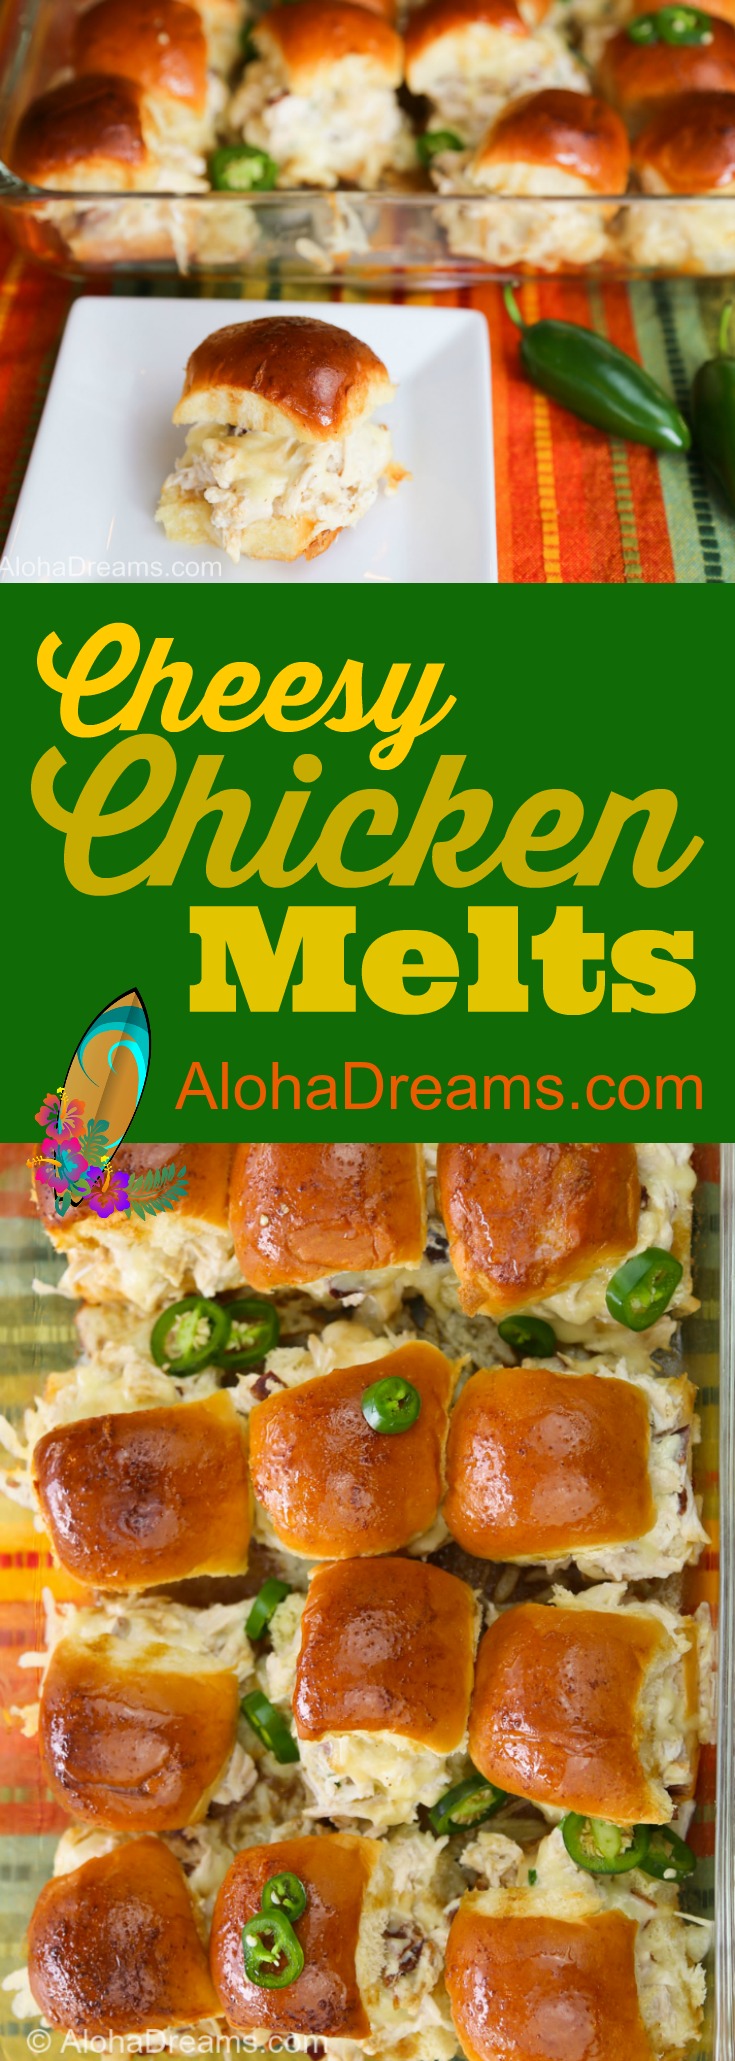
Your family is going to love these darling little sandwiches. They’re fun and they taste fantastic!
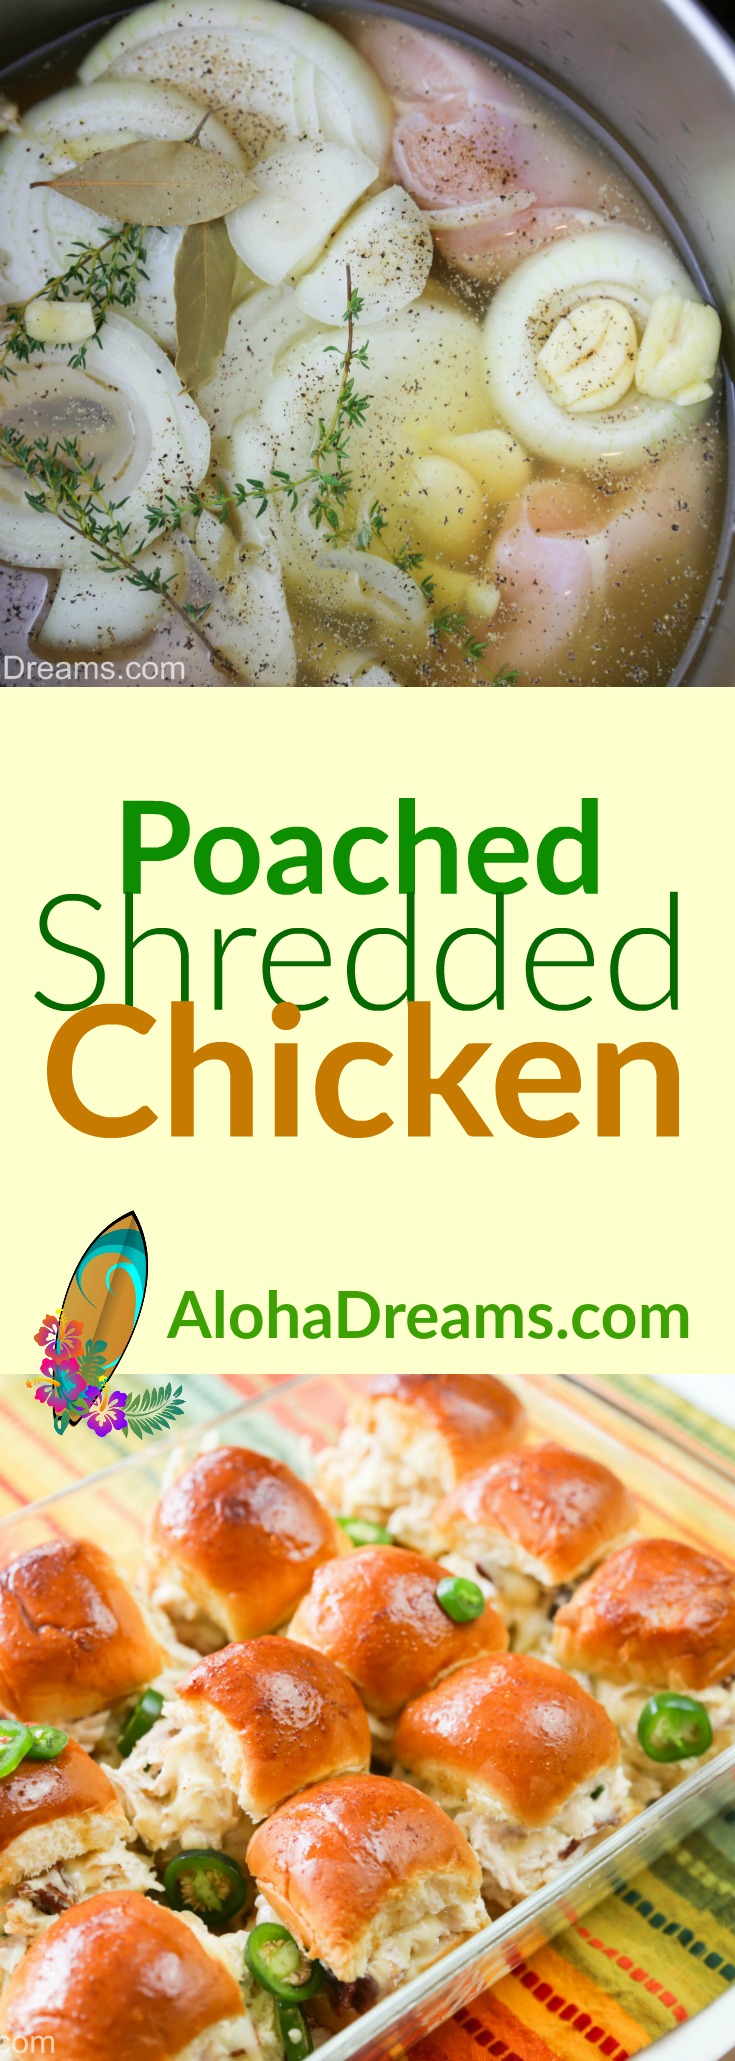
Pin for Later
Or Make Now
Let’s get started!
Grab some shredded chicken and whip up these deliciously easy and cheesy chicken melts in minutes. A Worcestershire and butter bath add even more extra flavor to these tasty sandwiches.
An AlohaDreams.com recipe
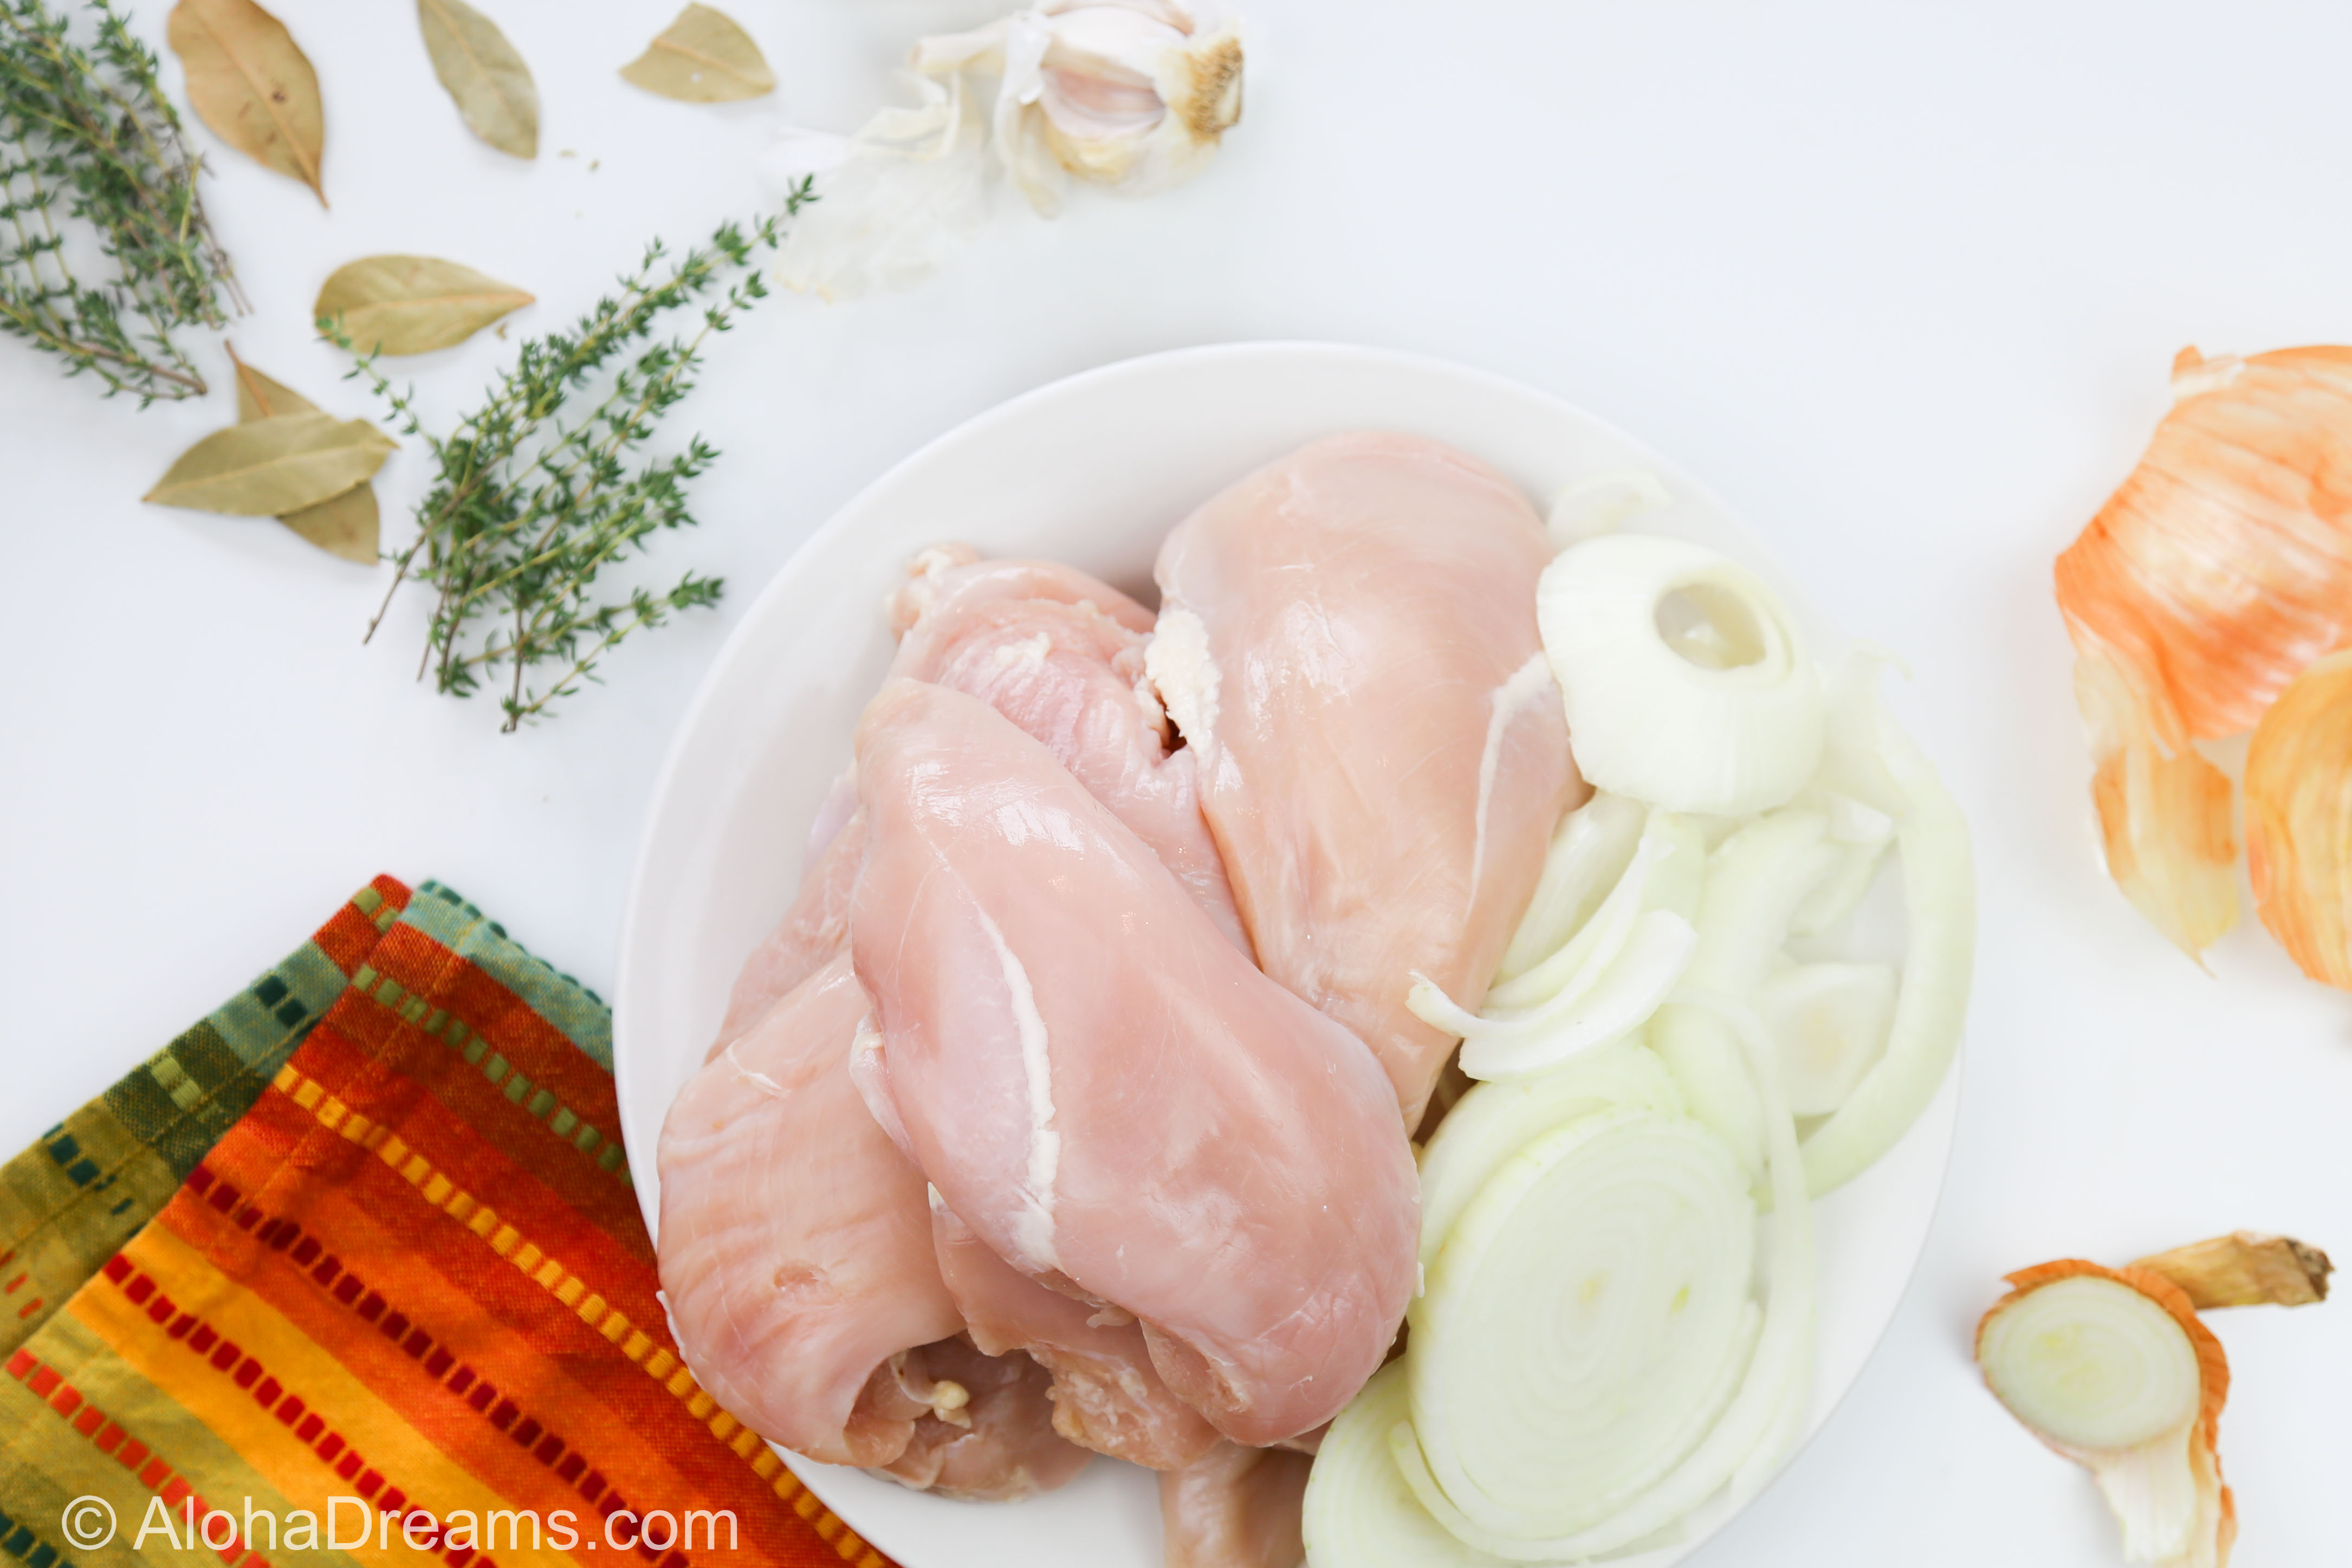
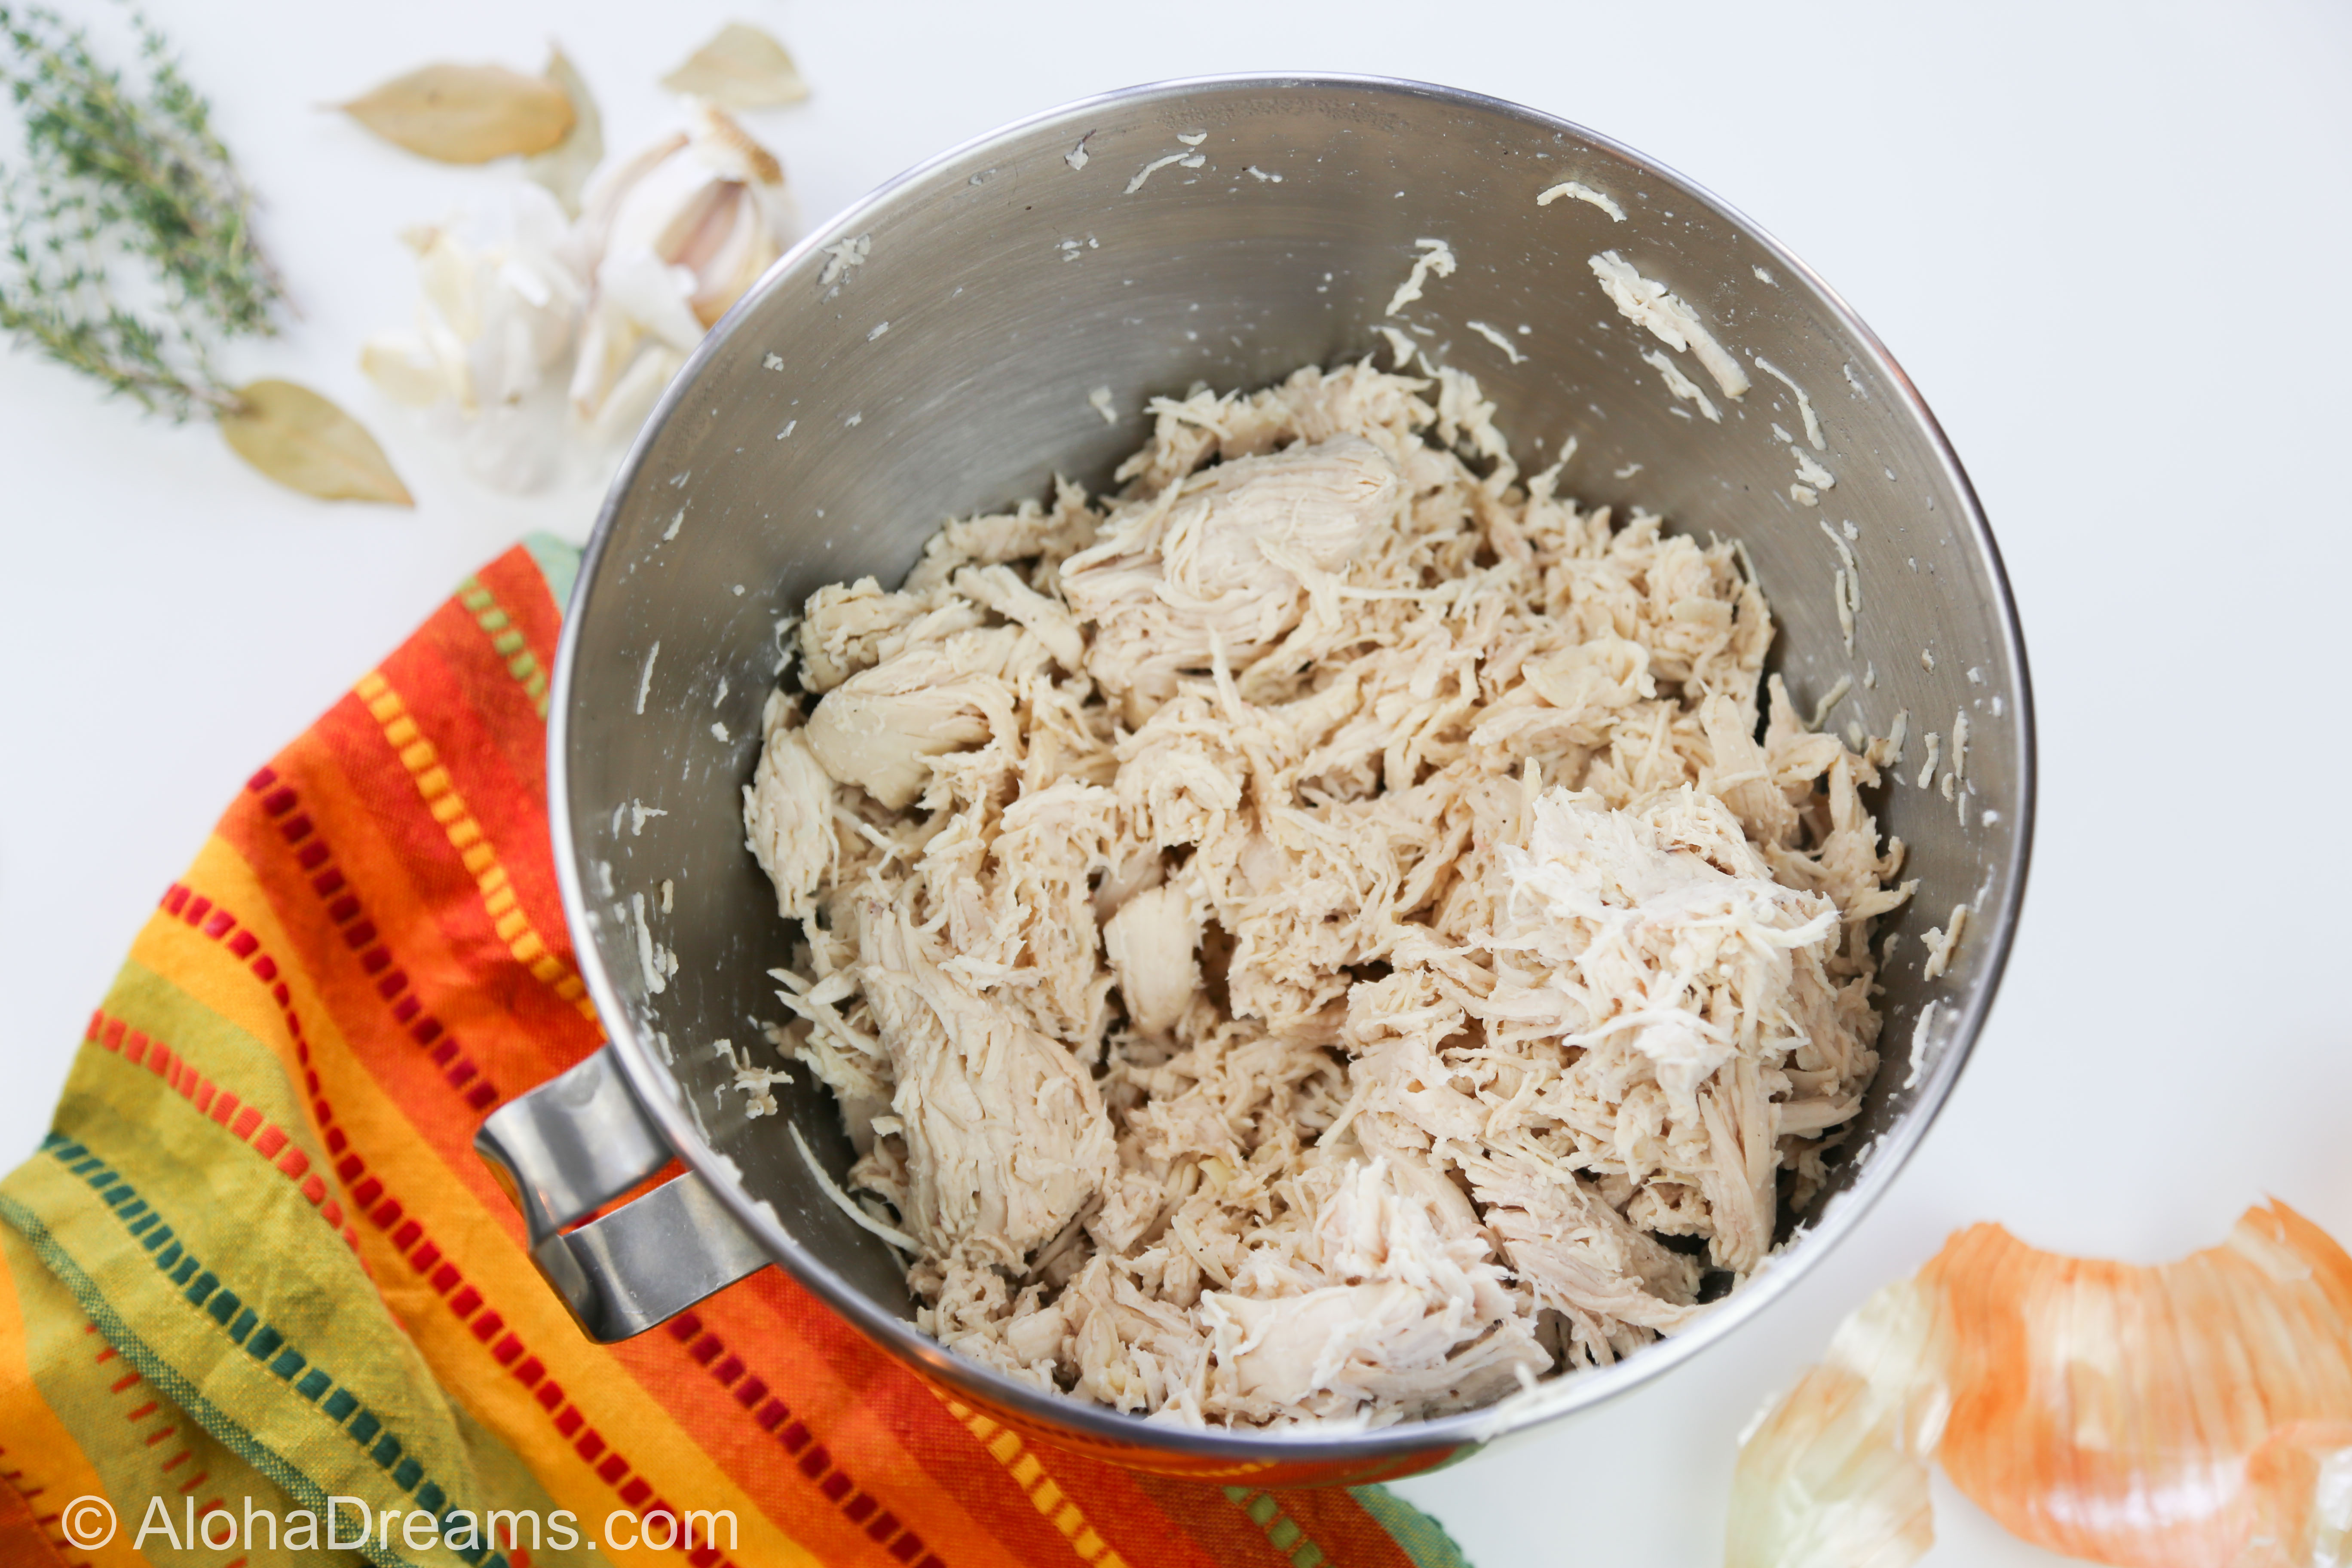
- 3 cups cooked shredded chicken
- 2/3 cup sour cream
- 1/2 teaspoon garlic powder
- 1/2 teaspoon salt
- 5 strips bacon
- ¼ cup chopped pickled jalapeño pepper slices (don't worry, these aren't hot)
- 1 ½ cups shredded Monterey Jack Cheese
- 12 (3 inch) savory sandwich rolls (I use King’s Hawaiian Savory Butter Dinner Rolls)
- 8 tablespoons melted butter (1 stick)
- 1 tablespoon Worcestershire sauce
- 1/2 teaspoon Garlic Powder
-
Pre-heat oven to 350 degrees.
-
Line the bottom of ta microwave safe plate with 2 paper towels. Add the bacon in a single layer. Cover the bacon with 2 paper towels. Microwave on high for 5 minutes. When done check the bacon and microwave in additional 30 second bursts until the bacon is done to your liking. Crumble and set aside.
-
Cut the sheet of 12 rolls in half horizontally and place bottoms into a 9 x 13 inch baking dish. Set roll tops aside.
-
In a medium bowl, combine 3 cups cooked shredded chicken, 3/4 cup sour cream, 1/4 teaspoon garlic powder, 1/2 teaspoon salt, ¼ cup chopped picked jalapeno pepper slices and crumbled bacon.
-
Divide chicken mixture between 12 roll bottoms.
-
Top with 1 ½ cups shredded Monterey Jack Cheese. Set aside.
-
In a small bowl, combine 8 tablespoons melted butter, 1 tablespoon Worcestershire sauce, and 1/2 teaspoon garlic powder.
-
Spoon half the butter mixture over the cheese.
-
Place roll tops on rolls.
-
Pour remaining butter mixture over roll tops.
-
Bake, covered with foil, at 350 degrees for 15 minutes. Remove foil and bake 5 - 10 minutes more or until cheese is melted and top of rolls are light brown.
-
Serve with pickled jalapeño slices if desired.
Reheat any leftovers in the microwave for 30 - 60 seconds.
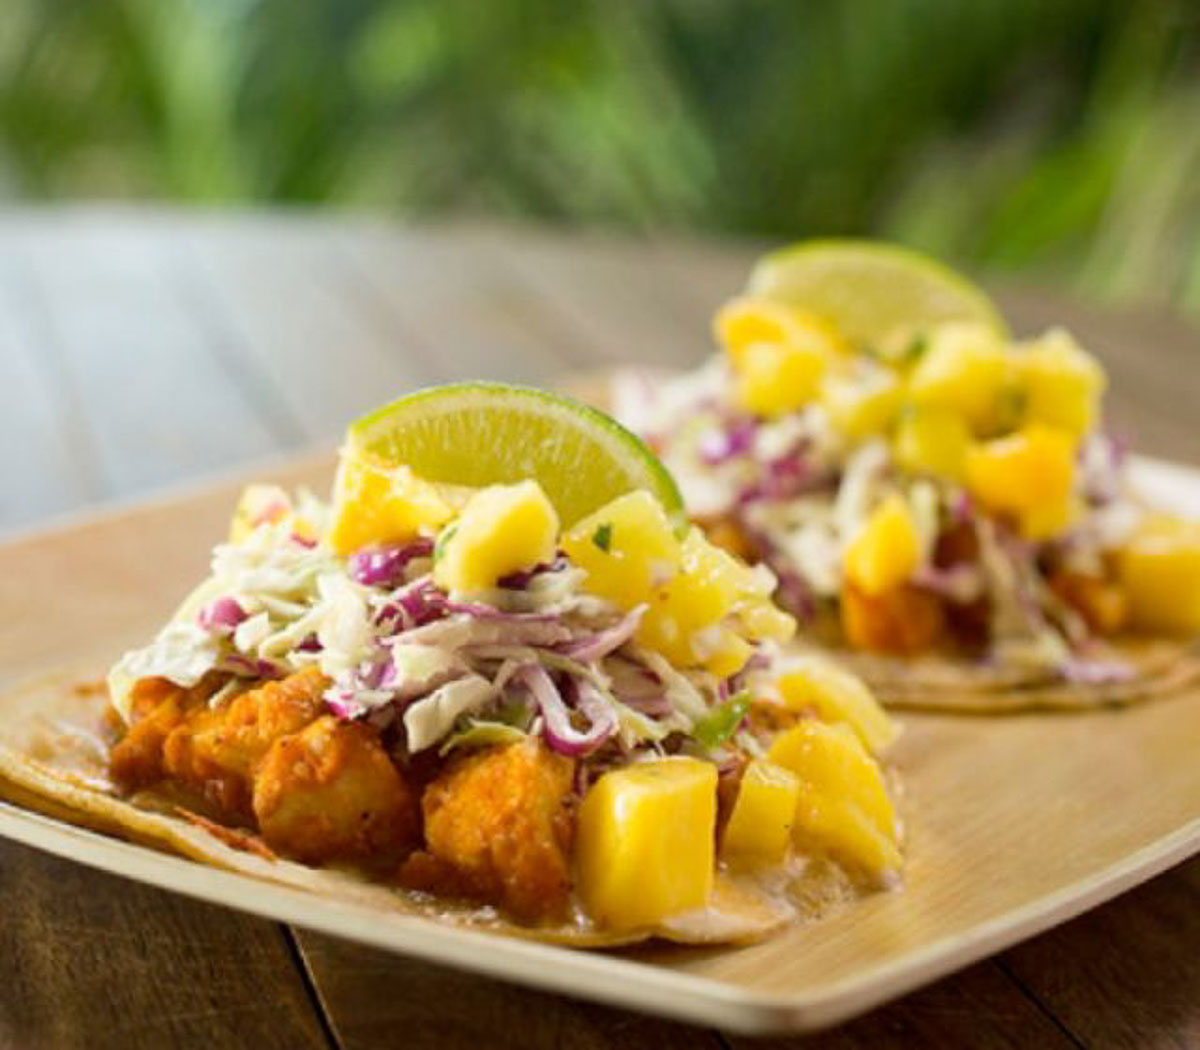
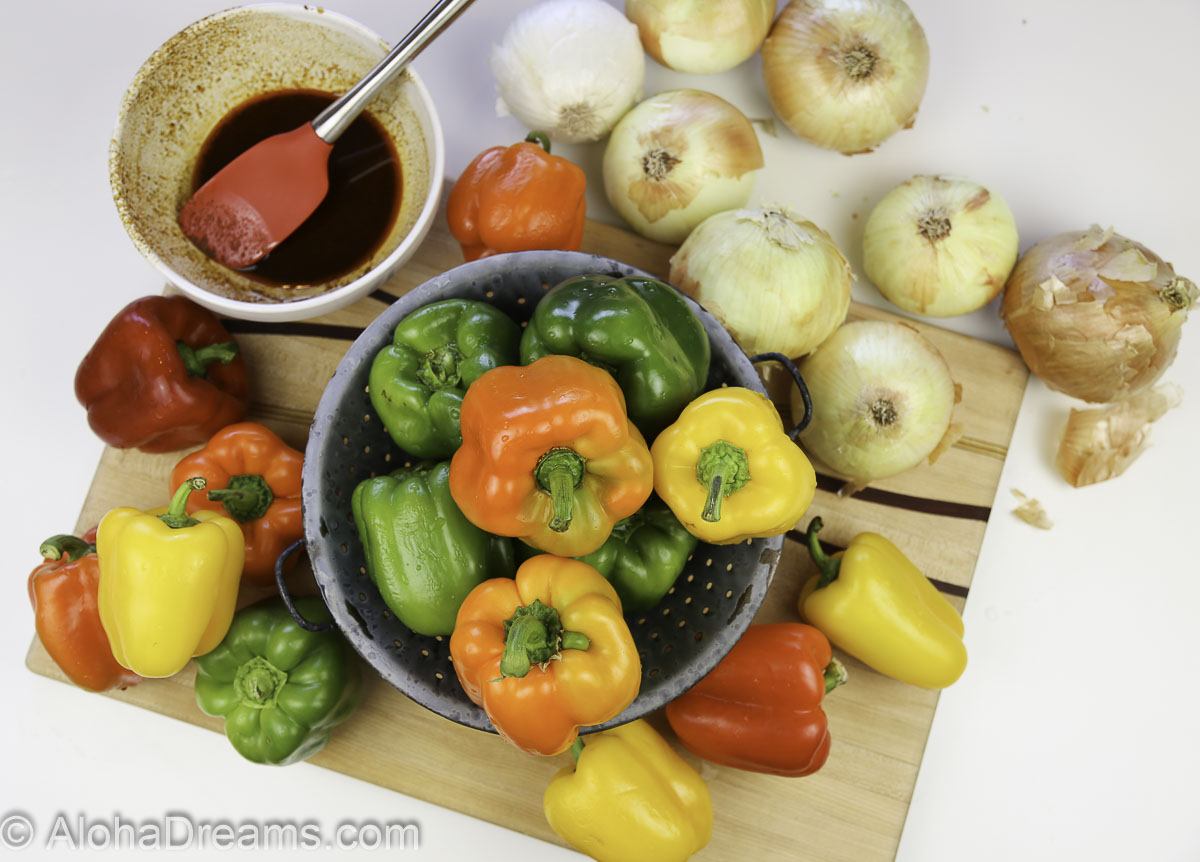
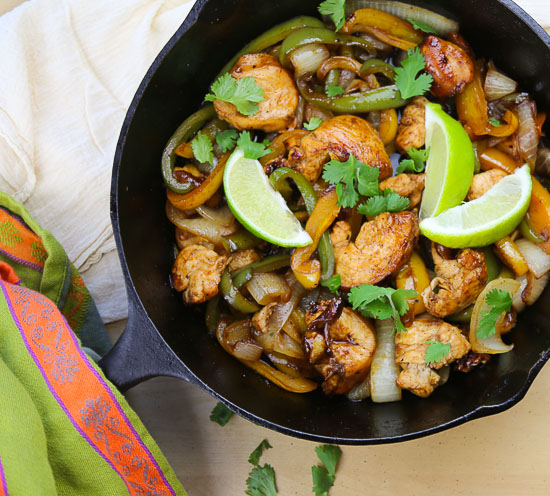
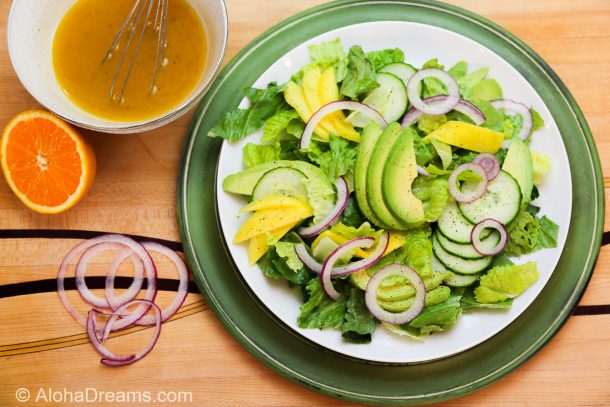
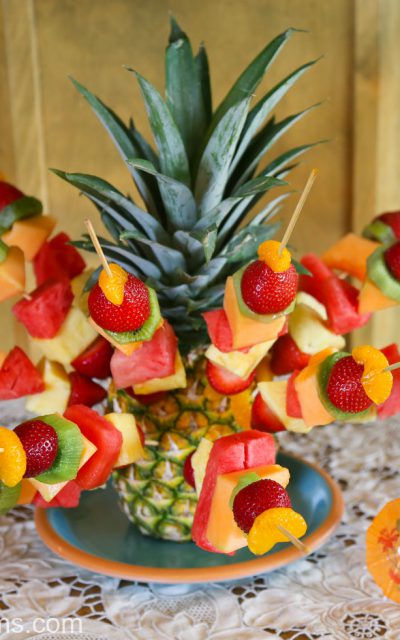
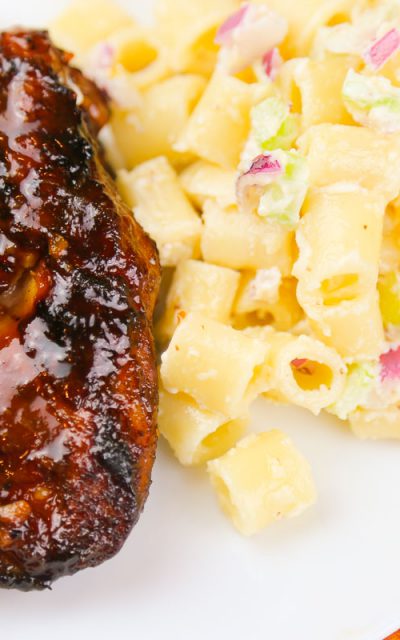
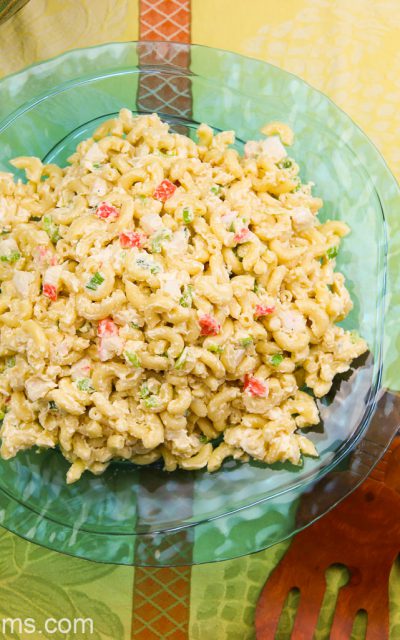
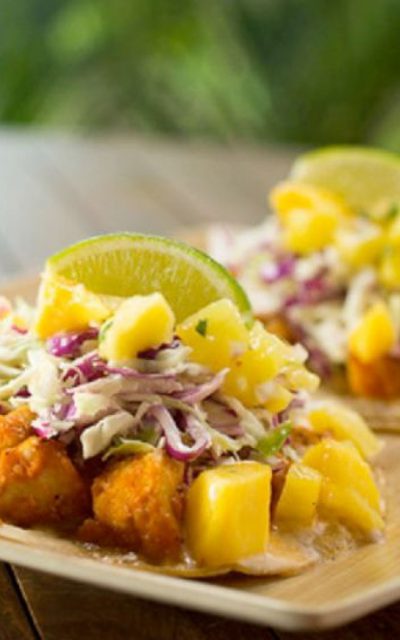
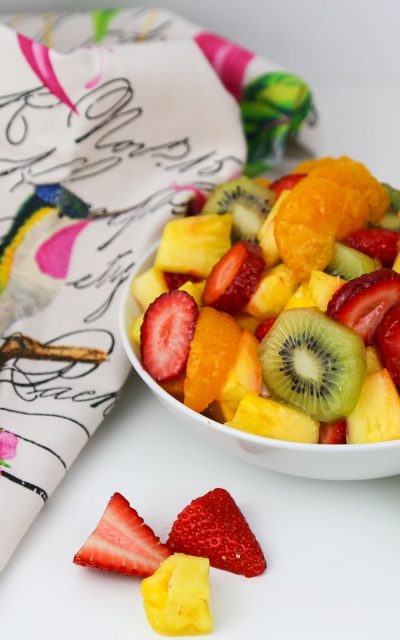
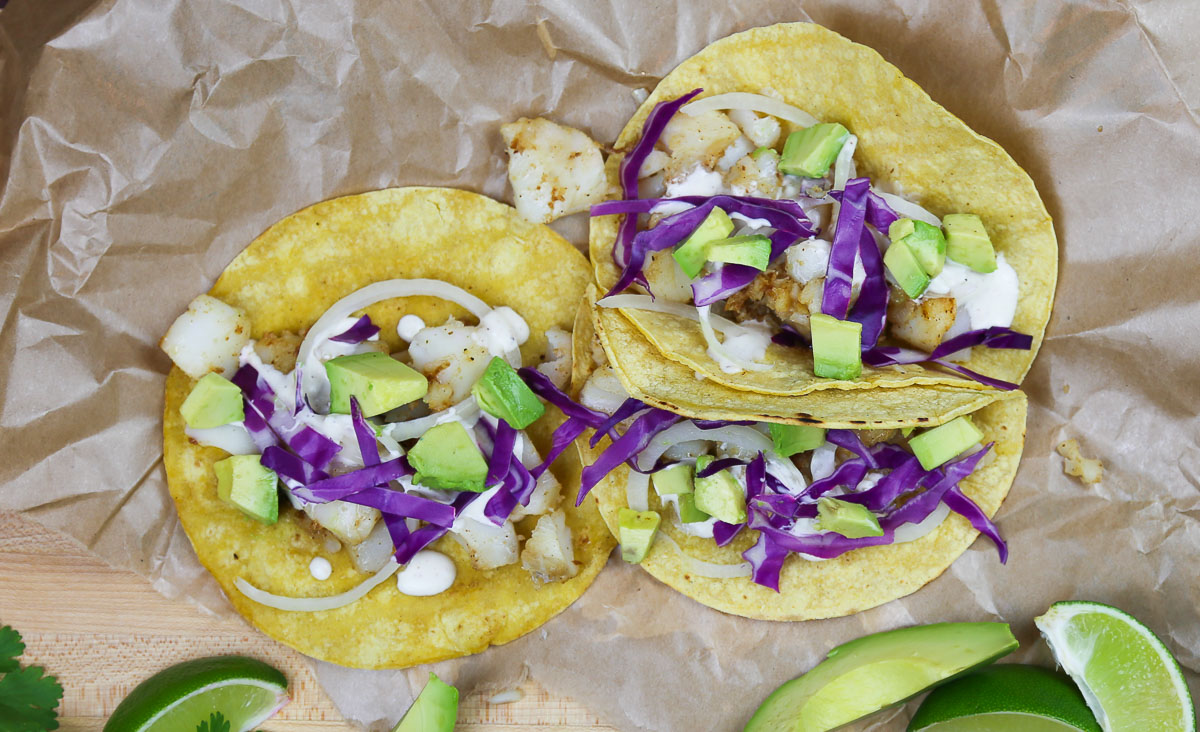
Here’s some other fantastic recipes to put you in a Hawaii frame of mind.

Welcome to Aloha Dreams!
I'm so glad you dropped by. I'm Betsy. Here you'll find my favorite fabulous, trusted recipes - everything from delicious, quick meals for your family to wonderful classics made easy.
I'm also here to help you with large group recipes from 20 to 200. So next opportunity you get to cook for a large group - Say 'Yes!' Then relax. I've got your back.
Ever wished you could build your dream home? How about building your dream home in a tropical paradise? Join me, room by room, as we design and build a fabulous dream home in Hawaii!

Explore Aloha Dreams


EXPLORE
If you're planning a vacation to Hawaii, I've got you covered on the very best places to go! From many amazing restaurants to incredible adventures in the surf and on land, this is your go-to source for unique and exciting things to do on the Big Island of Hawaii. Or just take a Virtual Vacation!! Let's go!
SAY YES!
If you've been asked to cook for a large group activity, be it a Girl's Camp or a Graduation Party, say Yes! I'm here to help. From Menus to Game Plans to Recipes, I'll help you keep on schedule and turn out amazingly delicious food if you're cooking for a crowd! My recipes are tested and trusted. Let's cook!
AHONUI
Ever wished you could build your dream home? Like amazing house design and home building ideas? Me too! Join me as I design and build a home on the Big Island of Hawaii. Follow along while I design each room. Enjoy a front row seat for the entire amazing construction process. Let's play!
PARTY
Would you like to throw a Luau, but not sure where to start? Want to know how to build a tiki bar and roast a pig? Here's everything you need to have a luau. How about a Christmas Feast or even a fabulous dinner for your neighborhood supper club? You've come to the right place. Let's party!