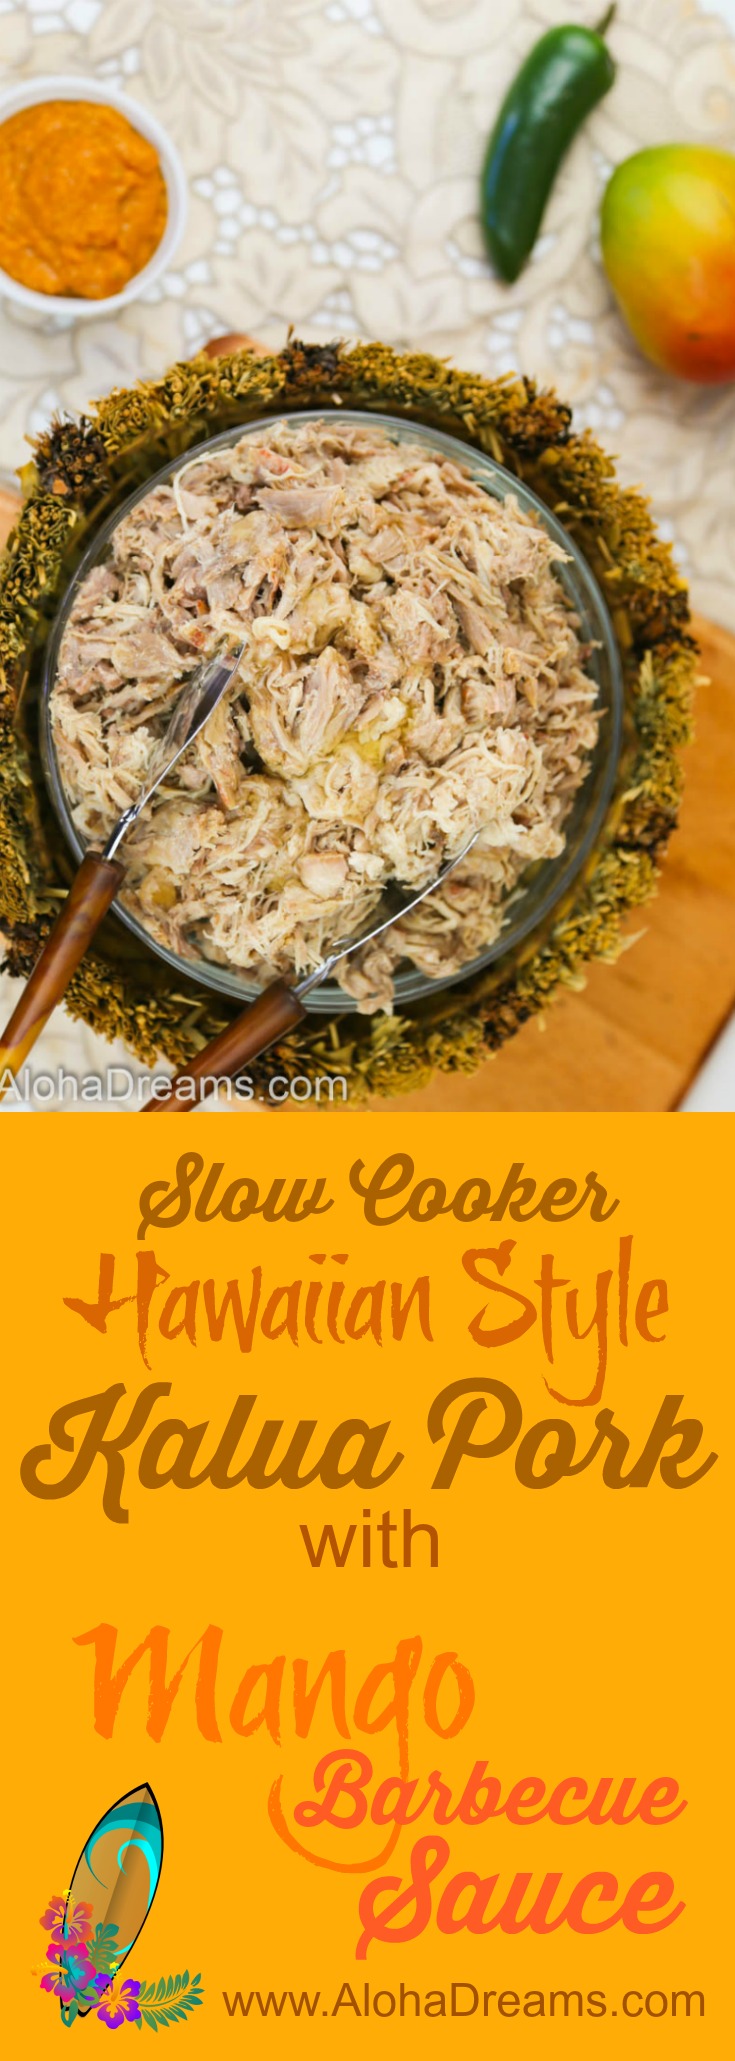
Hawaiian Slow Cooker Kalua Pork


Slow Cooker Kalua Pork
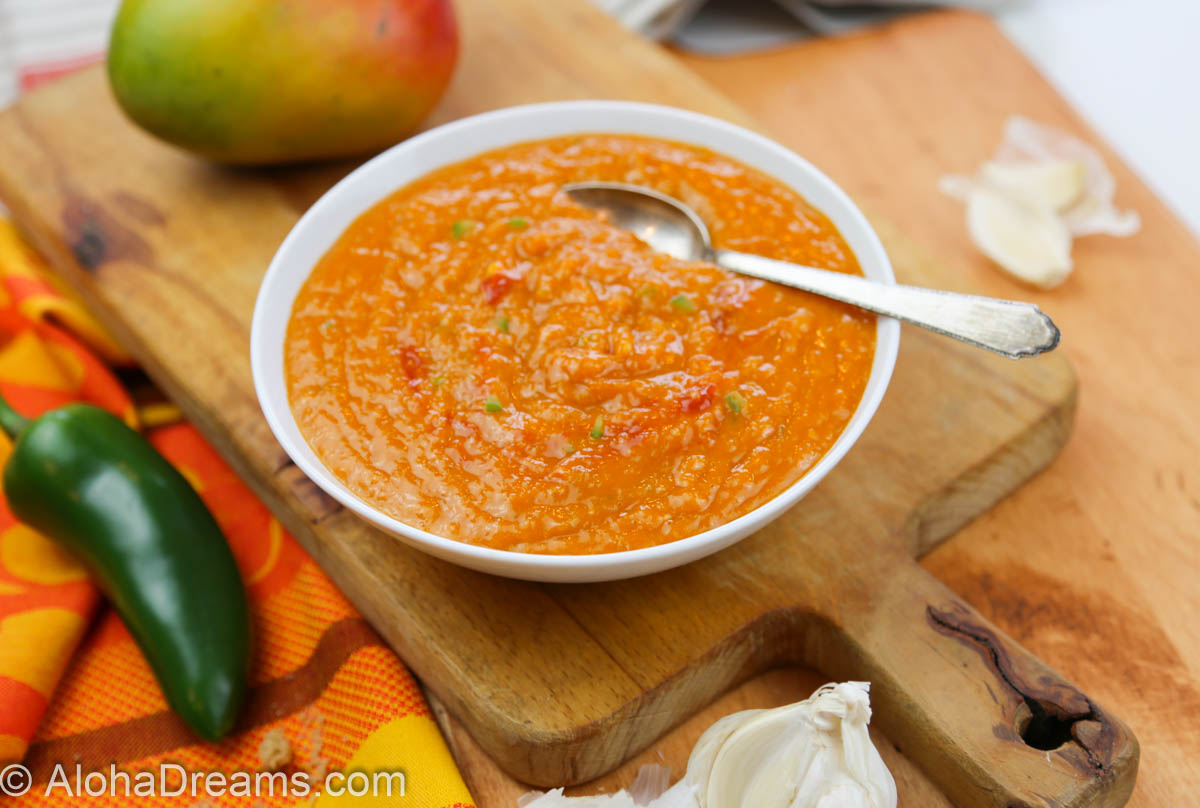
Slow cooker Kalua Pork is a quick and easy wonderful foundation for your family meal plan. Combine it with my Hawaiian Beach Club Coleslaw for fantastic sandwiches. Or enjoy it with my Maui Mango Barbecue sauce (coming this week). It’s also an outta this world topping for a fabulous Kalua pork pizza with Maui Mango Barbecue sauce, pineapple tidbits and onions (also coming this week). All wonderful, easy dishes for your family.
It’s also a great easy dish for a large group activity.
Want a luau with minimal work? This is just what you’re looking for. It doesn’t get much easier than this slow cooker Kalua Pork. It’s as close to the real thing as you’re going to get without buying a La Caja China (Which I have and love! More about cooking a pig in a La Caja China here) or digging a pit in your back yard. Note: Another option you’re cooking for a larger crowd is this easy pulled pork for a crowd recipe
As you’ve probably guessed by now, I love, love, love make-ahead dishes that hold and re-heat well. We like to entertain quite a bit and one of my cardinal rules (and it should be yours too!) when having company is to do as little at the last minute as possible. I generally plan to have only one dish on the menu which requires any last minute attention. If I’m very familiar with the recipes, at most I’ll allow for 2 last minute dishes. Anything more than that is just inviting stress and sub-optimal results. And we all have enough stress without adding any self-imposed to the pile.
Before we jump in to the cooking let me tell you a bit about this recipe. Kālua (pron. Kah-loo-a) is a Hawaiian word meaning to cook in an underground oven. Kalua is a traditional Hawaiian cooking method utilizing an underground oven called an imu. The word Kalua is also used to describe food cooked in this manner, such as kālua pig, a common luau or family gathering main dish. Here’s an emu cooking a pig for a family gathering.
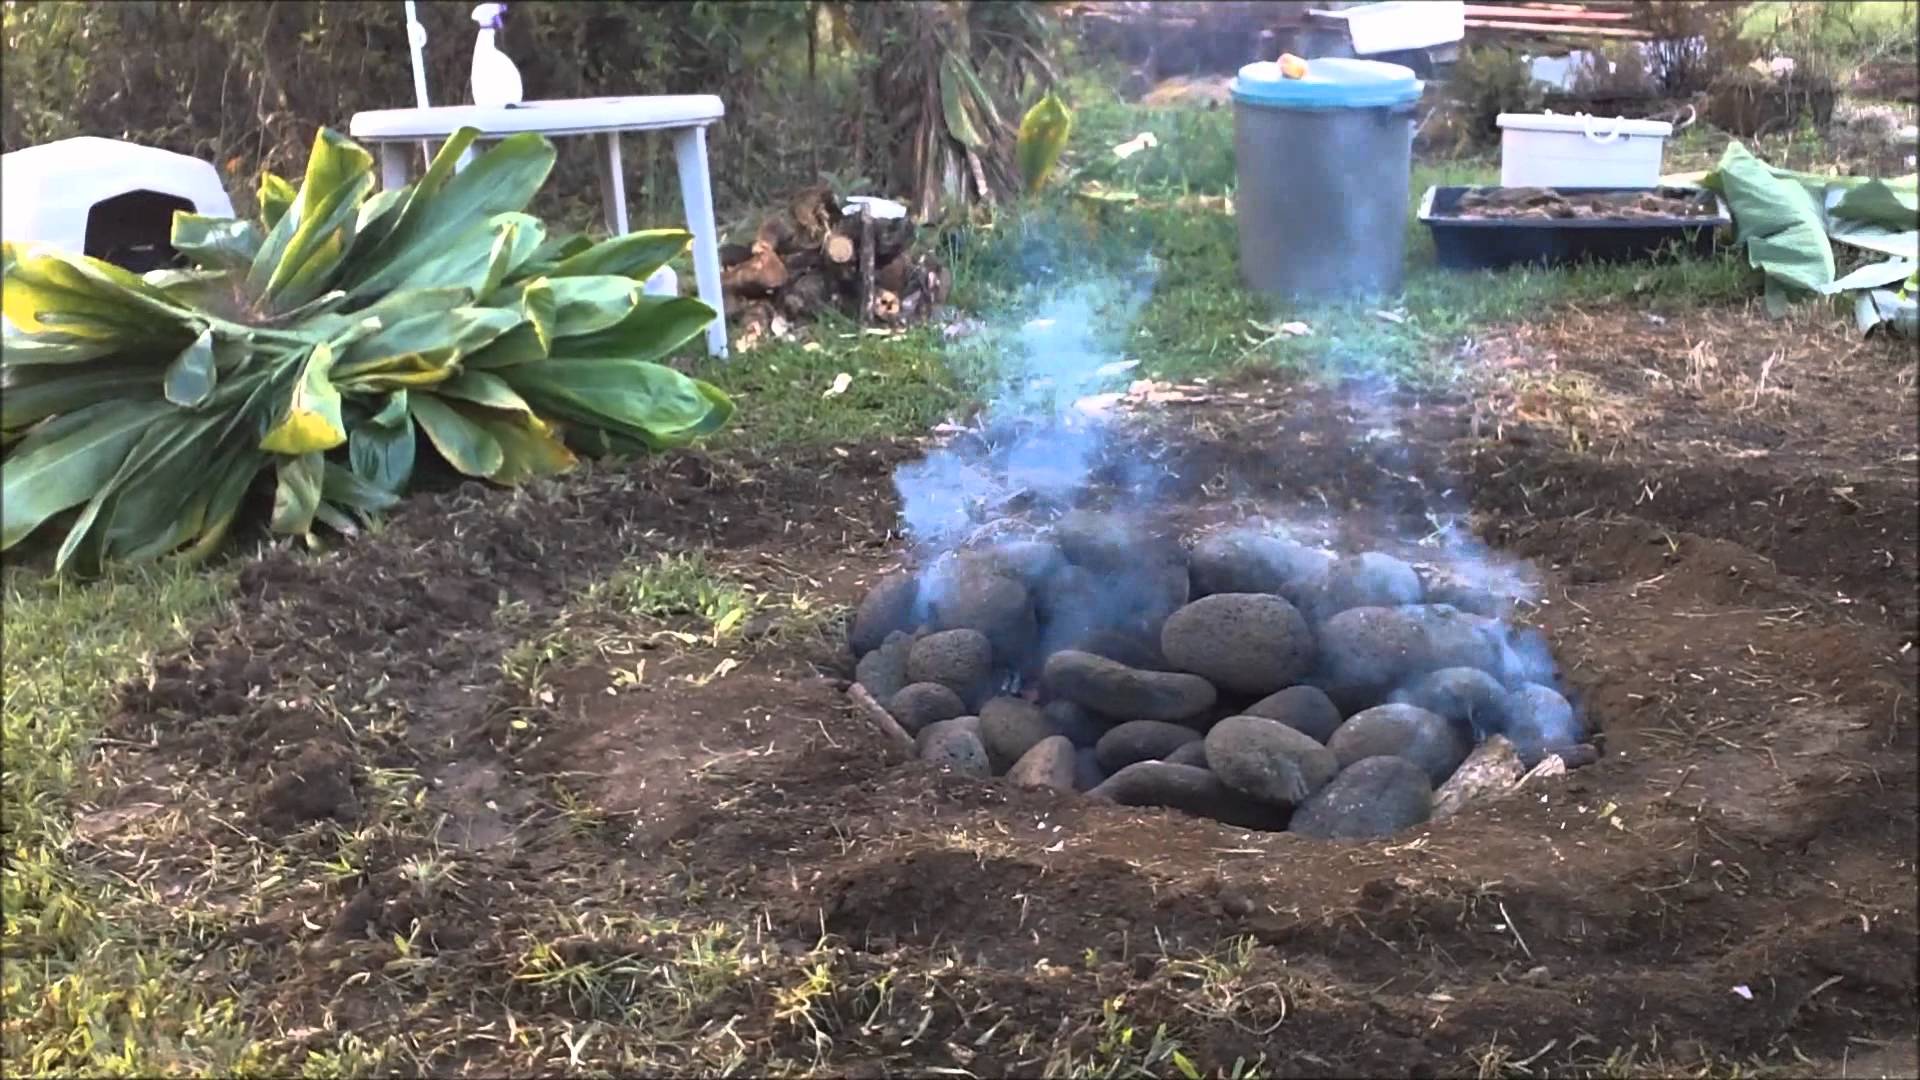
The general method for cooking kālua pig in an emu consists of first digging a large pit and lining it with banana or ti leaves. The leaves insulate the pig, facilitating the steaming process, and adding flavor. Next, ever abundant lava rocks are heated over an open flame until they are extremely hot. These rocks are then placed in the pit. Finally, a whole dressed pig is seasoned with Hawaiian sea salt and placed in the pit. It’s covered with more banana or ti leaves, soil and hot lava rocks and left to cook approximately 8 hours.
Besides being roasted whole in an emu (which we’re not going to do, thank you very much), several things characterize kālua pig: 1) the red Hawaiian salt seasoning, 2) the banana or ti leaves and 3) a slightly smoky flavor.
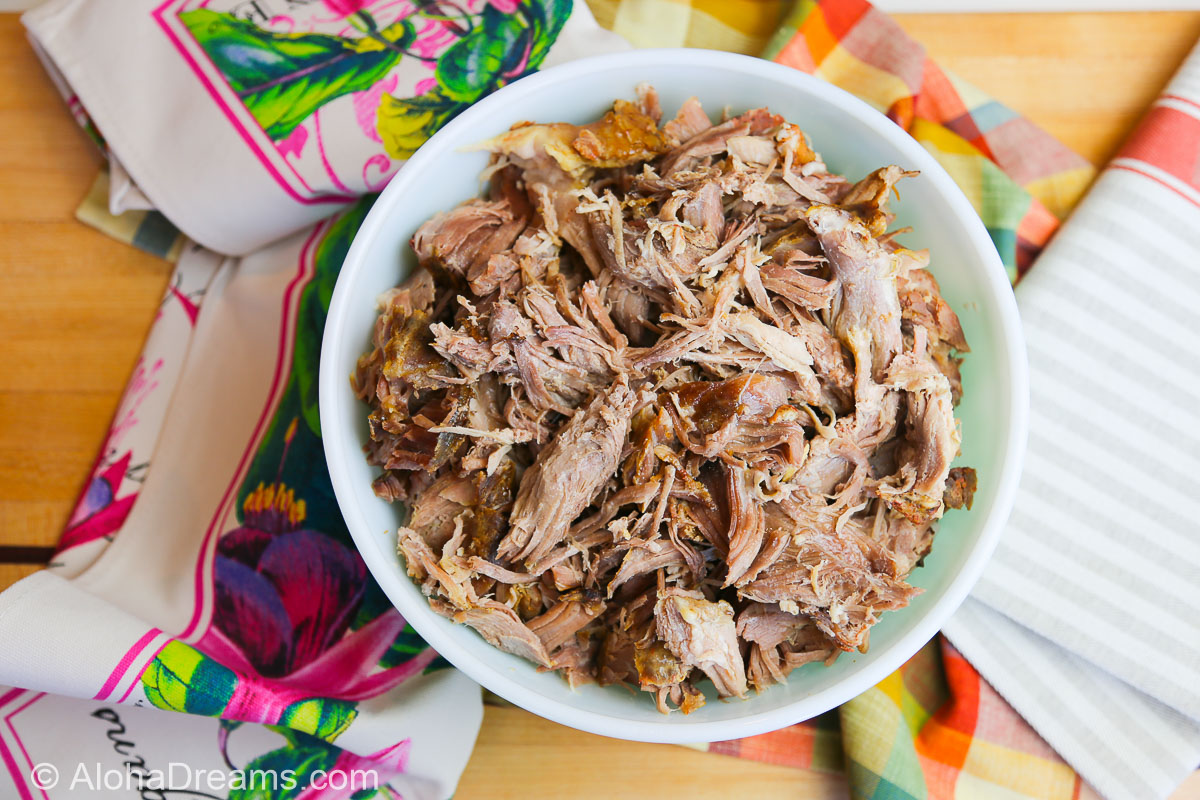
While you can certainly substitute Kosher salt, the red salt is fun and can be easily purchased here. Since we’re trying to make this easy, we can manage a fabulous kālua pig without the banana or ti leaves. We’ll mimic the smoky flavor with a bit of liquid smoke. By the way, my kālua pig is cooking while we speak and I WISH YOU COULD SMELL IT. Better yet, make one for yourself. It’s incredibly easy and the meat, which falls off the bone, and is very tender and moist, with a slightly salty, smoky flavor that is just delicious.
Sold yet? Great, let’s get started, shall we!
You’ll want to use a 4-6 pound Boston Butt roast like this one for the family-size recipe – or get a 9-10 pound roast if you’re cooking pulled pork for a crowd.
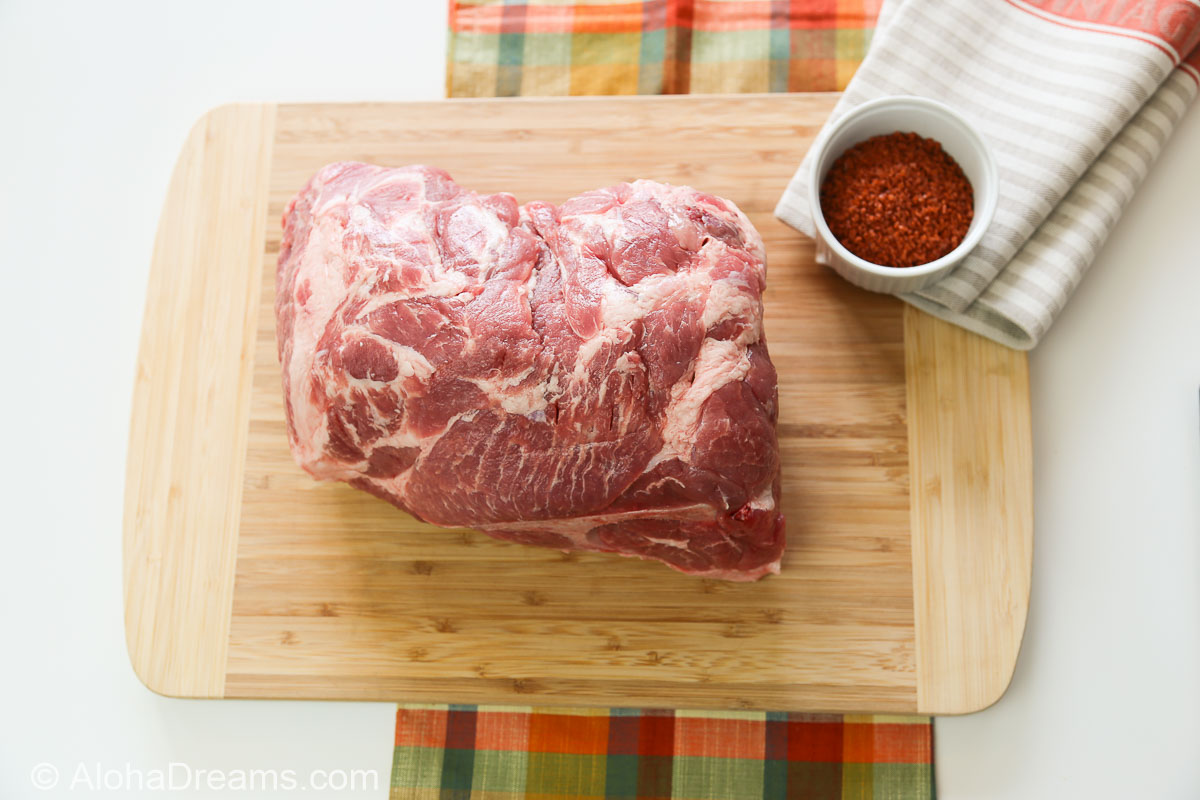
Begin by piercing your roast all over with a knife or fork. This enables the flavor from the salt and liquid smoke to penetrate the roast. Traditional Kaula pork is seasoned with red Hawaiian sea salt. We always pick up a bag of this salt when we go to Hawaii on vacation, but you can save some money by taking a virtual romantic Hawaiian vacation here and purchasing the salt on-line here.
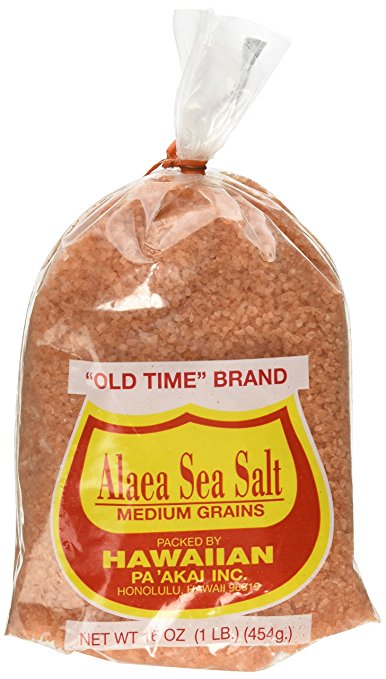
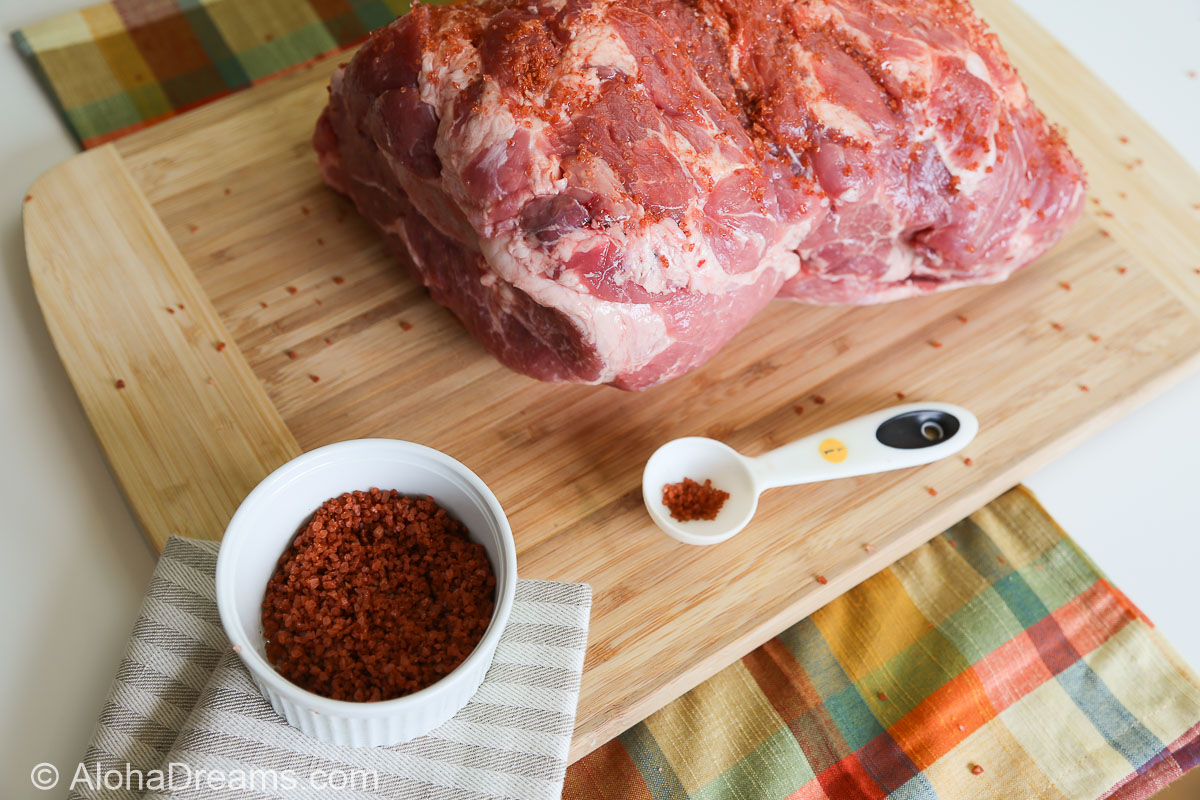
If you’re cooking a 4-6 pound roast, use 1 tablespoon red Hawaiian sea salt. Here’s the roast with 1 tablespoon of the salt rubbed on top.
If you’re cooking a 9-10 pound roast, use 2 tablespoons red Hawaiian sea salt.
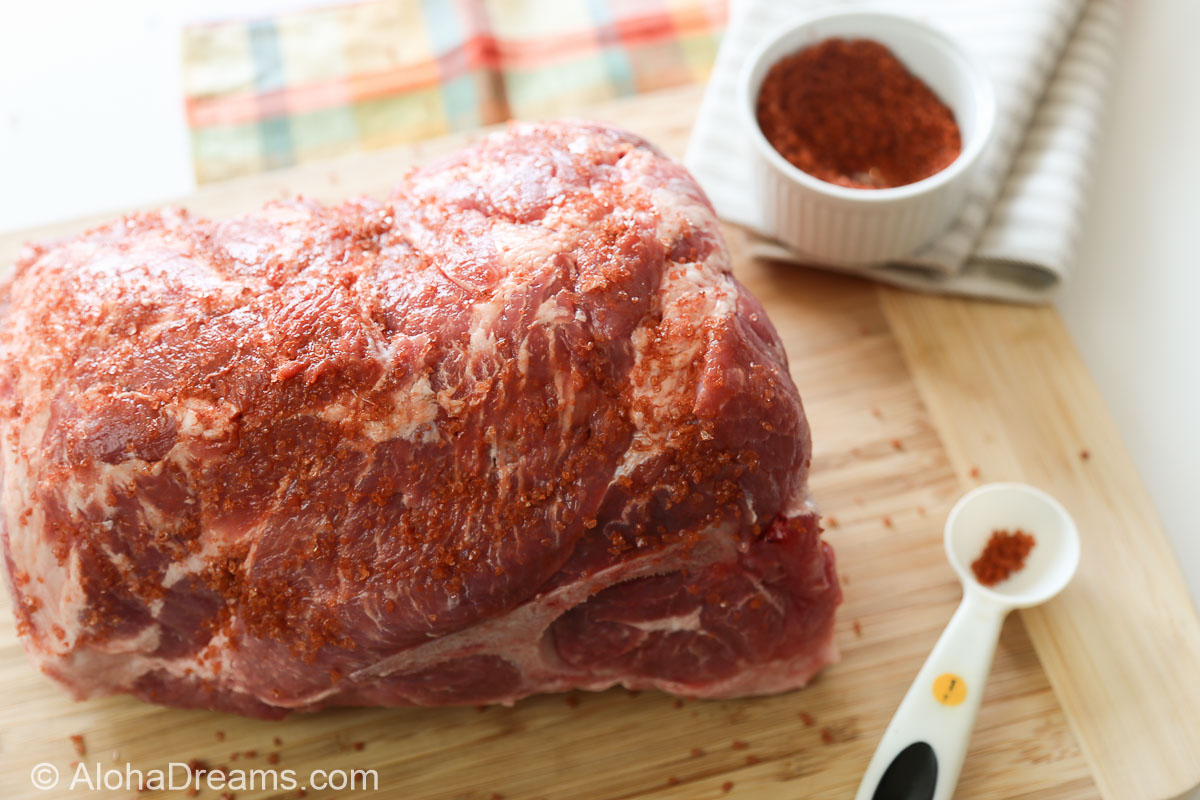
You can see it a bit better here. I know this looks like a lot of salt – but trust me you’ll want to use the full amount of salt. We’ll also be adding more later. That’s ok. This is the only seasoning this large cut of meat gets. It’s also what makes the difference between an OK result and a GREAT result.
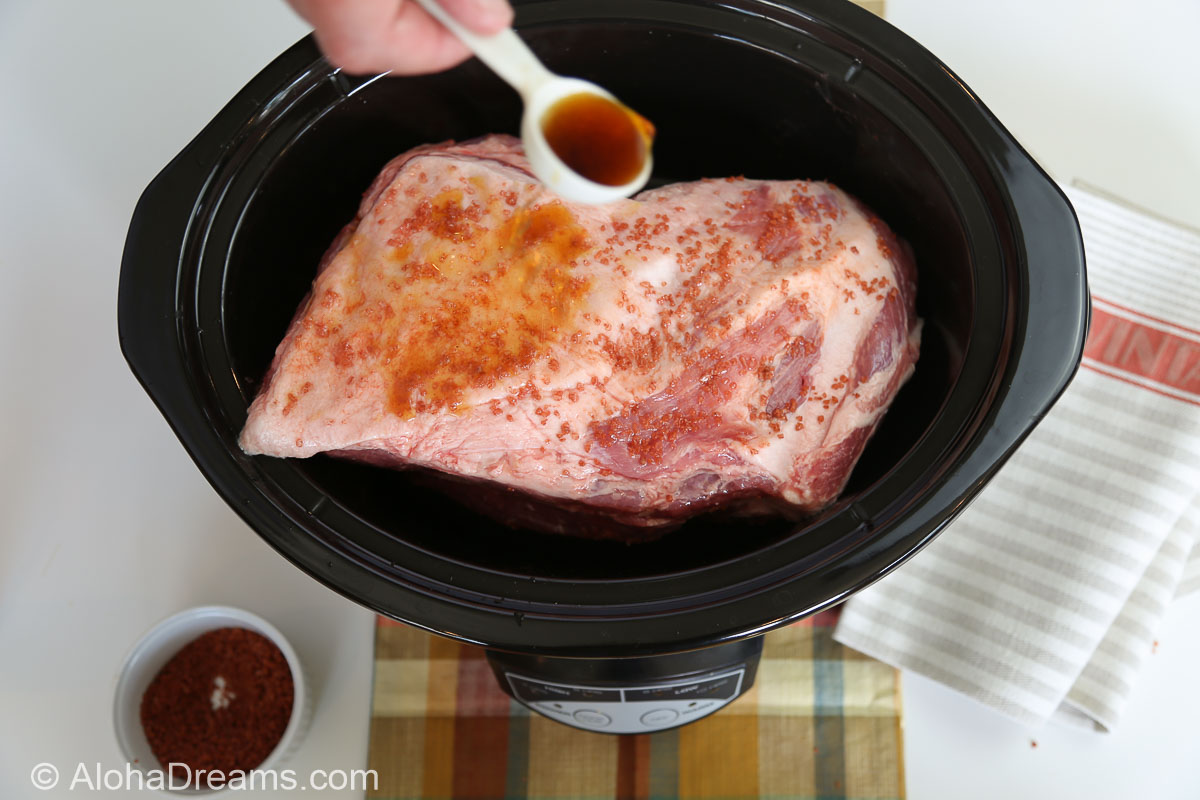
Next, put your roast in the slow cooker, fat side up. Pour 1 tablespoon liquid smoke over the top of a 4 – 6 pound roast (and 2 tablespoons for a 9 – 10 pound roast). Put the cover on the slow cooker and set to LOW. There is no extra liquid needed with the roast since it’s cooking low and slow
A 4-6 pound roast will be fall-apart tender after 7-8 hours on LOW.
It will take a 9 pound roast about 12 hours on LOW to cook to the point that it is fall-apart tender. It will become fork tender after 10 hours, but you want those extra couple hours to make it shreddable. NOTE: Many slow cookers will only stay on for 10 hours on LOW. You may need to set an alarm to remind yourself to re-set the slow cooker for another 2 hours on the LOW setting if it’s going to turn off after 10 hours.
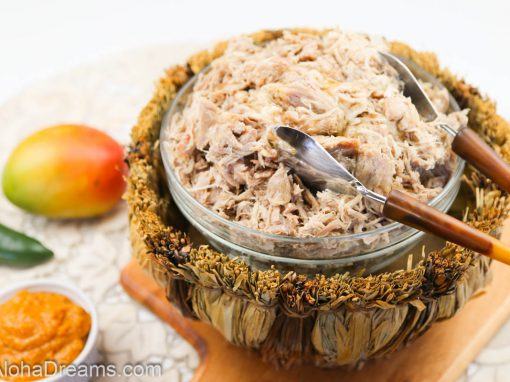
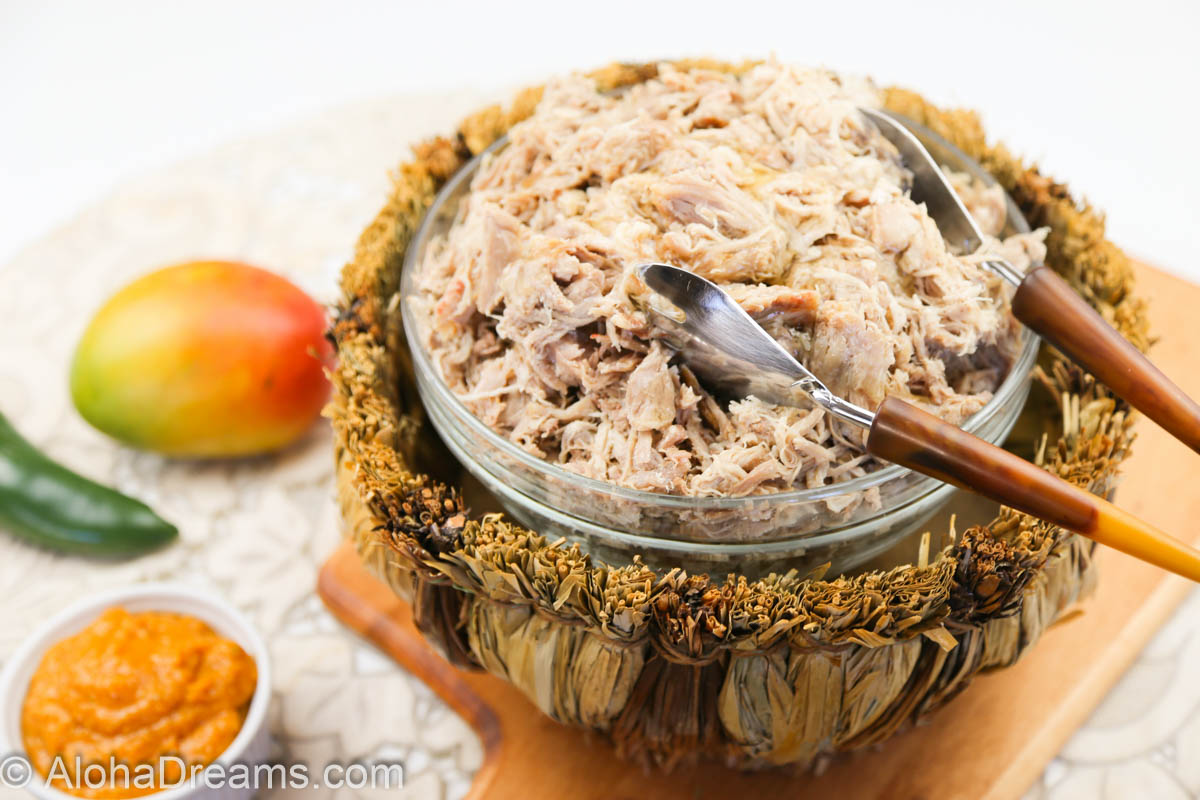
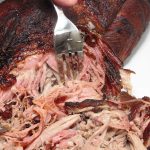
Once your roast is fall-apart fork tender, remove it to a cutting board to shred. Pour the liquid from the slow cooker into a fat separator and set aside. Shred the roast. Once your roast is shredded mix in at least 1/2 cup of the defatted the juice to keep it moist. Serve immediately or return to the slow cooker to hold, covered, up to 2 hours on LOW setting. NOTE: If you’re going to hold for later serving, MAKE SURE TO reserve the remaining juice to add when you’re reheating it.
Just look at how juicy this pork looks. It’s loaded with flavor!

Welcome to Aloha Dreams!
I'm so glad you dropped by. I'm Betsy. Here you'll find my favorite fabulous, trusted recipes - everything from delicious, quick meals for your family to wonderful classics made easy.
I'm also here to help you with large group recipes from 20 to 200. So next opportunity you get to cook for a large group - Say 'Yes!' Then relax. I've got your back.
Ever wished you could build your dream home? How about building your dream home in a tropical paradise? Join me, room by room, as we design and build a fabulous dream home in Hawaii!

Pin for Later
Or Make Now
Family Size
- 1 (4 - 6 pound) pork shoulder or Boston butt roast
- 1 tablespoon liquid smoke Hickory or Mesquite flavor
- 1 tablespoon red Hawaiian sea salt
- 1 teaspoon kosher salt (OR 1/2 teaspoon table salt)
-
Pierce roast all over with a knife, then sprinkle the sea salt evenly all over the roast. Place the roast in the slow cooker, fat side UP. Then pour liquid smoke over roast.
-
Cook, covered, on LOW for 7- 8 hours.
-
When roast is fall-apart fork tender, gently remove most of the fat cap with tongs and discard.
-
Gently remove roast from pot to a large bowl and shred with a fork.
-
Season with 1 teaspoon kosher salt (OR 1/2 teaspoon table salt).
-
Pour the juices from the slow cooker through a strainer into a fat separator. Add ½ cup of the separated juice back in.
-
You can either just return the roast to the slow cooker to serve immediately.
-
When ready to serve, pulled pork can be returned to slow cooker and held on LOW setting for up to 2 hours.
Large Group

- 1 (9 pound) pork shoulder or Boston butt roast
- 2 tablespoons liquid smoke Hickory or Mesquite flavor
- 2 tablespoons red Hawaiian sea salt
- 2 teaspoons kosher salt OR 1 teaspoon table salt
-
Pierce roast all over with a knife, then sprinkle the sea salt evenly all over the roast. Place the roast in the slow cooker, fat side UP. Then pour liquid smoke over roast.
-
Cook, covered, on LOW for 10 - 12 hours.
-
When roast is fall-apart fork tender, gently remove most of the fat cap with tongs and discard.
-
Gently remove roast from pot to a large bowl and shred with a fork.
-
Season with 1 teaspoon kosher salt (OR 1/2 teaspoon table salt).
-
Pour the juices from the slow cooker through a strainer into a fat separator. Add ½ cup of the separated juice back in.
-
You can either just return the roast to the slow cooker to serve immediately.
-
When ready to serve, pulled pork can be returned to slow cooker and held on LOW setting for up to 2 hours.
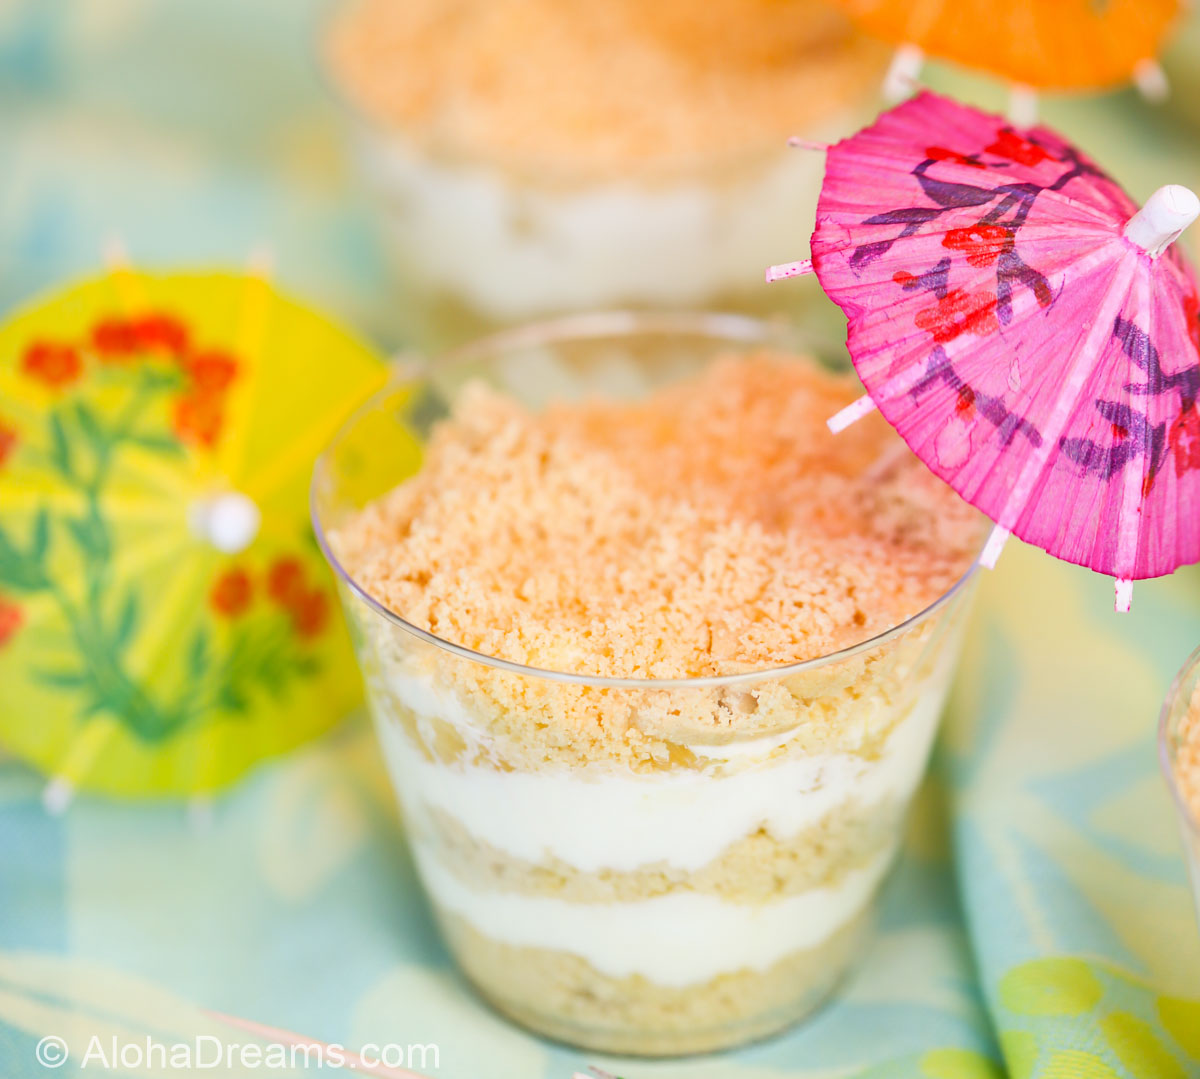
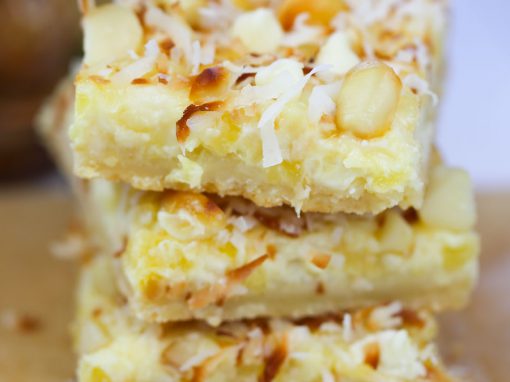
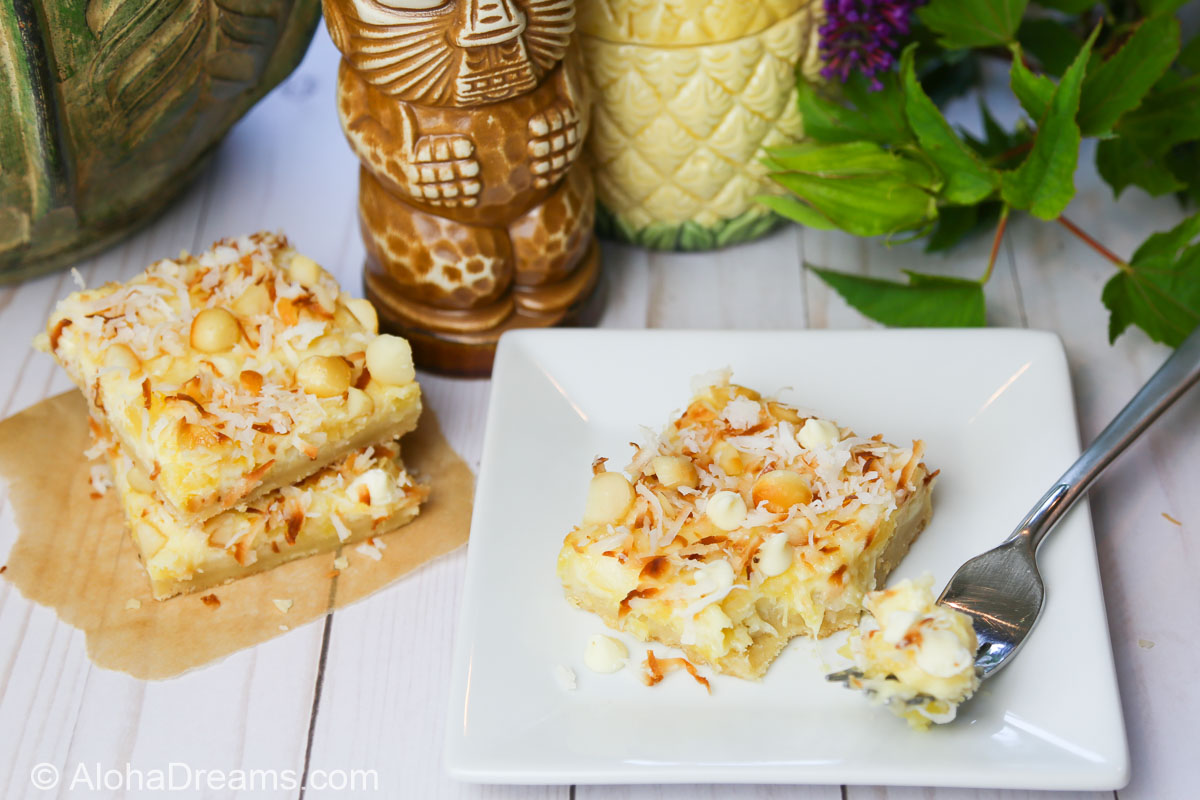
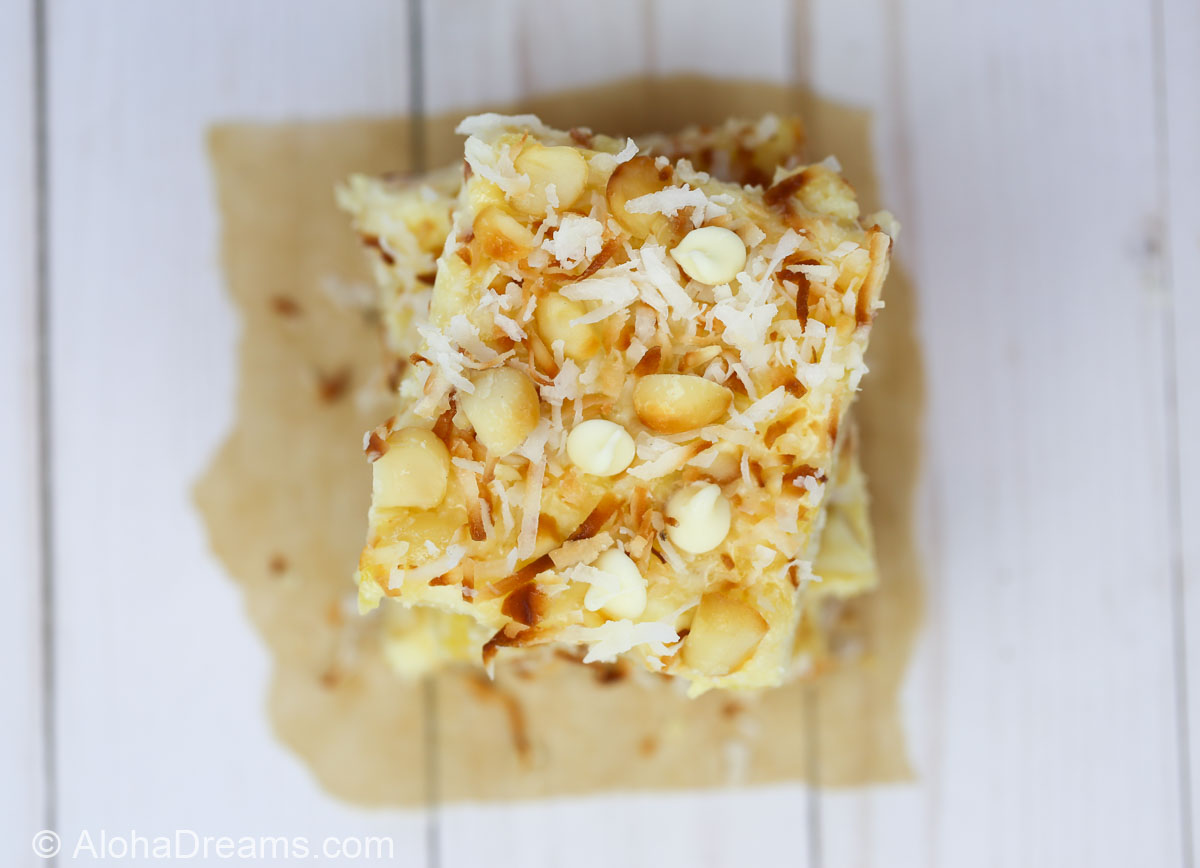
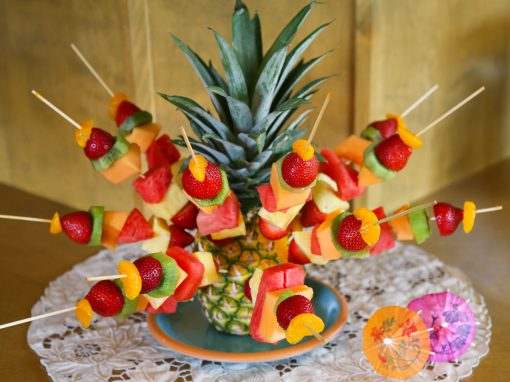
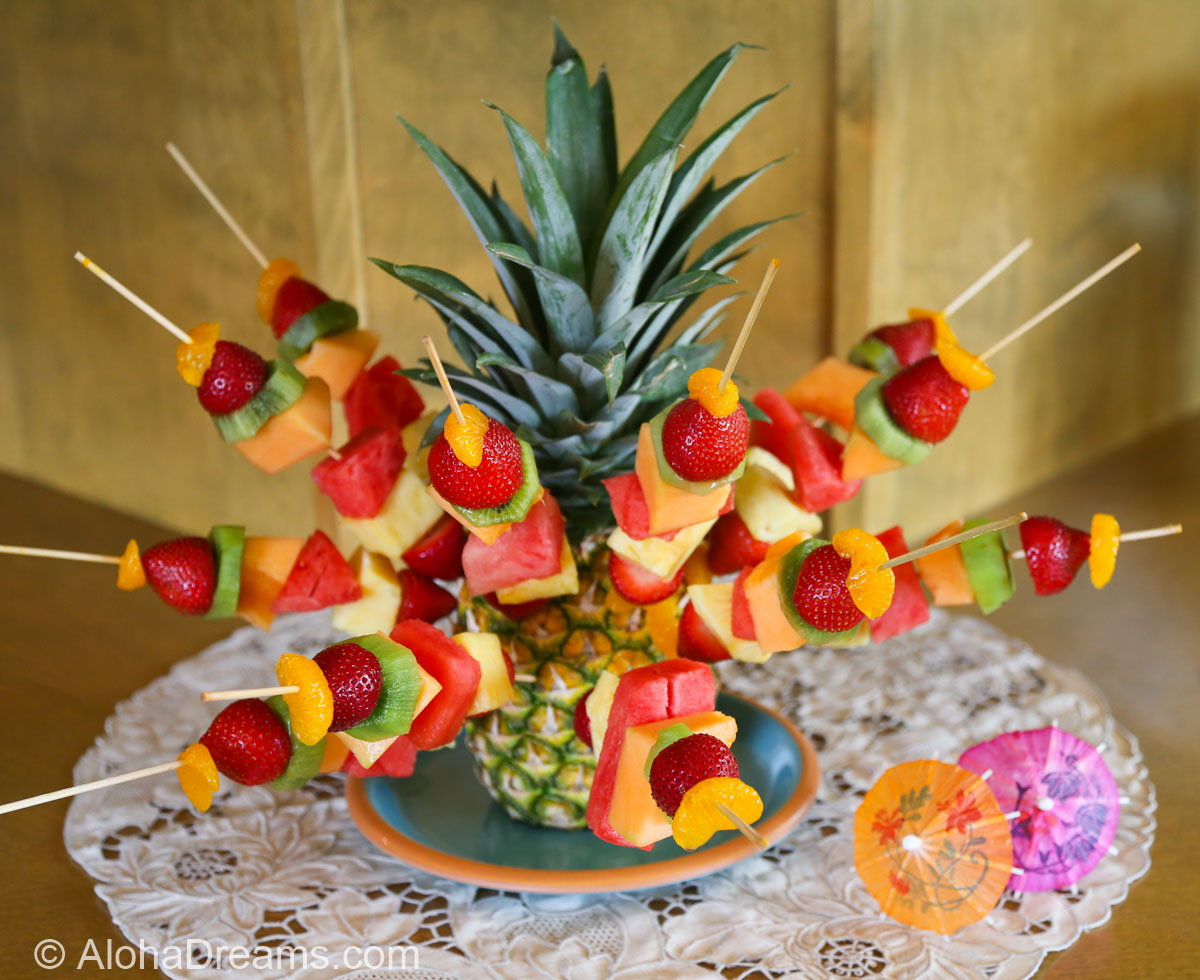
Here’s some other fantastic recipes to put you in a Hawaii frame of mind.
Explore Aloha Dreams


EXPLORE
If you're planning a vacation to Hawaii, I've got you covered on the very best places to go! From many amazing restaurants to incredible adventures in the surf and on land, this is your go-to source for unique and exciting things to do on the Big Island of Hawaii. Or just take a Virtual Vacation!! Let's go!
SAY YES!
If you've been asked to cook for a large group activity, be it a Girl's Camp or a Graduation Party, say Yes! I'm here to help. From Menus to Game Plans to Recipes, I'll help you keep on schedule and turn out amazingly delicious food if you're cooking for a crowd! My recipes are tested and trusted. Let's cook!
AHONUI
Ever wished you could build your dream home? Like amazing house design and home building ideas? Me too! Join me as I design and build a home on the Big Island of Hawaii. Follow along while I design each room. Enjoy a front row seat for the entire amazing construction process. Let's play!
PARTY
Would you like to throw a Luau, but not sure where to start? Want to know how to build a tiki bar and roast a pig? Here's everything you need to have a luau. How about a Christmas Feast or even a fabulous dinner for your neighborhood supper club? You've come to the right place. Let's party!